Philips DVD740VR Owners Manual - Page 70
Audio Settings
 |
View all Philips DVD740VR manuals
Add to My Manuals
Save this manual to your list of manuals |
Page 70 highlights
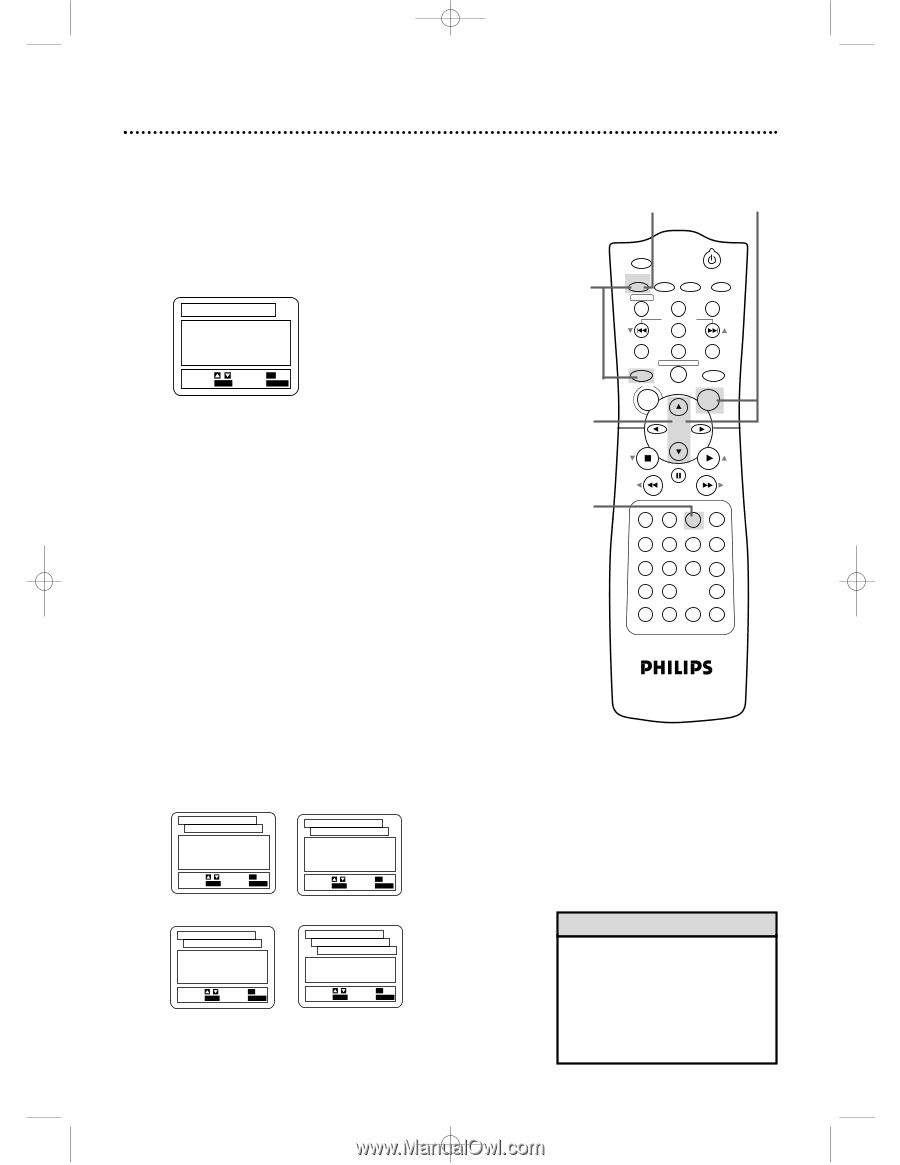
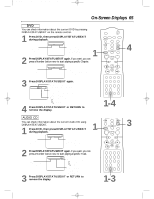
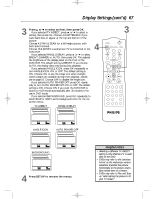
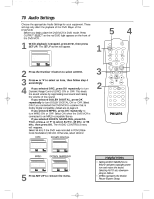
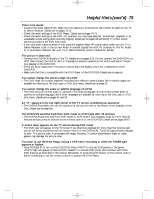
DVD740VR 4/12/02 12:09 PM Page 70 70 Audio Settings Choose the appropriate Audio Settings for your equipment. These settings only affect the playback of the DVD Player of the DVD/VCR. q Before you begin, place the DVD/VCR in DVD mode. Press OUTPUT SELECT so the red DVD light appears on the front of the DVD/VCR. 1 While playback is stopped, press DVD, then press SETUP. The SETUP screen will appear. SET-UP 1.LANGUAGE 2.DISPLAY 3.AUDIO 4.PARENTAL SELECT: / SET: OK EXIT: SETUP CANCEL: RETURN 2 Press the Number 3 button to select AUDIO. 3 Press o or p to select an item, then follow step 4 accordingly. 4 q If you selected DRC, press OK repeatedly to turn Dynamic Range Control (DRC) ON or OFF. This levels the sound volume by suppressing loud sound and raising the volume of low sound. q If you selected DOLBY DIGITAL, press OK repeatedly to turn DOLBY DIGITAL ON or OFF. Select ON if you connected the DVD/VCR to a stereo that is Dolby Digital compatible. Details are on page 13. q If you selected MPEG, press OK repeatedly to turn MPEG ON or OFF. Select ON when the DVD/VCR is connected to an MPEG-compatible Stereo. q If you selected DOWN SAMPLING, press OK. Then, press o or p to select AUTO, 48 kHz, or 96 kHz, then press OK. The AUDIO CONTROLS menu will reappear. Select 96 kHz if the DVD was recorded in PCM (Pulse Code Modulation) 96 kHz. Otherwise, select 48 kHz. DRC SET-UP AUDIO CONTROLS 1.DRC 2.DOLBY DIGITAL 3.MPEG 4.DOWN SAMPLING ON ON OFF AUTO SELECT: / SET: OK EXIT: SETUP CANCEL: RETURN DOLBY DIGITAL SET-UP AUDIO CONTROLS 1.DRC 2.DOLBY DIGITAL 3.MPEG 4.DOWN SAMPLING OFF ON OFF AUTO SELECT: / SET: OK EXIT: SETUP CANCEL: RETURN MPEG SET-UP AUDIO CONTROLS 1.DRC 2.DOLBY DIGITAL 3.MPEG 4.DOWN SAMPLING OFF ON ON AUTO SELECT: / SET: OK EXIT: SETUP CANCEL: RETURN DOWN SAMPLING SET-UP AUDIO CONTROLS DOWN SAMPLING 1.AUTO 2.48kHz 3.96kHz SELECT: / SET: OK EXIT: SETUP CANCEL: RETURN 5 Press SETUP to remove the menu. 54 1 3 2 MARKER POWER SETUP AUDIO SUBTITLE ANGLE REC/OTR TITLE REPEAT CHANNEL/SKIP CLEAR MODE REPEAT A-B RETURN OUTPUT SELECT DVD VCR DISC MENU OK STOP PLAY REW FF PAUSE TIMER SET 1 23 VCR/TV 4 56 MEMORY 7 89 +10 0 SPEED SEARCH MODE DISPLAY ZOOM SLOW TIME SEARCH STATUS/EXIT Helpful Hints • Setting DOWN SAMPLING to 96kHz activates copyright protection and mutes the sound. Selecting AUTO sets downsampling to 48kHz. • MPEG represents the Motion Picture Experts Group.
-
 1
1 -
2
-
3
-
4
-
5
-
6
-
7
-
8
-
9
-
10
-
11
-
12
-
13
-
14
-
15
-
16
-
17
-
18
-
19
-
20
-
21
-
22
-
23
-
24
-
25
-
26
-
27
-
28
-
29
-
30
-
31
-
32
-
33
-
34
-
35
-
36
-
37
-
38
-
39
-
40
-
41
-
42
-
43
-
44
-
45
-
46
-
47
-
48
-
49
-
50
-
51
-
52
-
53
-
54
-
55
-
56
-
57
-
58
-
59
-
60
-
61
-
62
-
63
-
64
-
 65
65 -
 66
66 -
 67
67 -
 68
68 -
 69
69 -
 70
70 -
 71
71 -
 72
72 -
 73
73 -
 74
74 -
 75
75 -
76
-
77
-
78
-
79
-
80
 |
 |