TP-Link TL-R600VPN TL-R600VPN V1 User Guide - Page 46
Target
 |
View all TP-Link TL-R600VPN manuals
Add to My Manuals
Save this manual to your list of manuals |
Page 46 highlights
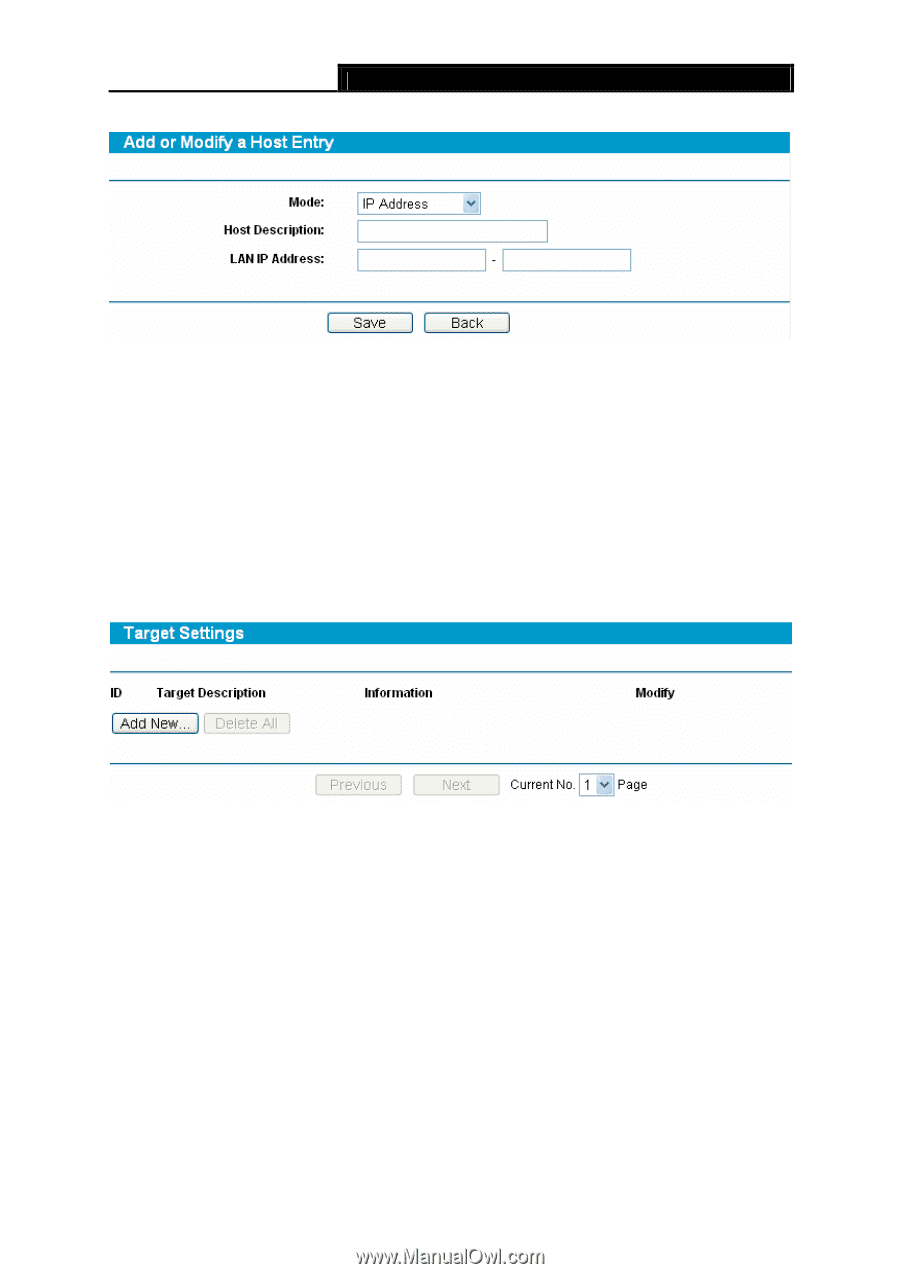
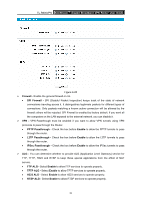
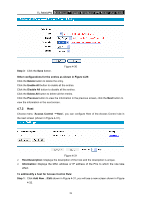
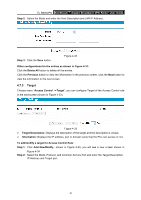
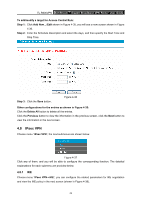
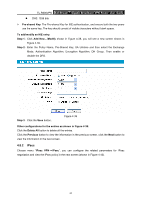
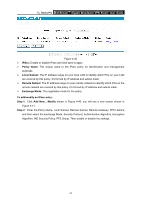
TL-R600VPN SafeStreamTM Gigabit Broadband VPN Router User Guide Step 2: Select the Mode and enter the Host Description and LAN IP Address. Step 3: Click the Save button. Figure 4-32 Other configurations for the entries as shown in Figure 4-31: Click the Delete All button to delete all the entries. Click the Previous button to view the information in the previous screen, click the Next button to view the information in the next screen. 4.7.3 Target Choose menu "Access Control →Target", you can configure Target of the Access Control rule in the next screen (shown in Figure 4-33). Figure 4-33 ¾ Target Description: Displays the description of the target and the description is unique. ¾ Information: Displays the IP address, port or domain name that the PCs can access or not. To add/modify a target for Access Control Rule: Step 1: Click Add New/Modify...shown in Figure 4-33, you will see a new screen shown in Figure 4-34 Step 2: Select the Mode, Protocol, and Common Service Port and enter the Target Description, IP Address and Target port. 40
-
 1
1 -
2
-
3
-
4
-
5
-
6
-
7
-
8
-
9
-
10
-
11
-
12
-
13
-
14
-
15
-
16
-
17
-
18
-
19
-
20
-
21
-
22
-
23
-
24
-
25
-
26
-
27
-
28
-
29
-
30
-
31
-
32
-
33
-
34
-
35
-
36
-
37
-
38
-
39
-
40
-
 41
41 -
 42
42 -
 43
43 -
 44
44 -
 45
45 -
 46
46 -
 47
47 -
 48
48 -
 49
49 -
 50
50 -
 51
51 -
52
-
53
-
54
-
55
-
56
-
57
-
58
-
59
-
60
-
61
-
62
-
63
-
64
-
65
-
66
-
67
-
68
-
69
-
70
-
71
-
72
-
73
-
74
-
75
-
76
-
77
-
78
-
79
-
80
-
81
-
82
 |
 |