TP-Link TL-R600VPN TL-R600VPN V1 User Guide - Page 70
Backup and Restore
 |
View all TP-Link TL-R600VPN manuals
Add to My Manuals
Save this manual to your list of manuals |
Page 70 highlights
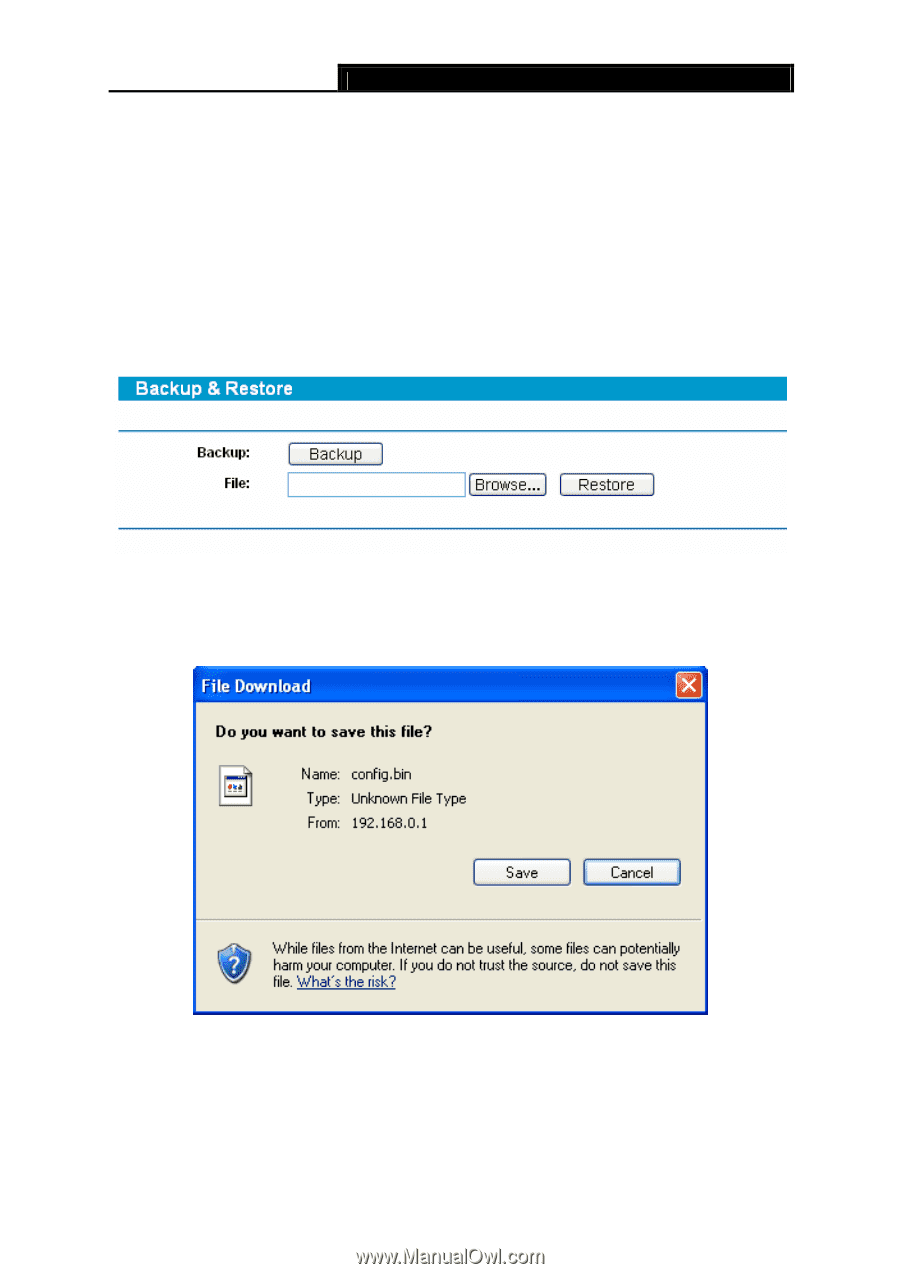
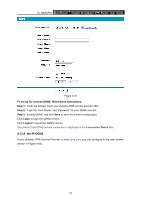
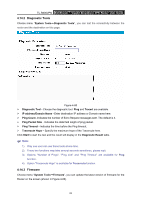
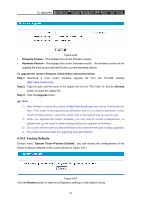
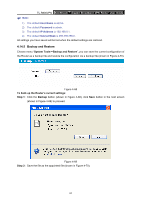
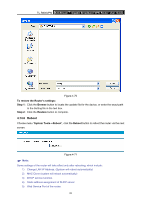
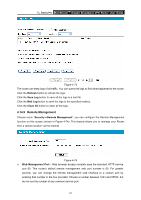
TL-R600VPN SafeStreamTM Gigabit Broadband VPN Router User Guide ) Note: 1) The default User Name is admin. 2) The default Password is admin. 3) The default IP Address is 192.168.0.1. 4) The default Subnet Mask is 255.255.255.0. All settings you have saved will be lost when the default settings are restored. 4.14.5 Backup and Restore Choose menu "System Tools→Backup and Restore", you can save the current configuration of the Router as a backup file and restore the configuration via a backup file (shown in Figure 4-70). Figure 4-68 To back up the Router's current settings: Step 1: Click the Backup button (shown in Figure 4-68), click Save button in the next screen (shown in Figure 4-69) to proceed. Figure 4-69 Step 2: Save the file as the appointed file (shown in Figure 4-70). 64
-
 1
1 -
2
-
3
-
4
-
5
-
6
-
7
-
8
-
9
-
10
-
11
-
12
-
13
-
14
-
15
-
16
-
17
-
18
-
19
-
20
-
21
-
22
-
23
-
24
-
25
-
26
-
27
-
28
-
29
-
30
-
31
-
32
-
33
-
34
-
35
-
36
-
37
-
38
-
39
-
40
-
41
-
42
-
43
-
44
-
45
-
46
-
47
-
48
-
49
-
50
-
51
-
52
-
53
-
54
-
55
-
56
-
57
-
58
-
59
-
60
-
61
-
62
-
63
-
64
-
 65
65 -
 66
66 -
 67
67 -
 68
68 -
 69
69 -
 70
70 -
 71
71 -
 72
72 -
 73
73 -
 74
74 -
 75
75 -
76
-
77
-
78
-
79
-
80
-
81
-
82
 |
 |