Yamaha EL-87 Owner's Manual - Page 55
To use the Fill In patterns
 |
View all Yamaha EL-87 manuals
Add to My Manuals
Save this manual to your list of manuals |
Page 55 highlights
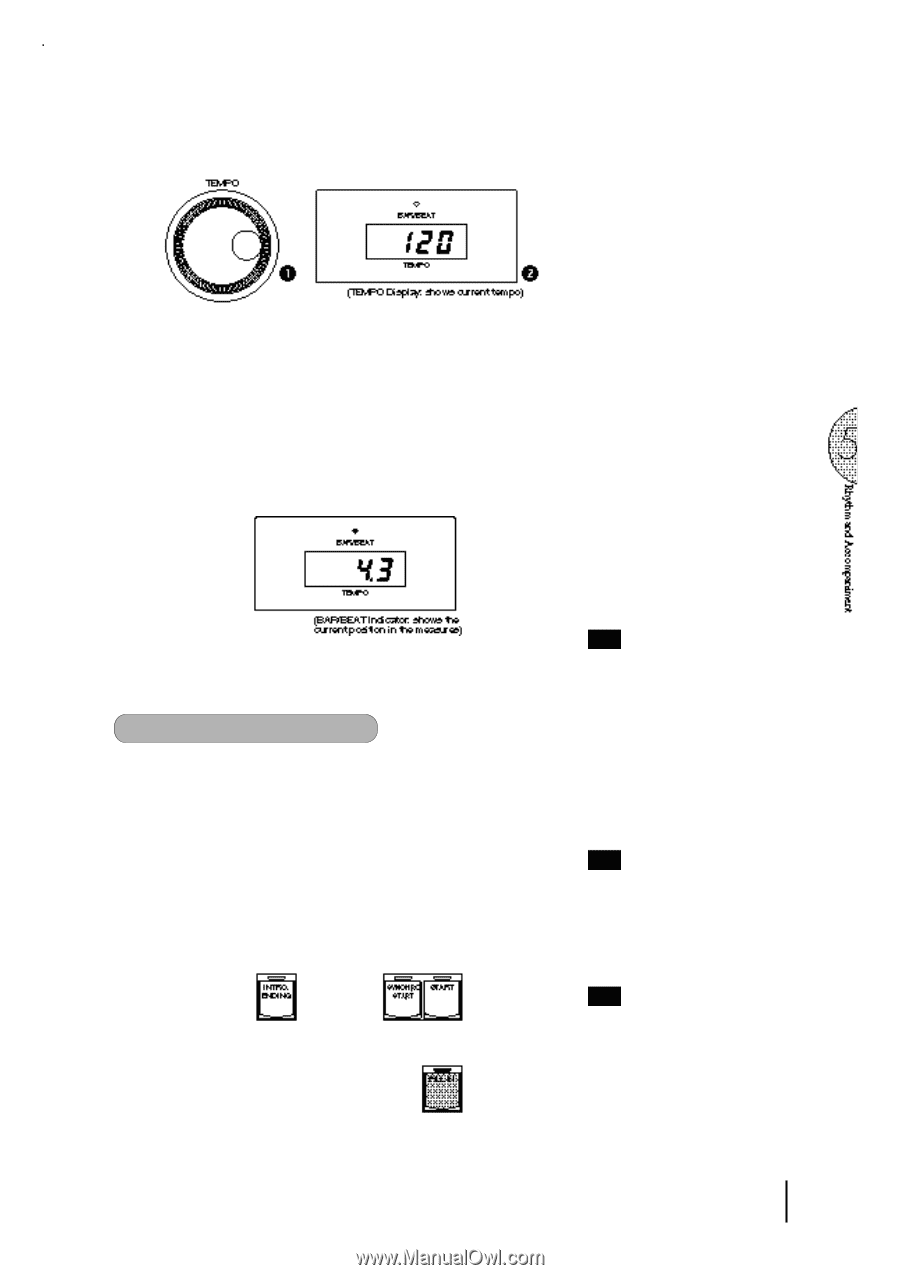
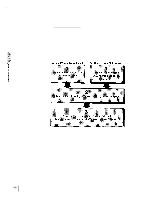
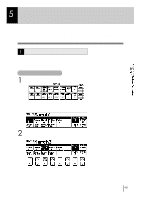
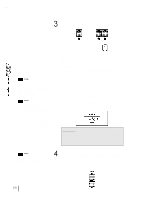
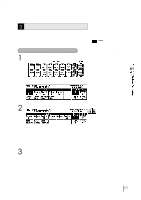
5 Set the tempo. 1 TEMPO Dial For adjusting the speed of the rhythm. Turn the dial clockwise to increase the tempo, and counter-clock wise to decrease it. 2 TEMPO Display (BAR/BEAT Indicator) Shows the current tempo. (Displayed values are given in beats per minute, just as on a conventional metronome.) The tempo range is 40 to 240 beats per minute. When the rhythm begins playing, the TEMPO display changes function to a Bar/Beat indicator. The number on the left indicates the current bar or measure and the one on the right indicates the number of the beat in each bar. The beat indicator lamp above the display also indicates the beats. (2) To use the Fill In patterns: Fill In patterns are designed to be used as temporary and regular rhythmic breaks to spice up a repeating rhythm. Like the regular rhythms, all Fill In patterns have been designed to perfectly match the bass and chord parts of the Automatic Accompaniment feature. 1 Select and play a rhythm. 2 As you play the Electone along with the rhythm, occasionally press the FILL IN button. For best results, press the FILL IN button just at the beginning or the first beat of a measure. NOTE: When you turn the TEMPO Dial even while the rhythm is playing, the display momentarily changes to show the current tempo. NOTE: USING A FILL IN FOR THE START OF A SONG: Fill In patterns can also be used as introductions; simply press the FILL IN button before starting the rhythm with the START or SYNCHRO START buttons. NOTE: PLAYING PARTIAL FILL IN PATTERNS: You can also start Fill In patterns within a bar, in order to play only the final one or two beats of the Fill In pattern and create additional rhythmic interest. Since the Fill In feature is very sensitive to bar/ beat boundaries, you should be very careful to "play" the FILL IN button precisely on (or just slightly before) the beat that you want the Fill In pattern to begin. 51
-
 1
1 -
2
-
3
-
4
-
5
-
6
-
7
-
8
-
9
-
10
-
11
-
12
-
13
-
14
-
15
-
16
-
17
-
18
-
19
-
20
-
21
-
22
-
23
-
24
-
25
-
26
-
27
-
28
-
29
-
30
-
31
-
32
-
33
-
34
-
35
-
36
-
37
-
38
-
39
-
40
-
41
-
42
-
43
-
44
-
45
-
46
-
47
-
48
-
49
-
 50
50 -
 51
51 -
 52
52 -
 53
53 -
 54
54 -
 55
55 -
 56
56 -
 57
57 -
 58
58 -
 59
59 -
 60
60 -
61
-
62
-
63
-
64
-
65
-
66
-
67
-
68
-
69
-
70
-
71
-
72
-
73
-
74
-
75
-
76
-
77
-
78
-
79
-
80
-
81
-
82
-
83
-
84
-
85
-
86
-
87
-
88
-
89
-
90
-
91
-
92
-
93
-
94
-
95
-
96
-
97
-
98
-
99
-
100
-
101
-
102
-
103
-
104
-
105
-
106
-
107
-
108
-
109
-
110
-
111
-
112
-
113
-
114
-
115
-
116
-
117
-
118
-
119
-
120
-
121
-
122
-
123
-
124
-
125
-
126
-
127
-
128
-
129
-
130
-
131
-
132
-
133
-
134
-
135
-
136
-
137
-
138
-
139
-
140
-
141
-
142
-
143
-
144
-
145
-
146
-
147
-
148
-
149
-
150
-
151
-
152
-
153
-
154
-
155
-
156
 |
 |