Yamaha EL-87 Owner's Manual - Page 87
Song Copy
 |
View all Yamaha EL-87 manuals
Add to My Manuals
Save this manual to your list of manuals |
Page 87 highlights
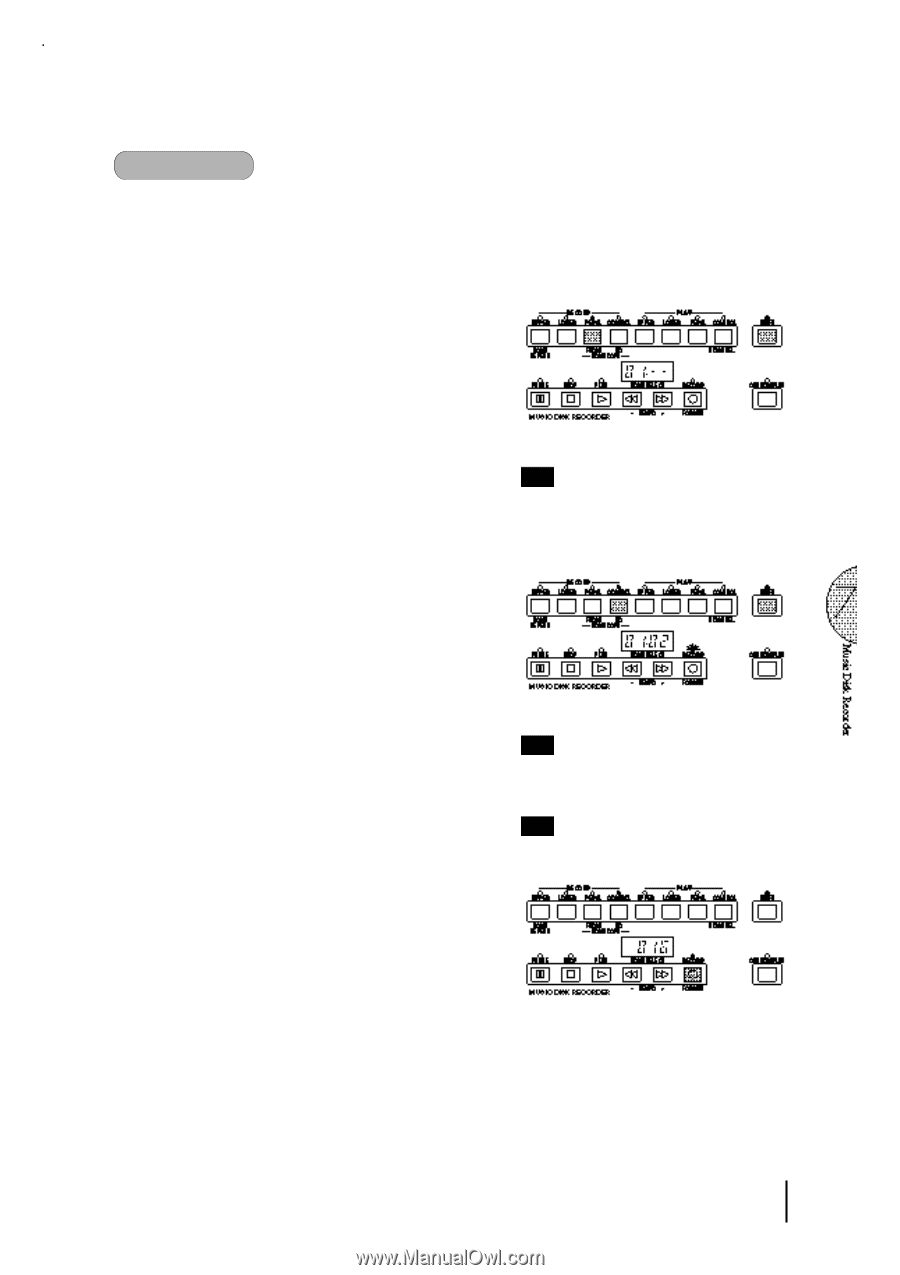
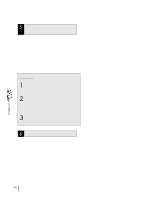
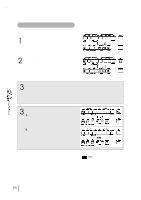
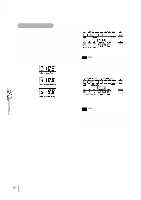
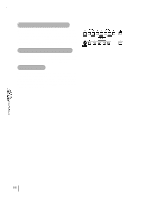
(5) Song Copy This function lets you copy the data recorded at one song number to another song number. To use the Song Copy function: 1 Select the song number to be copied with the SONG SELECT buttons. 2 While holding down the SHIFT button, press the SONG COPY FROM button. The song number to be copied from appears at the left of the LED display. NOTE: If the specified song number has no recorded data, the M.D.R. automatically searches for and selects the next song that contains recorded data. 3 While holding down the SHIFT button, press the SONG COPY TO button. The M.D.R. automatically searches for an empty song number to copy the data to, and displays that number at the right side of the display. The RECORD lamp will start flashing indicating that the M.D.R. is ready to copy. If all songs numbers contain recorded data, "FULL" appears on the LED display. In this case, you should erase one of the songs on the disk by using the Song Delete function (see below). 4 Use the SONG SELECT buttons to select a destination song number for copying. Follow this step if you wish to select a different destination song number than the one displayed. The M.D.R. will display only those song numbers that have no data. 5 Press the RECORD button to execute the Song Copy function. The RECORD lamp stops flashing and remains lit, indicating that the Song Copy function is in process. The LED display shows the "size" of the song in numbers, and counts down as the data is being copied. When the display shows "000", the song has been completely copied. NOTE: The message "FULL" may appear when the available memory is short. NOTE: If you want to abort the operation, press STOP button. 83
-
 1
1 -
2
-
3
-
4
-
5
-
6
-
7
-
8
-
9
-
10
-
11
-
12
-
13
-
14
-
15
-
16
-
17
-
18
-
19
-
20
-
21
-
22
-
23
-
24
-
25
-
26
-
27
-
28
-
29
-
30
-
31
-
32
-
33
-
34
-
35
-
36
-
37
-
38
-
39
-
40
-
41
-
42
-
43
-
44
-
45
-
46
-
47
-
48
-
49
-
50
-
51
-
52
-
53
-
54
-
55
-
56
-
57
-
58
-
59
-
60
-
61
-
62
-
63
-
64
-
65
-
66
-
67
-
68
-
69
-
70
-
71
-
72
-
73
-
74
-
75
-
76
-
77
-
78
-
79
-
80
-
81
-
 82
82 -
 83
83 -
 84
84 -
 85
85 -
 86
86 -
 87
87 -
 88
88 -
 89
89 -
 90
90 -
 91
91 -
 92
92 -
93
-
94
-
95
-
96
-
97
-
98
-
99
-
100
-
101
-
102
-
103
-
104
-
105
-
106
-
107
-
108
-
109
-
110
-
111
-
112
-
113
-
114
-
115
-
116
-
117
-
118
-
119
-
120
-
121
-
122
-
123
-
124
-
125
-
126
-
127
-
128
-
129
-
130
-
131
-
132
-
133
-
134
-
135
-
136
-
137
-
138
-
139
-
140
-
141
-
142
-
143
-
144
-
145
-
146
-
147
-
148
-
149
-
150
-
151
-
152
-
153
-
154
-
155
-
156
 |
 |