AIWA NSX-V70 Operating Instructions - Page 12
Before, Operation - remote
 |
View all AIWA NSX-V70 manuals
Add to My Manuals
Save this manual to your list of manuals |
Page 12 highlights
POWER .I I..
-
 1
1 -
2
-
3
-
4
-
5
-
6
-
 7
7 -
 8
8 -
 9
9 -
 10
10 -
 11
11 -
 12
12 -
 13
13 -
 14
14 -
 15
15 -
 16
16 -
 17
17 -
18
-
19
-
20
-
21
-
22
-
23
-
24
-
25
-
26
-
27
-
28
-
29
-
30
-
31
-
32
-
33
-
34
-
35
-
36
-
37
-
38
-
39
-
40
-
41
-
42
-
43
-
44
-
45
-
46
-
47
-
48
-
49
-
50
-
51
-
52
-
53
-
54
-
55
-
56
-
57
-
58
-
59
-
60
-
61
-
62
-
63
-
64
-
65
-
66
-
67
-
68
 |
 |
POWER
I
I
$
._— _ —..
—.
———
——..
—<
.
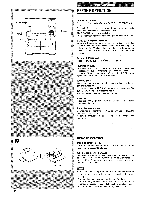
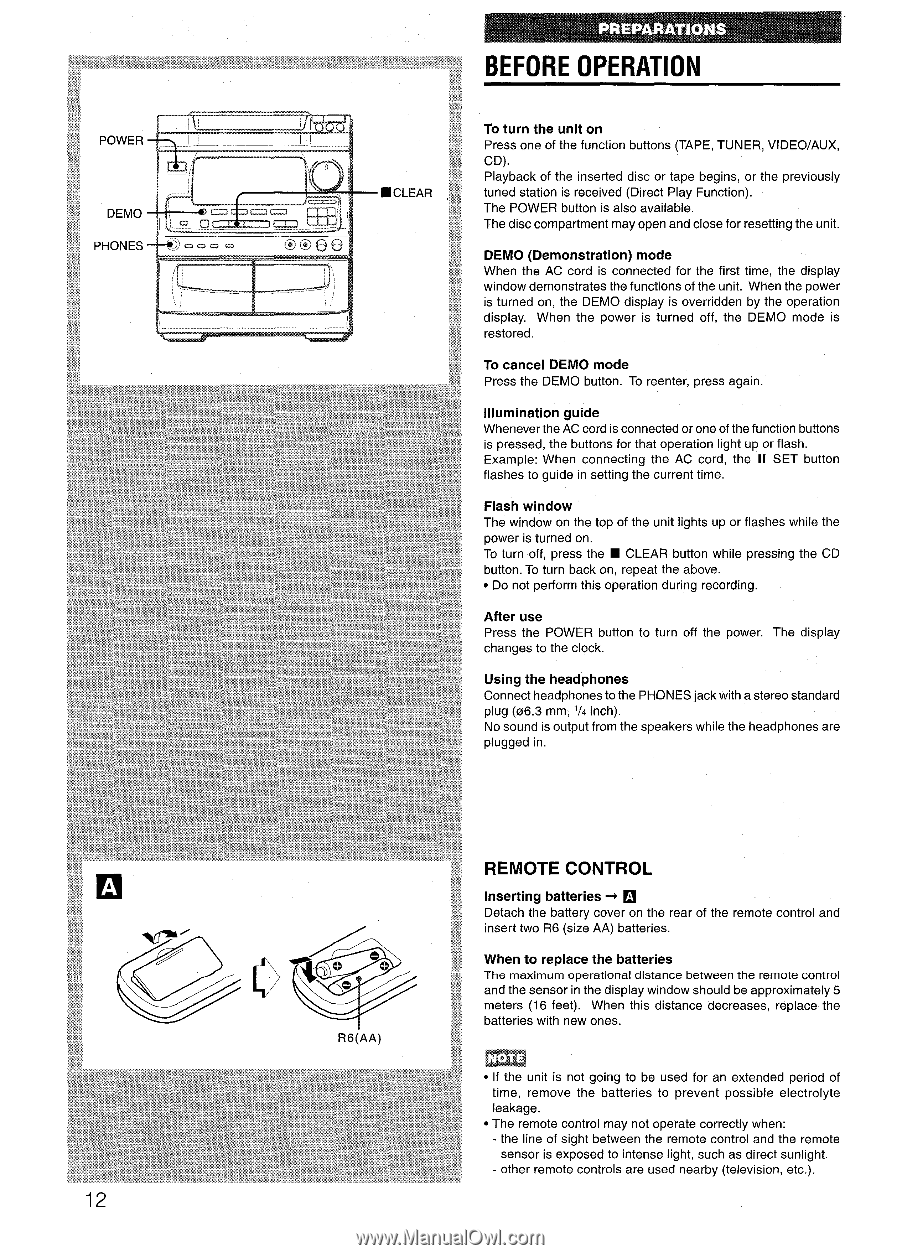
R6(AA)
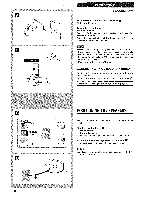
BEFORE
OPERATION
To
turn the unit on
Press
one of the function
buttons
(TAPE,
TUNER,
VIDEO/AUX,
CD).
Playback
of the
inserted
disc
or tape
begins,
or the
previously
tuned
station
is received
(Direct
Play
Function).
The
POWER
button
is also
available.
The disc compartment
may open and close
for resetting
the unit.
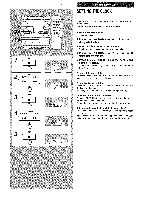
DEMO
(Demonstration)
mode
When
the
AC
cord
is connected
for the
first
time,
the
display
window
demonstrates
the functions
of the unit.
When
the power
is turned
on, the
DEMO
display
is overridden
by the
operation
display.
When
the
power
is turned
off,
the
DEMO
mode
is
restored.
To cancel
DEMO
mode
Press
the
DEMO
button.
To reenter,
press
again.
Illumination
guide
Whenever
the AC cord is connected
or one of the function
buttons
is pressed,
the buttons
for that
operation
light
up or flash.
Example:
When
connecting
the
AC
cord,
the
II
SET
button
flashes
to guide
in setting
the current
time.
Flash window
The
window
on the top of the
unit lights
up or flashes
while
the
power
is turned
on.
To turn
off,
press
the
CLEAR
button
while
pressing
the
CD
button.
To turn
back
on,
repeat
the above.
Do not perform
this operation
during
recording.
After use
Press
the
POWER
button
to
turn
off
the
power.
The
display
changes
to the clock.
Using the headphones
Connect
headphones
to the PHONES
jack with a stereo
standard
plug
(06.3
mm,
1/4
inch).
No sound
is output
from the speakers
while
the headphones
are
plugged
in,
REMOTE
CONTROL
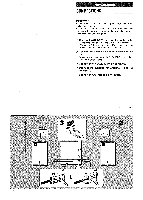
Inserting
batteries
+
Detach
the
battery
cover
on the
rear of the
remote
control
and
insert
two
R6 (size
AA) batteries.
When to replace
the batteries
The maximum
operational
distance
between
the remote
control
and the sensor
in the display
window
should
be approximately
5
meters
(16 feet).
When
this
distance
decreases,
replace
the
batteries
with
new ones.
If the
unit
is not going
to be used
for
an extended
period
of
time,
remove
the
batteries
to
prevent
possible
electrolyte
leakage.
The
remote
control
may
not operate
correctly
when:
- the
line of sight
between
the
remote
control
and the
remote
sensor
is exposed
to intense
light,
such
as direct
sunlight.
- other
remote
controls
are used
nearby
(television,
etc.).
12