Brother International IntelliFax-1920CN Users Manual - English - Page 186
Replacing the ink cartridges
 |
View all Brother International IntelliFax-1920CN manuals
Add to My Manuals
Save this manual to your list of manuals |
Page 186 highlights
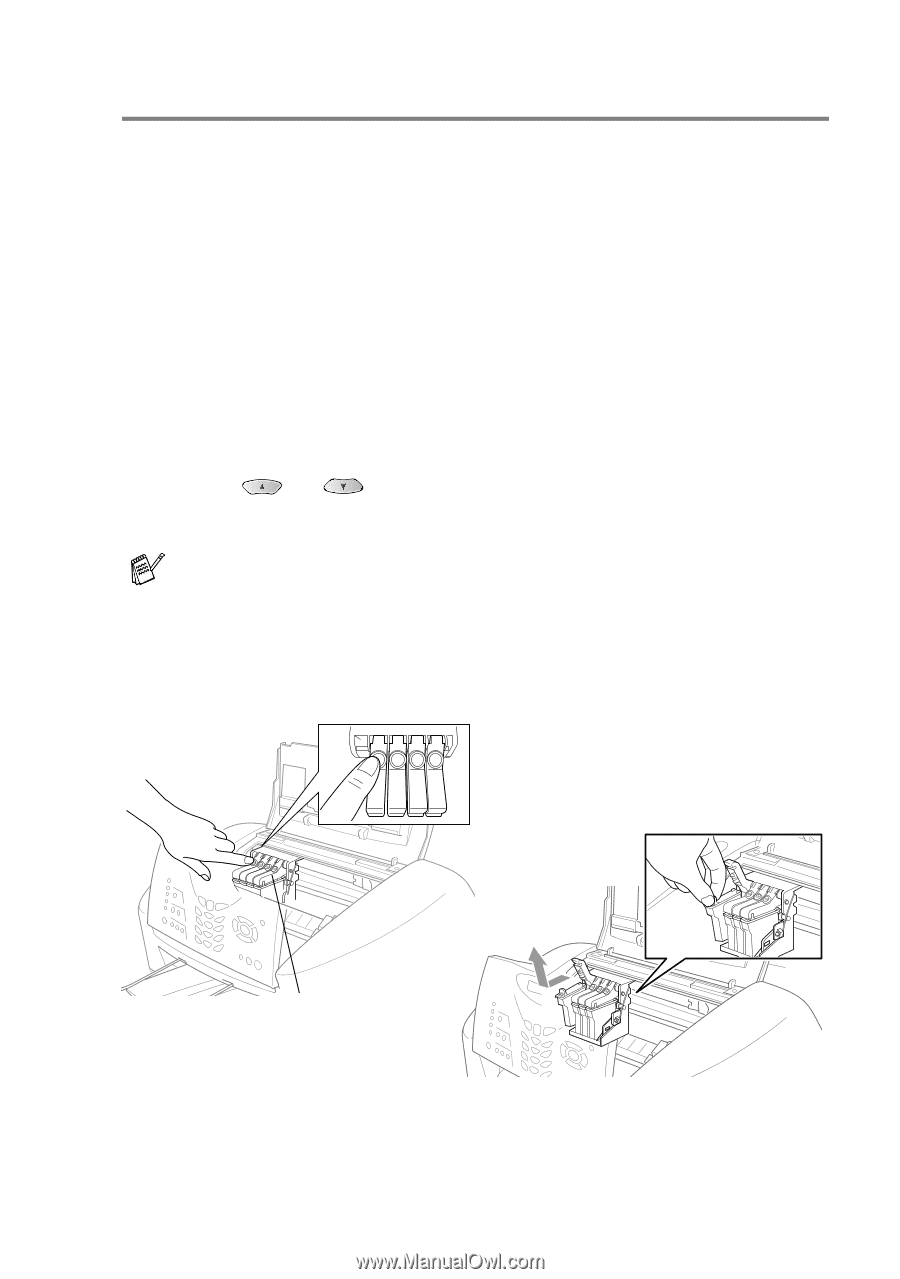
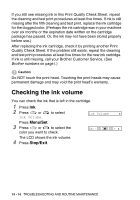
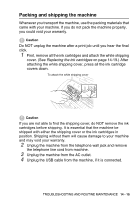
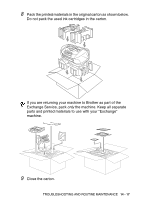
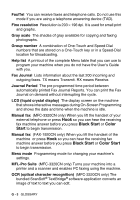
Replacing the ink cartridges Your machine is equipped with an ink dot counter that automatically monitors the ink level in each color cartridge. When the counter detects an ink cartridge is running out of ink, the machine will notify you with a message on the LCD. The LCD shows you which color cartridges are low or empty. Be sure to follow the LCD prompts so you replace the color cartridges in the appropriate order. When the ink cartridges are running low, you must use the Ink key to begin the cartridge replacement (Steps 1 to 3). If the ink is empty, skip to Step 3. 1 Press Ink. 2 Press or to select Replace Ink. Press Menu/Set. If one or more ink cartridges are empty, for example Black, the LCD shows Pls Open Cover. 3 Open the control panel cover, and then lift the top cover. 4 Push the appropriate colored ink cartridge covers and remove the used ink cartridge. PUSH PUSH PUSH PUSH Ink Cartridge Covers 5 Open the new ink cartridge bag for the color shown on the LCD, and then take out the ink cartridge. TROUBLESHOOTING AND ROUTINE MAINTENANCE 14 - 19
-
 1
1 -
2
-
3
-
4
-
5
-
6
-
7
-
8
-
9
-
10
-
11
-
12
-
13
-
14
-
15
-
16
-
17
-
18
-
19
-
20
-
21
-
22
-
23
-
24
-
25
-
26
-
27
-
28
-
29
-
30
-
31
-
32
-
33
-
34
-
35
-
36
-
37
-
38
-
39
-
40
-
41
-
42
-
43
-
44
-
45
-
46
-
47
-
48
-
49
-
50
-
51
-
52
-
53
-
54
-
55
-
56
-
57
-
58
-
59
-
60
-
61
-
62
-
63
-
64
-
65
-
66
-
67
-
68
-
69
-
70
-
71
-
72
-
73
-
74
-
75
-
76
-
77
-
78
-
79
-
80
-
81
-
82
-
83
-
84
-
85
-
86
-
87
-
88
-
89
-
90
-
91
-
92
-
93
-
94
-
95
-
96
-
97
-
98
-
99
-
100
-
101
-
102
-
103
-
104
-
105
-
106
-
107
-
108
-
109
-
110
-
111
-
112
-
113
-
114
-
115
-
116
-
117
-
118
-
119
-
120
-
121
-
122
-
123
-
124
-
125
-
126
-
127
-
128
-
129
-
130
-
131
-
132
-
133
-
134
-
135
-
136
-
137
-
138
-
139
-
140
-
141
-
142
-
143
-
144
-
145
-
146
-
147
-
148
-
149
-
150
-
151
-
152
-
153
-
154
-
155
-
156
-
157
-
158
-
159
-
160
-
161
-
162
-
163
-
164
-
165
-
166
-
167
-
168
-
169
-
170
-
171
-
172
-
173
-
174
-
175
-
176
-
177
-
178
-
179
-
180
-
 181
181 -
 182
182 -
 183
183 -
 184
184 -
 185
185 -
 186
186 -
 187
187 -
 188
188 -
 189
189 -
 190
190 -
 191
191 -
192
-
193
-
194
-
195
-
196
-
197
-
198
-
199
-
200
-
201
-
202
-
203
-
204
-
205
-
206
-
207
-
208
-
209
-
210
-
211
-
212
-
213
-
214
 |
 |