Canon DC40 DC40 Instruction Manual - Page 59
Using the Self Timer
 |
UPC - 013803041606
View all Canon DC40 manuals
Add to My Manuals
Save this manual to your list of manuals |
Page 59 highlights
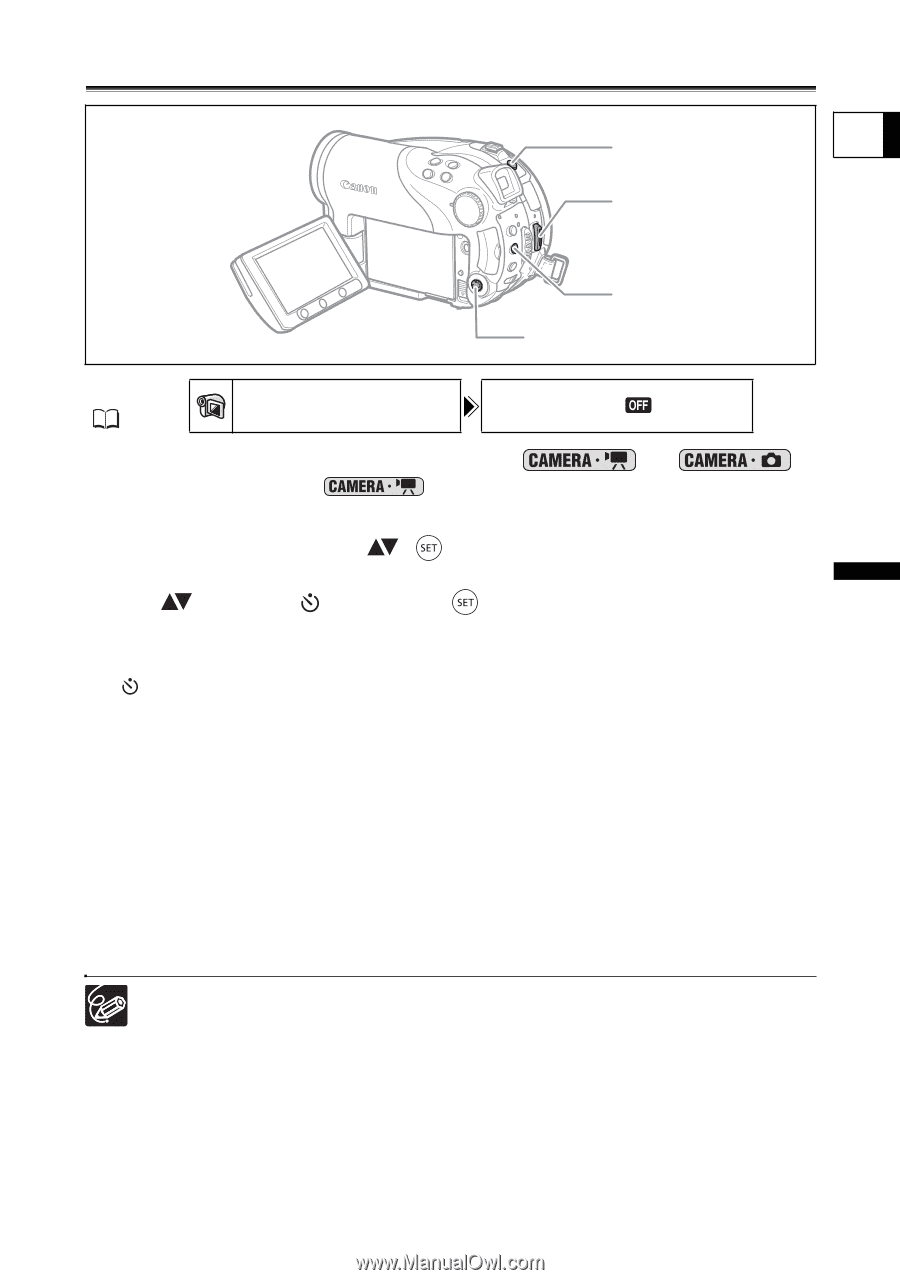
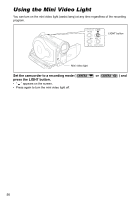
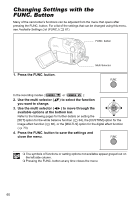
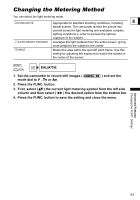
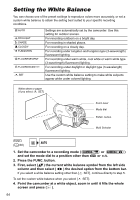
Using the Self Timer PHOTO button E Start/stop button MENU button Multi Selector MENU ( 79) CAMERA SETUP SELF TIMER OFF 1. Set the camcorder to a recording mode ( or ). When recording movies ( ) set the camcorder to record pause. 2. Press the MENU button. 3. Using the multi selector ( , ) select the [CAMERA SETUP] menu and then select the [SELF TIMER] option. 4. Set ( ) it to [ON ] and press ( ) to save the setting. To cancel the self timer, set it to [OFF]. 5. Press the MENU button to close the menu. " " appears. When recording a movie: 6. Press the start/stop button. The camcorder starts recording after a 10-second countdown (2 seconds when using the wireless controller). The countdown appears on the screen. When recording a still image: 6. Press the PHOTO button, first halfway to activate the autofocus and then fully to record the still image. The camcorder will record the still image after a 10-second countdown (2 seconds when using the wireless controller). The countdown appears on the screen. Once the countdown has begun, you can also press the start/stop button (when recording movies) or the PHOTO button (when recording still images) to cancel the self timer. The self timer will be canceled if you turn off the camcorder. Advanced Features More Recording Options 59
-
 1
1 -
2
-
3
-
4
-
5
-
6
-
7
-
8
-
9
-
10
-
11
-
12
-
13
-
14
-
15
-
16
-
17
-
18
-
19
-
20
-
21
-
22
-
23
-
24
-
25
-
26
-
27
-
28
-
29
-
30
-
31
-
32
-
33
-
34
-
35
-
36
-
37
-
38
-
39
-
40
-
41
-
42
-
43
-
44
-
45
-
46
-
47
-
48
-
49
-
50
-
51
-
52
-
53
-
 54
54 -
 55
55 -
 56
56 -
 57
57 -
 58
58 -
 59
59 -
 60
60 -
 61
61 -
 62
62 -
 63
63 -
 64
64 -
65
-
66
-
67
-
68
-
69
-
70
-
71
-
72
-
73
-
74
-
75
-
76
-
77
-
78
-
79
-
80
-
81
-
82
-
83
-
84
-
85
-
86
-
87
-
88
-
89
-
90
-
91
-
92
-
93
-
94
-
95
-
96
-
97
-
98
-
99
-
100
-
101
-
102
-
103
-
104
-
105
-
106
-
107
-
108
-
109
-
110
-
111
-
112
-
113
-
114
-
115
-
116
-
117
-
118
-
119
-
120
-
121
-
122
-
123
-
124
-
125
-
126
-
127
-
128
-
129
-
130
-
131
-
132
-
133
-
134
-
135
-
136
-
137
-
138
-
139
-
140
-
141
-
142
-
143
-
144
 |
 |