Epson MX-82 F/T User Manual - Page 29
Separator Installation, Ribbon, Incorrect
 |
View all Epson MX-82 F/T manuals
Add to My Manuals
Save this manual to your list of manuals |
Page 29 highlights
NOTES: 1. Incorrect setting of the ribbon may cause it to come off. (See Fig. 26) 2. Confirm that the ribbon is neither twisted nor creased and that the cartridge is set properly. .-Ribbon IRibbon Mask Incorrect Incorrect Correct Fig. 26 Examples of Correct and Incorrect Ribbon Setting 5. Separator Installation The separator of the Printer contributes to smooth paper feeding. Set the separator by inserting its edge into the two holes located at the rear part of the frame of the printer mechanism. (See fig. 27) -"-Separator Fig. 27 Separator Installation -23-
-
 1
1 -
2
-
3
-
4
-
5
-
6
-
7
-
8
-
9
-
10
-
11
-
12
-
13
-
14
-
15
-
16
-
17
-
18
-
19
-
20
-
21
-
22
-
23
-
 24
24 -
 25
25 -
 26
26 -
 27
27 -
 28
28 -
 29
29 -
 30
30 -
 31
31 -
 32
32 -
 33
33 -
 34
34 -
35
-
36
-
37
-
38
-
39
-
40
-
41
-
42
-
43
-
44
-
45
-
46
-
47
-
48
-
49
-
50
-
51
-
52
-
53
-
54
-
55
-
56
-
57
-
58
-
59
-
60
-
61
-
62
-
63
-
64
-
65
-
66
-
67
-
68
-
69
-
70
-
71
-
72
-
73
-
74
-
75
-
76
-
77
-
78
-
79
-
80
-
81
-
82
-
83
-
84
-
85
-
86
-
87
-
88
-
89
-
90
-
91
-
92
-
93
-
94
-
95
-
96
-
97
-
98
-
99
-
100
-
101
-
102
-
103
 |
 |
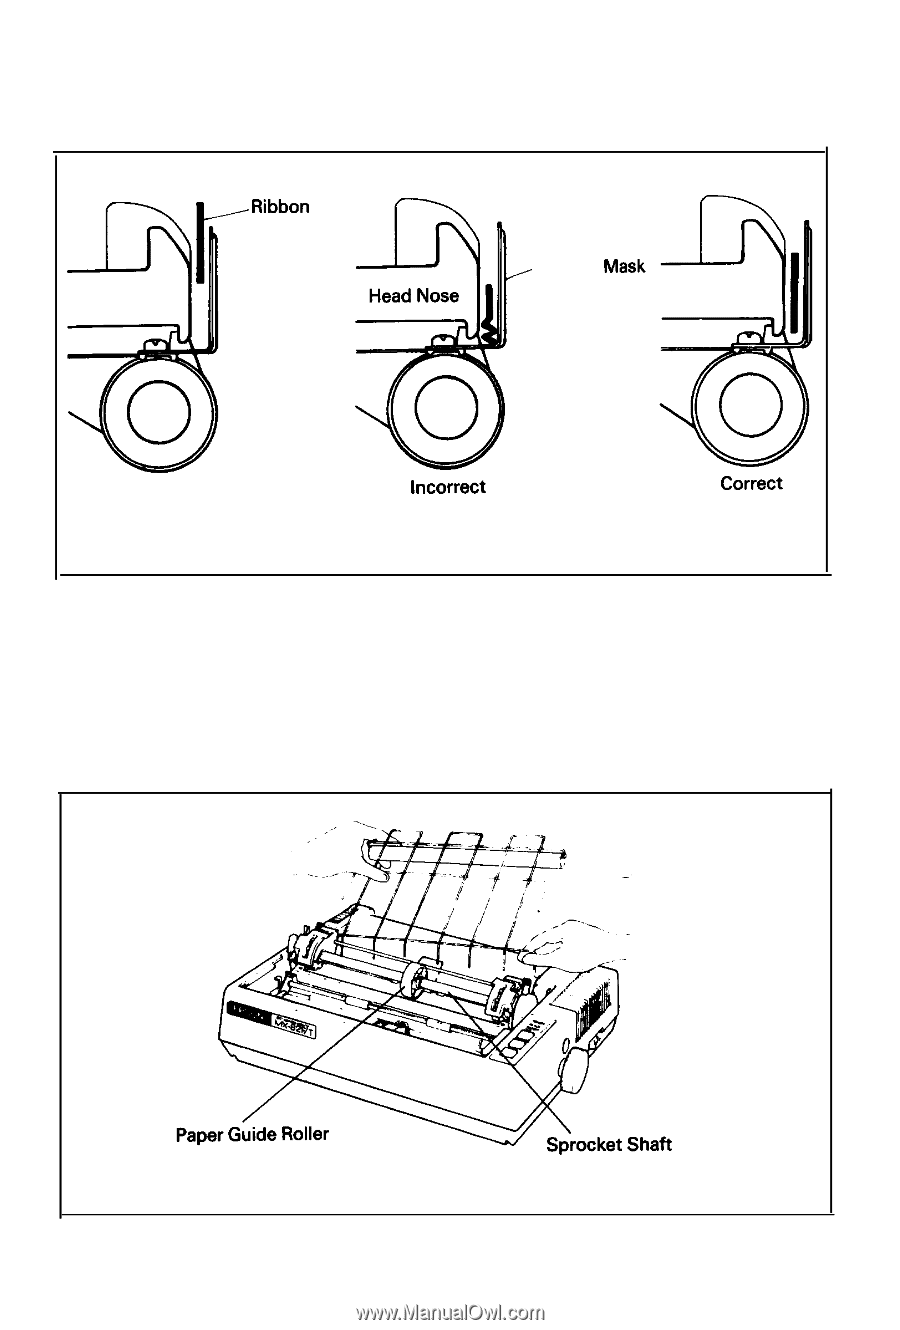
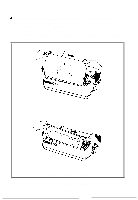
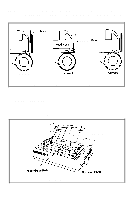
NOTES:
1. Incorrect setting of the ribbon may cause it to come off. (See Fig. 26)
2. Confirm that the ribbon is neither twisted nor creased and that the car-
tridge is set properly.
Incorrect
.-Ribbon
Incorrect
Ribbon
Mask
I
Correct
Fig. 26 Examples of Correct and Incorrect Ribbon Setting
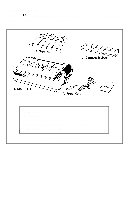
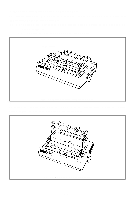
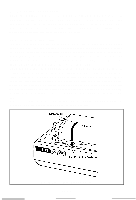
5. Separator Installation
The separator of the Printer contributes to smooth paper feeding. Set the separator
by inserting its edge into the two holes located at the rear part of the frame of the
printer mechanism. (See fig. 27)
-“-Separator
Fig. 27 Separator Installation
-23-