Epson MX-82 F/T User Manual - Page 46
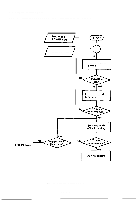
Self-Test, Operation of the printer mechanisms motor, cartridge ribbon mechanism, belt
 |
View all Epson MX-82 F/T manuals
Add to My Manuals
Save this manual to your list of manuals |
Page 46 highlights
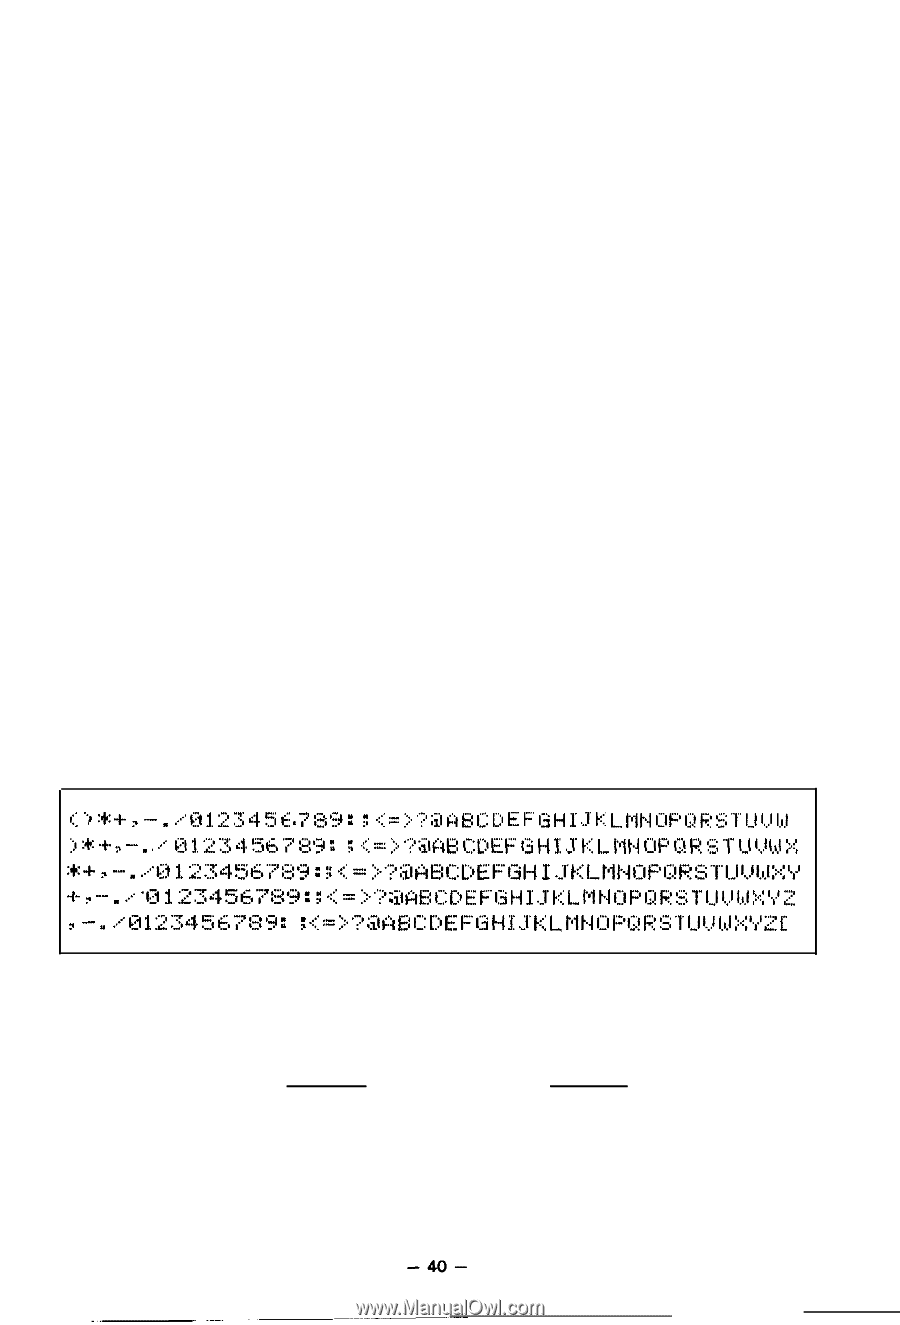
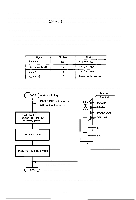
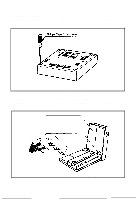
(2) When the Printer falls into paper-out status, it is automatically put in the OFF-line state and paper advancement can be performed by depressing the LF switch. After setting new paper in the Printer, depress the ON-LINE switch so that the Printer may resume operation. (3) There is another way to start the Printer again when it falls into paperout status. Set new paper in the Printer, and turn the POWER switch off and on again, or apply the INIT signal. In this case, however, all previously established data such as TAB, line spacing, etc. are cancelled. (4) The paper end detecting function is useful to prevent erroneous printing when the Printer is out of paper, If printing of characters up to the last line is to be continued, the paper end detecting function may be made invalid by either of the following two methods. (a) Set the DIP switch pin 1-6 to the ON position, and the paper end detecting function will become invalid hardwarewise. (b) Enter control code "ESC 8" and the paper end detecting function will become invalid softwarewise. 4. Self-Test The MX-82, MX-82 F/T has a self-test (self-diagnostic) function to check the following. (1) Print head operation and printing quality. (2) Operation of the printer mechanisms (motor, cartridge ribbon mechanism, belt, etc.) The self-test function is pre-programmed and can be performed by turning the POWER switch on while depressing the LF switch. All characters provided by the internal software are printed out on the paper by this operation. I:'. I. :*:+ z - ' ./ $I$ 1 2 3 q, 5 ,i; , -,*' cp-0., P.'.f : ; .::I = ;:. '7 ;3 A B c: [':I F_' f" 13 H I J' 1::: L t.jjxl I-IF' I;:! 6: !s 'I" 1-I IJ I,J ;> :.+z Q 1, ';z 3
-
 1
1 -
2
-
3
-
4
-
5
-
6
-
7
-
8
-
9
-
10
-
11
-
12
-
13
-
14
-
15
-
16
-
17
-
18
-
19
-
20
-
21
-
22
-
23
-
24
-
25
-
26
-
27
-
28
-
29
-
30
-
31
-
32
-
33
-
34
-
35
-
36
-
37
-
38
-
39
-
40
-
 41
41 -
 42
42 -
 43
43 -
 44
44 -
 45
45 -
 46
46 -
 47
47 -
 48
48 -
 49
49 -
 50
50 -
 51
51 -
52
-
53
-
54
-
55
-
56
-
57
-
58
-
59
-
60
-
61
-
62
-
63
-
64
-
65
-
66
-
67
-
68
-
69
-
70
-
71
-
72
-
73
-
74
-
75
-
76
-
77
-
78
-
79
-
80
-
81
-
82
-
83
-
84
-
85
-
86
-
87
-
88
-
89
-
90
-
91
-
92
-
93
-
94
-
95
-
96
-
97
-
98
-
99
-
100
-
101
-
102
-
103
 |
 |