Epson MX-82 F/T User Manual - Page 37
Fig. 39 Loading of Cut Paper Sheet, Fig. 40 Adjustment of Inserted Paper Position, Manual Paper
 |
View all Epson MX-82 F/T manuals
Add to My Manuals
Save this manual to your list of manuals |
Page 37 highlights
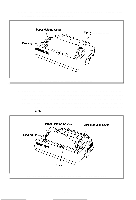
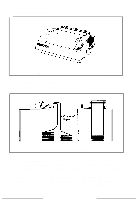
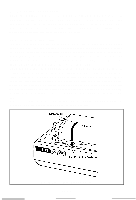
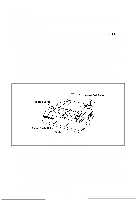
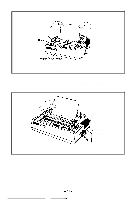
Release Lever Fig. 39 Loading of Cut Paper Sheet 6. Lock the release lever. 7. While turning the manual paper feed knob clockwise, confirm that the paper advances straight up. (See Fig. 40) Manual Paper Feed Knob Fig. 40 Adjustment of Inserted Paper Position If not, adjust the inserted paper position as follows: a) If the cut paper sheet or form is long enough, unlock the release lever and align the side edges of the paper as shown in Fig. 41.
-
 1
1 -
2
-
3
-
4
-
5
-
6
-
7
-
8
-
9
-
10
-
11
-
12
-
13
-
14
-
15
-
16
-
17
-
18
-
19
-
20
-
21
-
22
-
23
-
24
-
25
-
26
-
27
-
28
-
29
-
30
-
31
-
 32
32 -
 33
33 -
 34
34 -
 35
35 -
 36
36 -
 37
37 -
 38
38 -
 39
39 -
 40
40 -
 41
41 -
 42
42 -
43
-
44
-
45
-
46
-
47
-
48
-
49
-
50
-
51
-
52
-
53
-
54
-
55
-
56
-
57
-
58
-
59
-
60
-
61
-
62
-
63
-
64
-
65
-
66
-
67
-
68
-
69
-
70
-
71
-
72
-
73
-
74
-
75
-
76
-
77
-
78
-
79
-
80
-
81
-
82
-
83
-
84
-
85
-
86
-
87
-
88
-
89
-
90
-
91
-
92
-
93
-
94
-
95
-
96
-
97
-
98
-
99
-
100
-
101
-
102
-
103
 |
 |
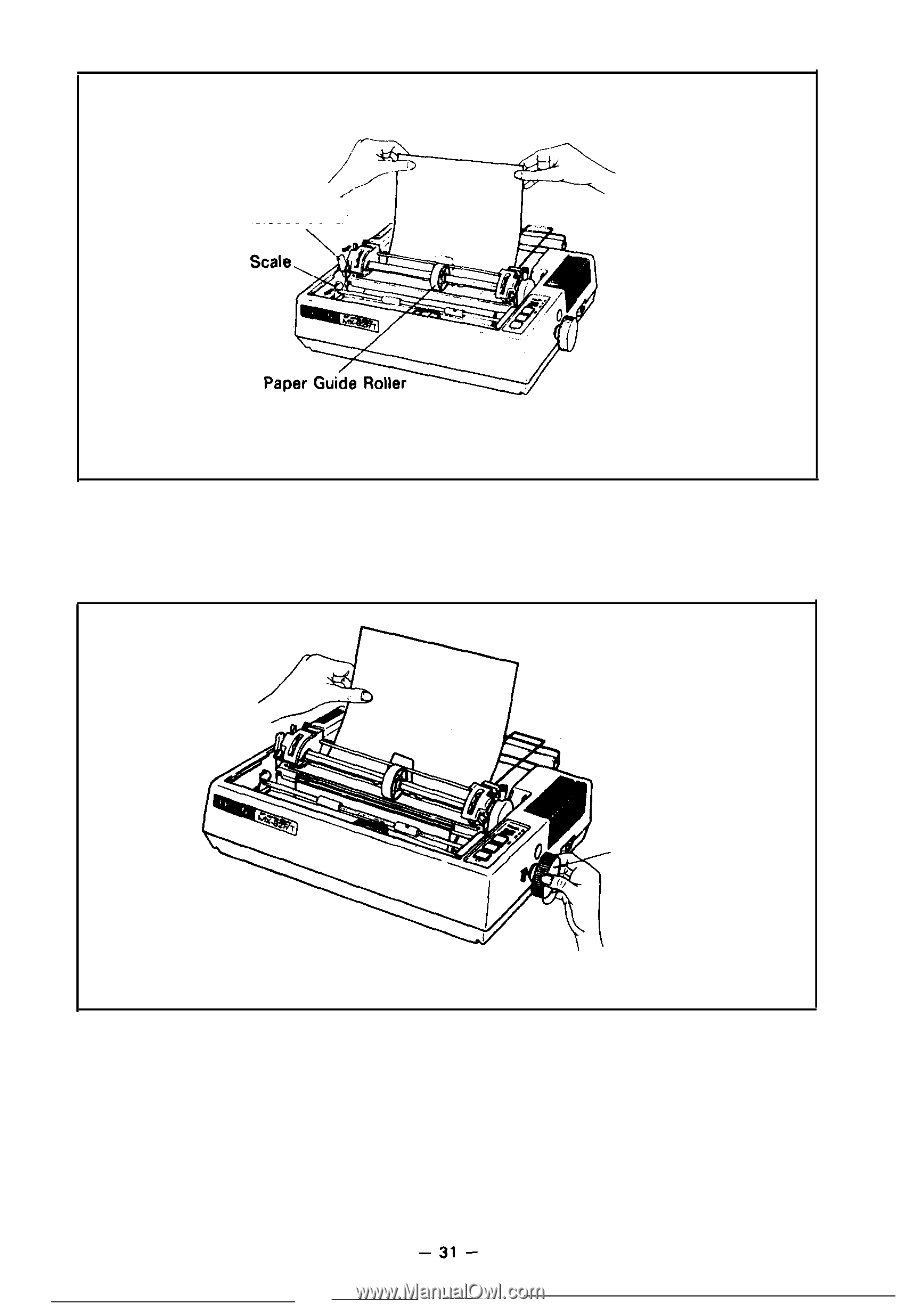
Release Lever
Fig. 39 Loading of Cut Paper Sheet
6. Lock the release lever.
7. While turning the manual paper feed knob clockwise, confirm that the paper
advances straight up. (See Fig. 40)
Manual Paper
Feed Knob
Fig. 40 Adjustment of Inserted Paper Position
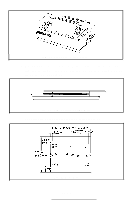
If not, adjust the inserted paper position as follows:
a) If the cut paper sheet or form is long enough, unlock the release lever
and align the side edges of the paper as shown in Fig. 41.