Garmin eTrex Legend CX Owner's Manual - Page 74
Welcome Setup, Proximity Waypoints, Calendar
 |
UPC - 753759049140
View all Garmin eTrex Legend CX manuals
Add to My Manuals
Save this manual to your list of manuals |
Page 74 highlights
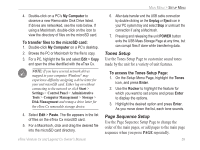
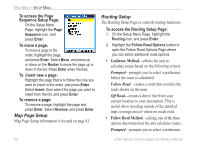
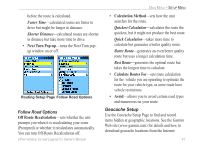
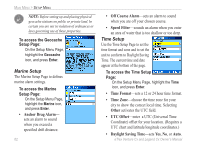
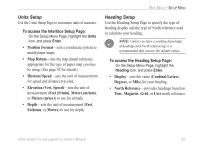
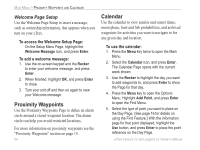
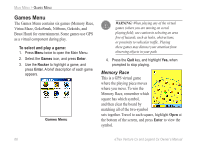
MAIN MENU > PROXIMITY WAYPOINTS AND CALENDAR Welcome Page Setup Use the Welcome Page Setup to insert a message, such as ownership information, that appears when you turn on your eTrex. To access the Welcome Setup Page: On the Setup Menu Page, highlight the Welcome Message icon, and press Enter. To add a welcome message: 1. Use the on-screen keypad and the Rocker to enter your welcome message, and press Enter. 2. When finished, highlight OK, and press Enter to close. 3. Turn your unit off and then on again to view your Welcome message. Proximity Waypoints Use the Proximity Waypoints Page to define an alarm circle around a stored waypoint location. The alarm circle can help you avoid restricted locations. For more information on proximity waypoints see the "Proximity Waypoints" section on page 15. 64 Calendar Use the calendar to view sunrise and sunset times, moon phase, hunt and fish probabilities, and archived waypoints for activities you want to navigate to for any given day and location. To use the calendar: 1. Press the Menu key twice to open the Main Menu. 2. Select the Calendar icon, and press Enter. The Calendar Page opens with the current week shown. 3. Use the Rocker to highlight the day you want to add waypoints to, and press Enter to show the Page for that day. 4. Press the Menu key to open the Options Menu. Highlight Add Point, and press Enter to open the Find Menu. 5. Select the type of point you want to place on the Day Page. (See page 16 for details on using the Find Feature.) With the information page for that point displayed, highlight the Use button, and press Enter to place the point reference on the Day Page. eTrex Venture Cx and Legend Cx Owner's Manual
-
 1
1 -
2
-
3
-
4
-
5
-
6
-
7
-
8
-
9
-
10
-
11
-
12
-
13
-
14
-
15
-
16
-
17
-
18
-
19
-
20
-
21
-
22
-
23
-
24
-
25
-
26
-
27
-
28
-
29
-
30
-
31
-
32
-
33
-
34
-
35
-
36
-
37
-
38
-
39
-
40
-
41
-
42
-
43
-
44
-
45
-
46
-
47
-
48
-
49
-
50
-
51
-
52
-
53
-
54
-
55
-
56
-
57
-
58
-
59
-
60
-
61
-
62
-
63
-
64
-
65
-
66
-
67
-
68
-
 69
69 -
 70
70 -
 71
71 -
 72
72 -
 73
73 -
 74
74 -
 75
75 -
 76
76 -
 77
77 -
 78
78 -
 79
79 -
80
-
81
-
82
-
83
-
84
-
85
-
86
-
87
-
88
-
89
-
90
-
91
-
92
-
93
-
94
-
95
-
96
 |
 |
