HP DesignJet T1530 User guide - Page 156
Return to default calibration, Horizontal lines across the image (banding)
 |
View all HP DesignJet T1530 manuals
Add to My Manuals
Save this manual to your list of manuals |
Page 156 highlights
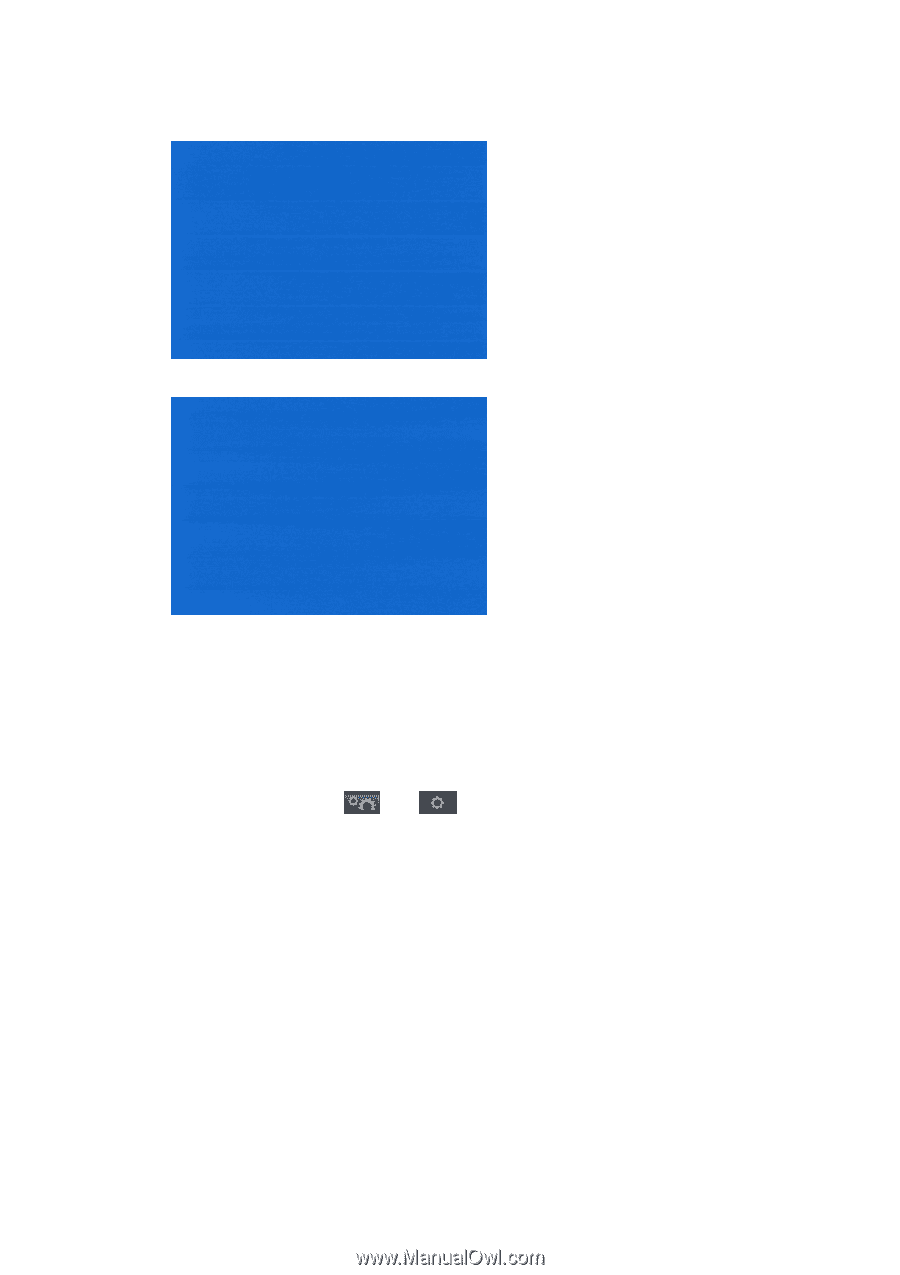
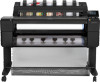
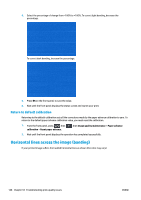
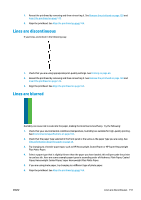
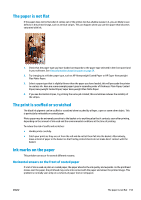
4. Select the percentage of change from -100% to +100%. To correct light banding, decrease the percentage. To correct dark banding, increase the percentage. 5. Press OK on the front panel, to save the value. 6. Wait until the front panel displays the status screen and reprint your print. Return to default calibration Returning to the default calibration sets all the corrections made by the paper advance calibration to zero. To return to the default paper advance calibration value, you must reset the calibration. 1. From the front panel, press , then calibration > Reset paper advance. , then Image quality maintenance > Paper advance 2. Wait until the front panel displays the operation has completed successfully. Horizontal lines across the image (banding) If your printed image suffers from added horizontal lines as shown (the color may vary): 148 Chapter 18 Troubleshooting print-quality issues ENWW
-
 1
1 -
2
-
3
-
4
-
5
-
6
-
7
-
8
-
9
-
10
-
11
-
12
-
13
-
14
-
15
-
16
-
17
-
18
-
19
-
20
-
21
-
22
-
23
-
24
-
25
-
26
-
27
-
28
-
29
-
30
-
31
-
32
-
33
-
34
-
35
-
36
-
37
-
38
-
39
-
40
-
41
-
42
-
43
-
44
-
45
-
46
-
47
-
48
-
49
-
50
-
51
-
52
-
53
-
54
-
55
-
56
-
57
-
58
-
59
-
60
-
61
-
62
-
63
-
64
-
65
-
66
-
67
-
68
-
69
-
70
-
71
-
72
-
73
-
74
-
75
-
76
-
77
-
78
-
79
-
80
-
81
-
82
-
83
-
84
-
85
-
86
-
87
-
88
-
89
-
90
-
91
-
92
-
93
-
94
-
95
-
96
-
97
-
98
-
99
-
100
-
101
-
102
-
103
-
104
-
105
-
106
-
107
-
108
-
109
-
110
-
111
-
112
-
113
-
114
-
115
-
116
-
117
-
118
-
119
-
120
-
121
-
122
-
123
-
124
-
125
-
126
-
127
-
128
-
129
-
130
-
131
-
132
-
133
-
134
-
135
-
136
-
137
-
138
-
139
-
140
-
141
-
142
-
143
-
144
-
145
-
146
-
147
-
148
-
149
-
150
-
 151
151 -
 152
152 -
 153
153 -
 154
154 -
 155
155 -
 156
156 -
 157
157 -
 158
158 -
 159
159 -
 160
160 -
 161
161 -
162
-
163
-
164
-
165
-
166
-
167
-
168
-
169
-
170
-
171
-
172
-
173
-
174
-
175
-
176
-
177
-
178
-
179
-
180
-
181
-
182
-
183
-
184
-
185
-
186
-
187
-
188
-
189
-
190
-
191
-
192
-
193
-
194
-
195
-
196
-
197
-
198
 |
 |