HP LaserJet Pro M1530 HP LaserJet Pro M1530 - User Guide - Page 130
Use speed dials, Create and edit speed dials
 |
View all HP LaserJet Pro M1530 manuals
Add to My Manuals
Save this manual to your list of manuals |
Page 130 highlights
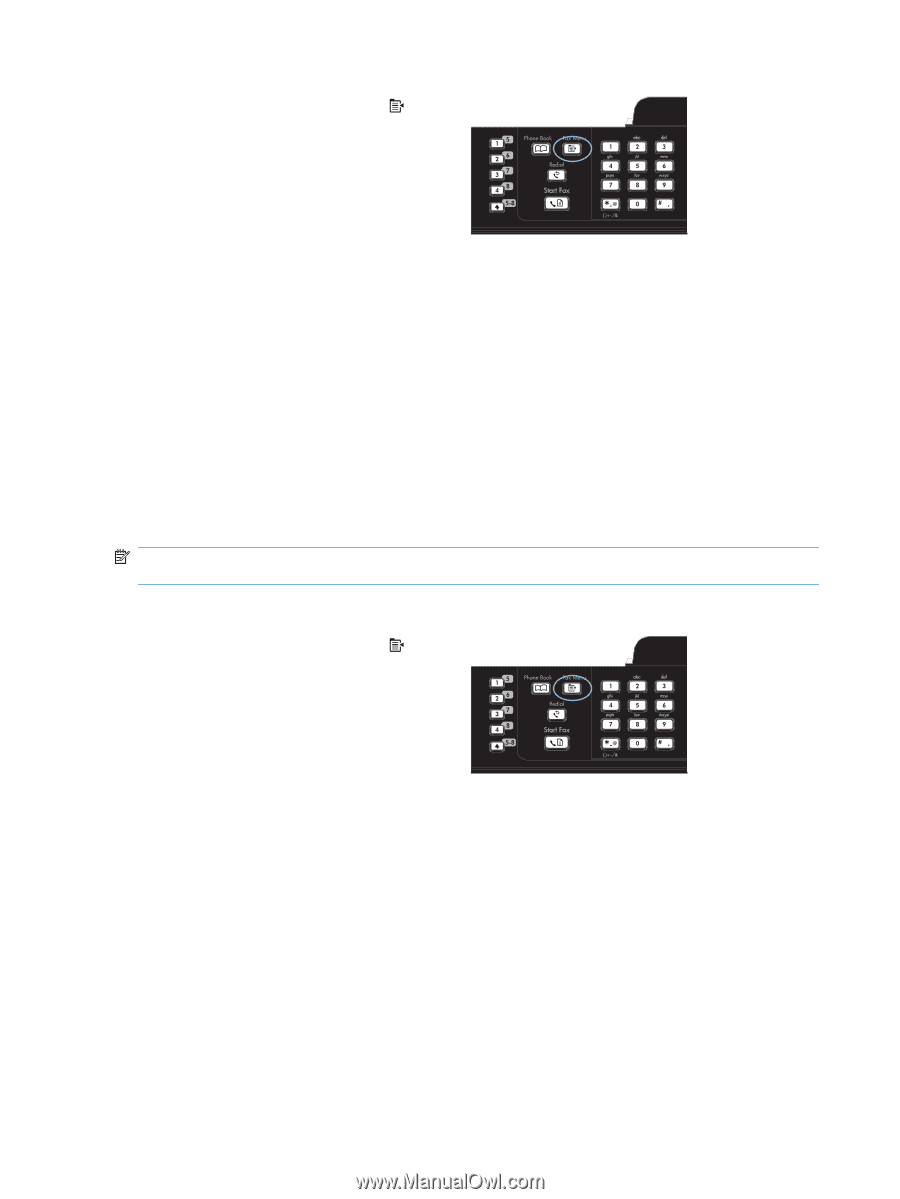
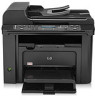
1. On the control panel, press the Fax Menu button. 2. Use the arrow buttons to select the Phone Book Setup menu, and then press the OK button. 3. Use the arrow buttons to select the Delete All option, and then press the OK button. 4. Press the OK button to confirm the deletion. Use speed dials Create and edit speed dials Speed dials 1 through 12 are also associated with their corresponding one-touch keys on the control panel. The one-touch keys can be used for speed dials or group-dial entries. A maximum of 50 characters can be entered for a single fax number. NOTE: To gain access to all of the speed dials, you must use the Shift button. Speed dials 7 through 12 are all available by pressing Shift and the associated one-touch key on the control panel. Complete the following steps to program speed dials from the control panel: 1. On the control panel, press the Fax Menu button. 2. Use the arrow buttons to select the Phone Book Setup menu, and then press the OK button. 3. Use the arrow buttons to select the Individual Setup menu, and then press the OK button. 4. Use the arrow buttons to select the Add/Edit menu, and then press the OK button. 5. Use the alphanumeric buttons to specify the speed-dial entry number that you want to associate with this fax number, and then press the OK button. Selecting a number from 1 to 8 also associates the fax number with the corresponding one-touch key. 116 Chapter 10 Fax ENWW
-
 1
1 -
2
-
3
-
4
-
5
-
6
-
7
-
8
-
9
-
10
-
11
-
12
-
13
-
14
-
15
-
16
-
17
-
18
-
19
-
20
-
21
-
22
-
23
-
24
-
25
-
26
-
27
-
28
-
29
-
30
-
31
-
32
-
33
-
34
-
35
-
36
-
37
-
38
-
39
-
40
-
41
-
42
-
43
-
44
-
45
-
46
-
47
-
48
-
49
-
50
-
51
-
52
-
53
-
54
-
55
-
56
-
57
-
58
-
59
-
60
-
61
-
62
-
63
-
64
-
65
-
66
-
67
-
68
-
69
-
70
-
71
-
72
-
73
-
74
-
75
-
76
-
77
-
78
-
79
-
80
-
81
-
82
-
83
-
84
-
85
-
86
-
87
-
88
-
89
-
90
-
91
-
92
-
93
-
94
-
95
-
96
-
97
-
98
-
99
-
100
-
101
-
102
-
103
-
104
-
105
-
106
-
107
-
108
-
109
-
110
-
111
-
112
-
113
-
114
-
115
-
116
-
117
-
118
-
119
-
120
-
121
-
122
-
123
-
124
-
 125
125 -
 126
126 -
 127
127 -
 128
128 -
 129
129 -
 130
130 -
 131
131 -
 132
132 -
 133
133 -
 134
134 -
 135
135 -
136
-
137
-
138
-
139
-
140
-
141
-
142
-
143
-
144
-
145
-
146
-
147
-
148
-
149
-
150
-
151
-
152
-
153
-
154
-
155
-
156
-
157
-
158
-
159
-
160
-
161
-
162
-
163
-
164
-
165
-
166
-
167
-
168
-
169
-
170
-
171
-
172
-
173
-
174
-
175
-
176
-
177
-
178
-
179
-
180
-
181
-
182
-
183
-
184
-
185
-
186
-
187
-
188
-
189
-
190
-
191
-
192
-
193
-
194
-
195
-
196
-
197
-
198
-
199
-
200
-
201
-
202
-
203
-
204
-
205
-
206
-
207
-
208
-
209
-
210
-
211
-
212
-
213
-
214
-
215
-
216
-
217
-
218
-
219
-
220
-
221
-
222
-
223
-
224
-
225
-
226
-
227
-
228
-
229
-
230
-
231
-
232
-
233
-
234
-
235
-
236
-
237
-
238
-
239
-
240
-
241
-
242
-
243
-
244
-
245
-
246
-
247
-
248
-
249
-
250
-
251
-
252
-
253
-
254
-
255
-
256
-
257
-
258
-
259
-
260
-
261
-
262
-
263
-
264
-
265
-
266
-
267
-
268
-
269
-
270
-
271
-
272
-
273
-
274
-
275
-
276
-
277
-
278
-
279
-
280
-
281
-
282
-
283
-
284
-
285
-
286
 |
 |