HP iPAQ rx4200 HP iPAQ Product Information Guide - Page 16
Step 4: Follow the on-screen instructions on your personal, computer - software
 |
View all HP iPAQ rx4200 manuals
Add to My Manuals
Save this manual to your list of manuals |
Page 16 highlights
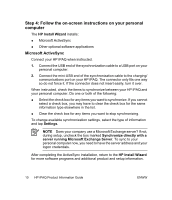
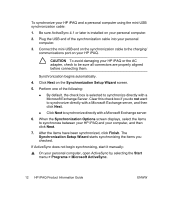
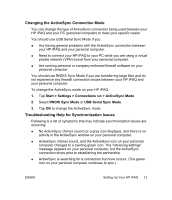
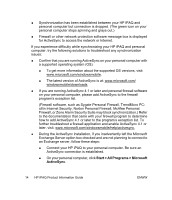
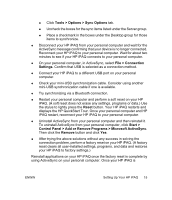
English Step 4: Follow the on-screen instructions on your personal computer The HP Install Wizard installs: ● Microsoft ActiveSync ● Other optional software applications Microsoft ActiveSync Connect your HP iPAQ when instructed. 1. Connect the USB end of the synchronization cable to a USB port on your personal computer. 2. Connect the mini-USB end of the synchronization cable to the charging/ communications port on your HP iPAQ. The connector only fits one way so do not force it. If the connector does not insert easily, turn it over. When instructed, check the items to synchronize between your HP iPAQ and your personal computer. Do one or both of the following: ● Select the check box for any items you want to synchronize. If you cannot select a check box, you may have to clear the check box for the same information type elsewhere in the list. ● Clear the check box for any items you want to stop synchronizing. To change available synchronization settings, select the type of information and tap Settings. NOTE Does your company use a Microsoft Exchange server? If not, during setup, uncheck the box marked Synchronize directly with a server running Microsoft Exchange Server. To sync to your personal computer now, you need to have the server address and your logon credentials. After completing the ActiveSync installation, return to the HP Install Wizard for more software programs and additional product and setup information. 10 HP iPAQ Product Information Guide ENWW
-
 1
1 -
2
-
3
-
4
-
5
-
6
-
7
-
8
-
9
-
10
-
 11
11 -
 12
12 -
 13
13 -
 14
14 -
 15
15 -
 16
16 -
 17
17 -
 18
18 -
 19
19 -
 20
20 -
 21
21 -
22
-
23
-
24
-
25
-
26
-
27
-
28
-
29
-
30
-
31
-
32
-
33
-
34
-
35
-
36
-
37
-
38
-
39
-
40
-
41
-
42
-
43
-
44
-
45
-
46
-
47
-
48
-
49
-
50
-
51
-
52
-
53
-
54
-
55
-
56
-
57
 |
 |