HP iPAQ rx4200 HP iPAQ Product Information Guide - Page 17
Step 5: Complete the Setup Wizard on your HP iPAQ, Step 6: Synchronize your HP iPAQ with your
 |
View all HP iPAQ rx4200 manuals
Add to My Manuals
Save this manual to your list of manuals |
Page 17 highlights
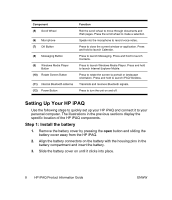
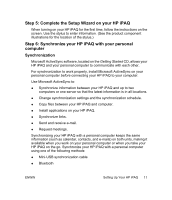
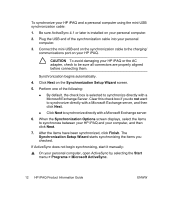
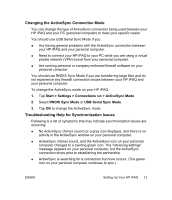
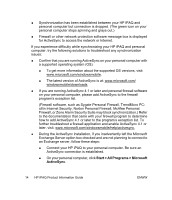
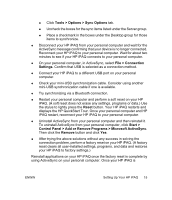
English Step 5: Complete the Setup Wizard on your HP iPAQ When turning on your HP iPAQ for the first time, follow the instructions on the screen. Use the stylus to enter information. (See the product component illustrations for the location of the stylus.) Step 6: Synchronize your HP iPAQ with your personal computer Synchronization Microsoft ActiveSync software, located on the Getting Started CD, allows your HP iPAQ and your personal computer to communicate with each other. For synchronization to work properly, install Microsoft ActiveSync on your personal computer before connecting your HP iPAQ to your computer. Use Microsoft ActiveSync to: ● Synchronize information between your HP iPAQ and up to two computers or one server so that the latest information is in all locations. ● Change synchronization settings and the synchronization schedule. ● Copy files between your HP iPAQ and computer. ● Install applications on your HP iPAQ. ● Synchronize links. ● Send and receive e-mail. ● Request meetings. Synchronizing your HP iPAQ with a personal computer keeps the same information (such as calendar, contacts, and e-mails) on both units, making it available when you work on your personal computer or when you take your HP iPAQ on the go. Synchronize your HP iPAQ with a personal computer using one of the following methods: ● Mini-USB synchronization cable ● Bluetooth ENWW Setting Up Your HP iPAQ 11
-
 1
1 -
2
-
3
-
4
-
5
-
6
-
7
-
8
-
9
-
10
-
11
-
 12
12 -
 13
13 -
 14
14 -
 15
15 -
 16
16 -
 17
17 -
 18
18 -
 19
19 -
 20
20 -
 21
21 -
 22
22 -
23
-
24
-
25
-
26
-
27
-
28
-
29
-
30
-
31
-
32
-
33
-
34
-
35
-
36
-
37
-
38
-
39
-
40
-
41
-
42
-
43
-
44
-
45
-
46
-
47
-
48
-
49
-
50
-
51
-
52
-
53
-
54
-
55
-
56
-
57
 |
 |