IBM x3500 User Guide - Page 54
Configuration/Setup - bios update
 |
UPC - 883436005760
View all IBM x3500 manuals
Add to My Manuals
Save this manual to your list of manuals |
Page 54 highlights
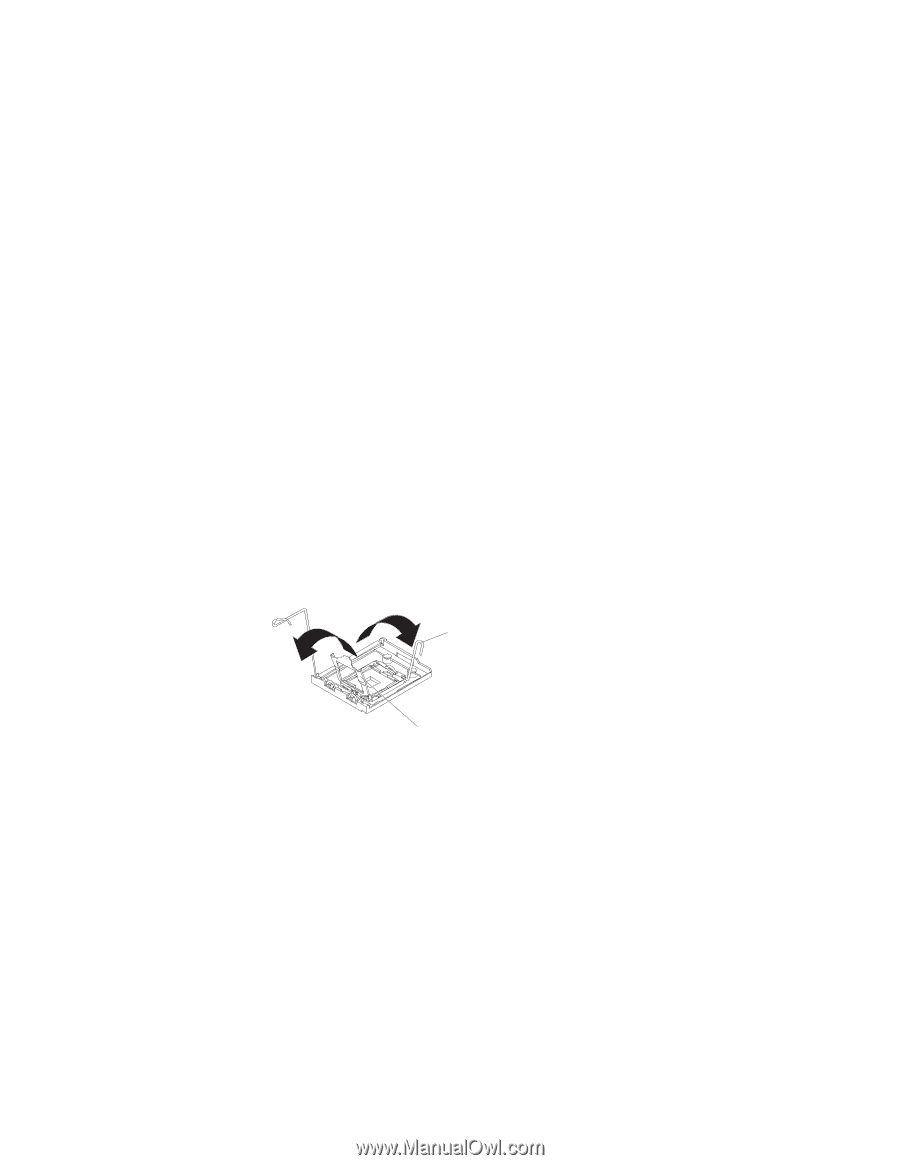
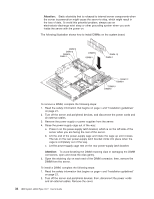
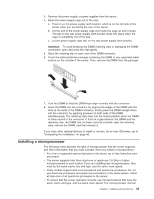
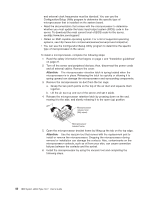
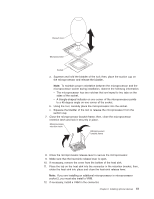
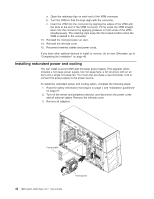
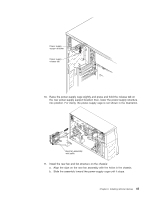
and external clock frequencies must be identical. You can use the Configuration/Setup Utility program to determine the specific type of microprocessor that is installed on the system board. v Read the documentation that comes with the microprocessor to determine whether you must update the basic input/output system (BIOS) code in the server. To download the most current level of BIOS code for the server, seehttp://www.ibm.com/support/. v Obtain an SMP-capable operating system. For a list of supported operating systems, see http://www.ibm.com/servers/eserver/serverproven/compat/us/. v You can use the Configuration/Setup Utility program to determine the specific type of microprocessor in the server. To install a microprocessor, complete the following steps: 1. Read the safety information that begins on page v and "Installation guidelines" on page 21. 2. Turn off the server and peripheral devices; then, disconnect the power cords and all external cables. Remove the cover. Attention: The microprocessor retention latch is spring-loaded when the microprocessor is in place. Releasing the latch too quickly or allowing it to spring upward can damage the microprocessor and surrounding components. 3. Remove the microprocessor air duct from the fan cage: a. Grasp the two pinch points on the top of the air duct and squeeze them together. b. Lift the air duct up and out of the server and set it aside. 4. Release the microprocessor retention latch by pressing down on the end, moving it to the side, and slowly releasing it to the open (up) position. Microprocessor release lever (fully open) Microprocessor bracket frame 5. Open the microprocessor bracket frame by lifting up the tab on the top edge. Attention: Use the vacuum tool that comes with the replacement part to install or remove the microprocessor. Dropping the microprocessor during removal or installation can damage the contacts. Also, contaminants on the microprocessor contacts, such as oil from your skin, can cause connection failures between the contacts and the socket. 6. Install the microprocessor by using the vacuum tool and completing the following steps. 40 IBM System x3500 Type 7977: User's Guide
-
 1
1 -
2
-
3
-
4
-
5
-
6
-
7
-
8
-
9
-
10
-
11
-
12
-
13
-
14
-
15
-
16
-
17
-
18
-
19
-
20
-
21
-
22
-
23
-
24
-
25
-
26
-
27
-
28
-
29
-
30
-
31
-
32
-
33
-
34
-
35
-
36
-
37
-
38
-
39
-
40
-
41
-
42
-
43
-
44
-
45
-
46
-
47
-
48
-
 49
49 -
 50
50 -
 51
51 -
 52
52 -
 53
53 -
 54
54 -
 55
55 -
 56
56 -
 57
57 -
 58
58 -
 59
59 -
60
-
61
-
62
-
63
-
64
-
65
-
66
-
67
-
68
-
69
-
70
-
71
-
72
-
73
-
74
-
75
-
76
-
77
-
78
-
79
-
80
-
81
-
82
-
83
-
84
-
85
-
86
-
87
-
88
-
89
-
90
-
91
-
92
-
93
-
94
-
95
-
96
-
97
-
98
-
99
-
100
-
101
-
102
-
103
-
104
 |
 |