Lexmark X422 X422 MFP Setup Guide - Page 18
Setting up the optional 250-sheet or 500-sheet drawer, Adding an optional drawer for Mac OS X users - use windows 7 os driver
 |
View all Lexmark X422 manuals
Add to My Manuals
Save this manual to your list of manuals |
Page 18 highlights
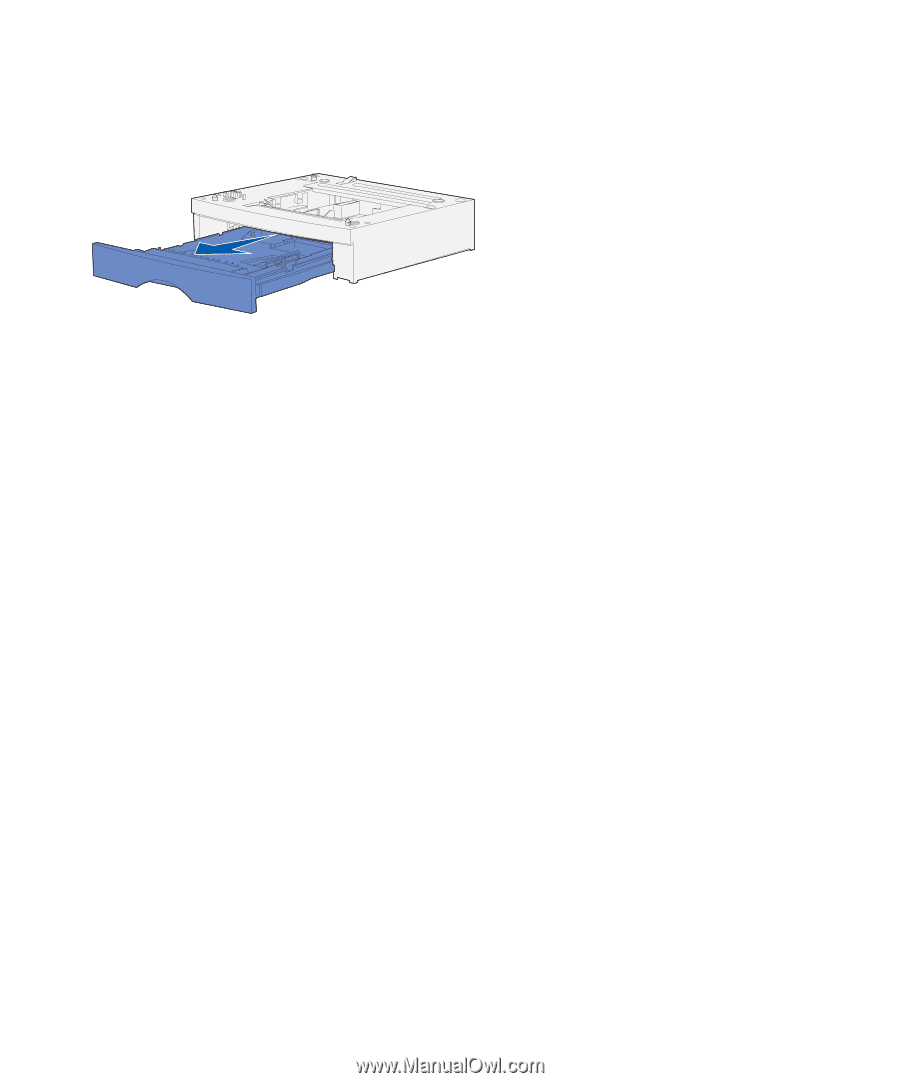
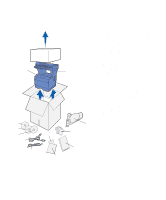
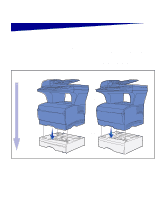
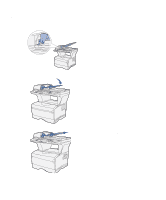
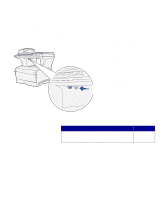
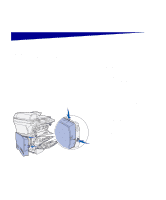
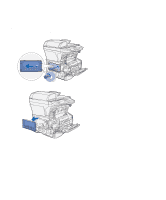
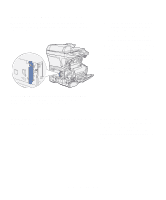
Setting up the optional 250-sheet or 500-sheet drawer After you have installed the drivers, you are ready to set up the optional 250sheet or 500-sheet drawer. 1 Remove the tray from the support unit. Remove all of the packing material and tape from both the support unit and tray. 2 Place the support unit on top of a firm, flat surface where you plan to use the MFP. 3 Place the MFP on top of the support unit. Adding an optional drawer for Mac OS X users When adding an optional drawer to an MFP that will be used by way of USB in Mac OS X, additional setup is required to allow the optional drawer to be used as a source when printing. 1 Go to /Applications/Utilities and launch Print Center. 2 Select the MFP from the Printer List and choose Show Info from the Printers menu. 3 Select Installable Options from the pop-up menu at the top of the Printer Info window and modify the Trays pop-up menu to reflect the number of trays connected to the MFP. 4 Click Apply Changes and close the Printer Info window. Set up MFP and options 10
-
 1
1 -
2
-
3
-
4
-
5
-
6
-
7
-
8
-
9
-
10
-
11
-
12
-
 13
13 -
 14
14 -
 15
15 -
 16
16 -
 17
17 -
 18
18 -
 19
19 -
 20
20 -
 21
21 -
 22
22 -
 23
23 -
24
-
25
-
26
-
27
-
28
-
29
-
30
-
31
-
32
-
33
-
34
-
35
-
36
-
37
-
38
-
39
-
40
-
41
-
42
-
43
-
44
-
45
-
46
-
47
-
48
-
49
-
50
-
51
-
52
-
53
-
54
-
55
-
56
-
57
-
58
-
59
-
60
-
61
-
62
-
63
-
64
-
65
-
66
-
67
-
68
-
69
-
70
-
71
-
72
-
73
-
74
-
75
-
76
-
77
-
78
-
79
-
80
-
81
-
82
 |
 |