Netgear XM128 QIG - Quick Install Guide - Page 30
Installing the Modem
 |
View all Netgear XM128 manuals
Add to My Manuals
Save this manual to your list of manuals |
Page 30 highlights
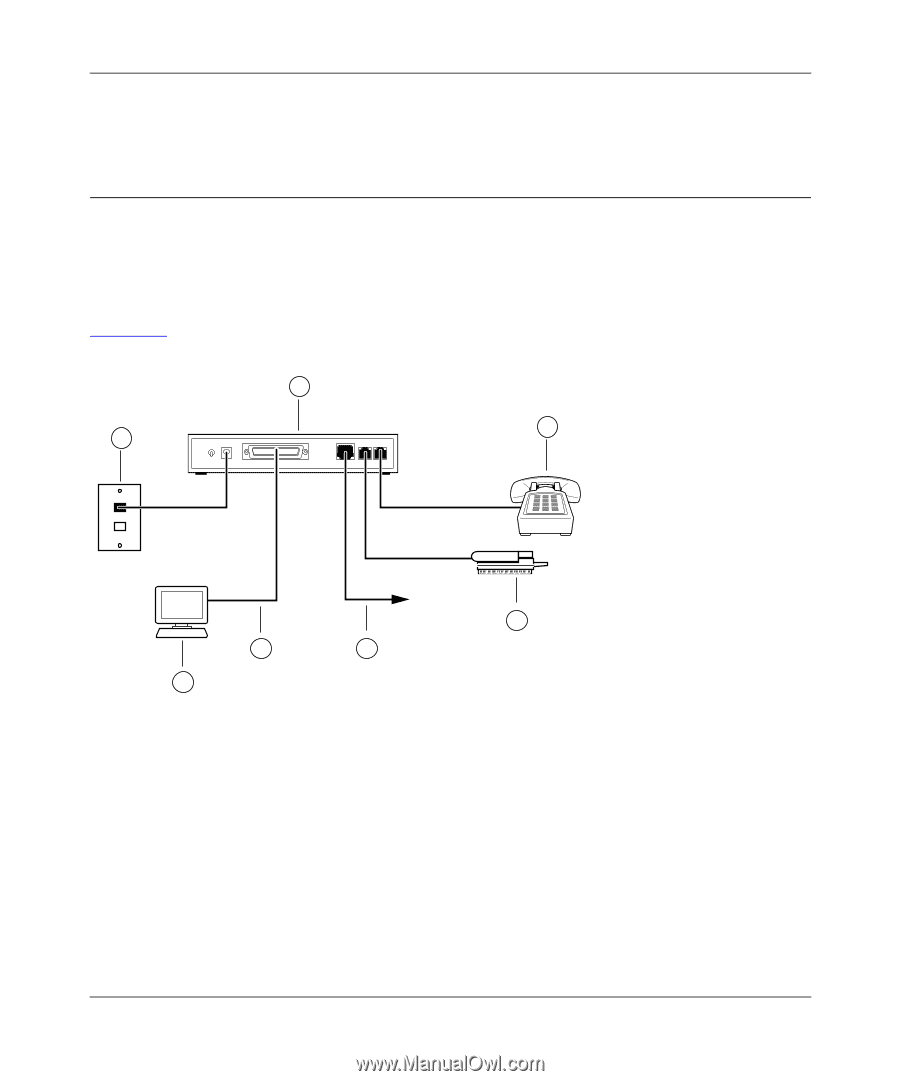
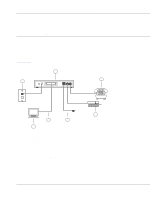
Reference Guide for the Model XM128 ISDN Digital Modem To qualify for product updates and product warranty registrations, fill in the Warranty and Owner Registration Card within 30 days of purchase and return it to NETGEAR, Inc. Installing the Modem Before connecting any of the devices to your modem, make sure the power is turned off on your computer and your Model XM128 modem. If connecting to the model with the S/T interface, you must use an NT-1 device, which converts the S/T interface to a U interface. If connecting to the Model XM128 modem with the U interface, you can connect directly to your ISDN line. Refer to Figure 2-1 and then the detailed steps that follow for making those connections. 1 6 2 6 4 5 3 7860MEA Key: 1 = Model XM128 modem 2 = AC power adapter 3 = Station (PC, Macintosh, or UNIX workstation) 4 = Shielded RS-232 25-pin straight cable 5 = ISDN wall connection (connected with ISDN cable provided in package) 6 = Analog device (telephone or fax) Figure 2-1. Model XM128 modem connections 2-2 Installation
-
 1
1 -
2
-
3
-
4
-
5
-
6
-
7
-
8
-
9
-
10
-
11
-
12
-
13
-
14
-
15
-
16
-
17
-
18
-
19
-
20
-
21
-
22
-
23
-
24
-
 25
25 -
 26
26 -
 27
27 -
 28
28 -
 29
29 -
 30
30 -
 31
31 -
 32
32 -
 33
33 -
 34
34 -
 35
35 -
36
-
37
-
38
-
39
-
40
-
41
-
42
-
43
-
44
-
45
-
46
-
47
-
48
-
49
-
50
-
51
-
52
-
53
-
54
-
55
-
56
-
57
-
58
-
59
-
60
-
61
-
62
-
63
-
64
-
65
-
66
-
67
-
68
-
69
-
70
-
71
-
72
-
73
-
74
-
75
-
76
-
77
-
78
-
79
-
80
-
81
-
82
-
83
-
84
-
85
-
86
-
87
-
88
-
89
-
90
-
91
-
92
-
93
-
94
-
95
-
96
-
97
-
98
-
99
-
100
-
101
-
102
-
103
-
104
-
105
-
106
-
107
-
108
-
109
-
110
-
111
-
112
-
113
-
114
-
115
-
116
-
117
-
118
-
119
-
120
-
121
-
122
-
123
-
124
-
125
-
126
-
127
-
128
-
129
-
130
-
131
-
132
-
133
-
134
-
135
-
136
-
137
-
138
-
139
-
140
-
141
-
142
-
143
-
144
-
145
-
146
-
147
-
148
-
149
-
150
-
151
-
152
-
153
-
154
-
155
-
156
 |
 |