Optoma FHDQ130 FHDQ130 User Manual - Page 32
USB/WIFI/LAN Connection Settings
 |
View all Optoma FHDQ130 manuals
Add to My Manuals
Save this manual to your list of manuals |
Page 32 highlights
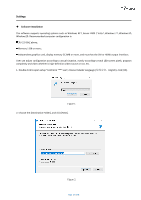
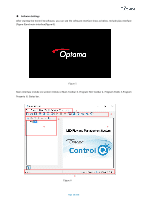
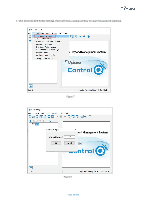
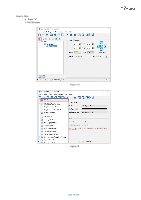
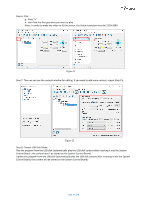
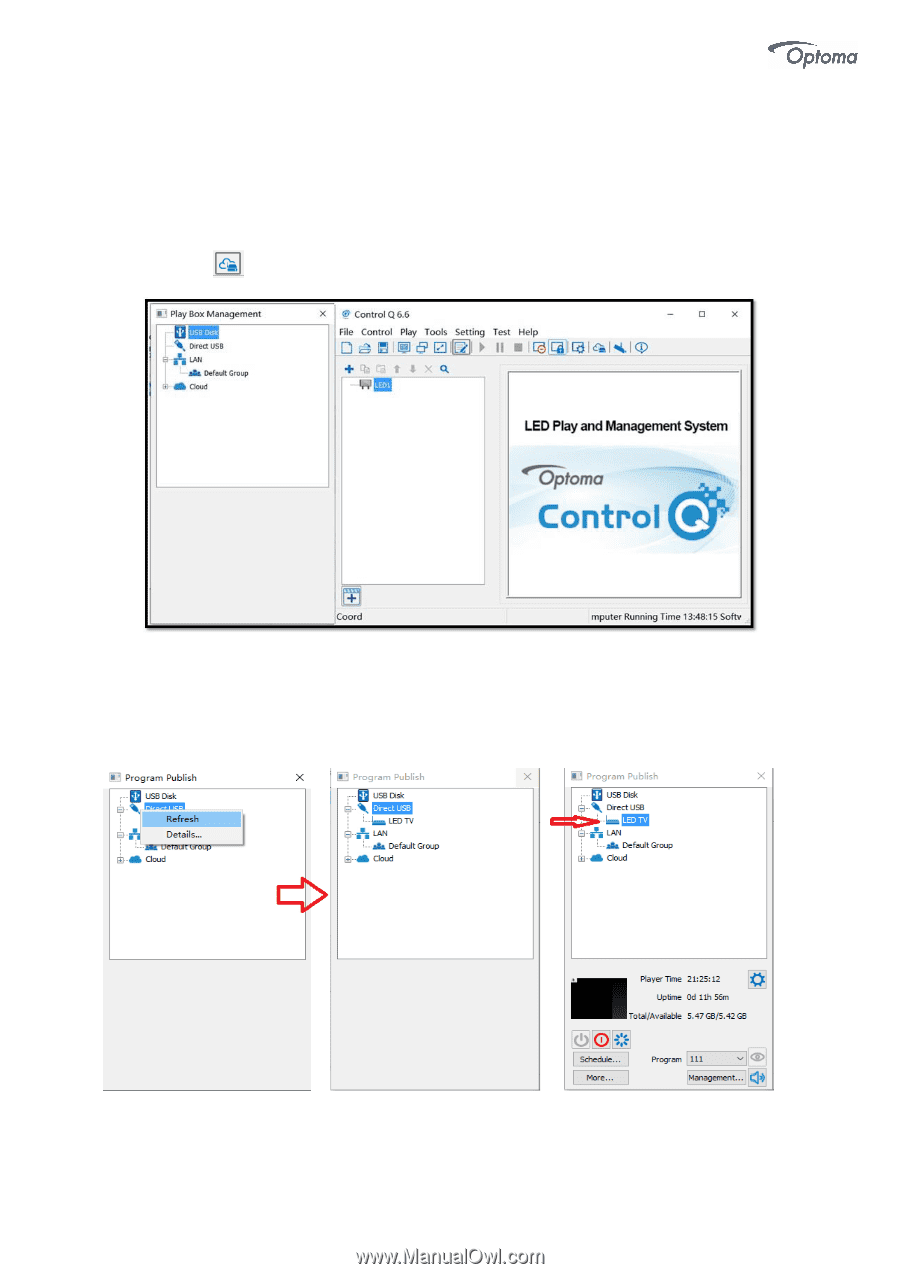
◆ USB/WIFI/LAN Connection Settings After connecting successfully, you can send related screen parameters, upload programs, manage programs, cloud management, etc. 1. USB Connection (1) Power on LED display, connect your PC via USB-A to USB-C cable (Use USB-B config port on AIO QUAD (2) Click the icon to enter Program Publish interface. Figure 10 (3) Left-click [Direct USB] and then right-click choose [Refresh], LED display will show up and you should set its parameters. Figure 11 Page 32 of 64
-
 1
1 -
2
-
3
-
4
-
5
-
6
-
7
-
8
-
9
-
10
-
11
-
12
-
13
-
14
-
15
-
16
-
17
-
18
-
19
-
20
-
21
-
22
-
23
-
24
-
25
-
26
-
 27
27 -
 28
28 -
 29
29 -
 30
30 -
 31
31 -
 32
32 -
 33
33 -
 34
34 -
 35
35 -
 36
36 -
 37
37 -
38
-
39
-
40
-
41
-
42
-
43
-
44
-
45
-
46
-
47
-
48
-
49
-
50
-
51
-
52
-
53
-
54
-
55
-
56
-
57
-
58
-
59
-
60
-
61
-
62
-
63
-
64
 |
 |
Page
32 of 64
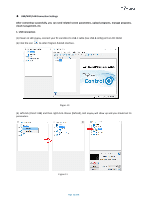
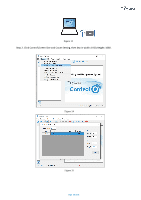
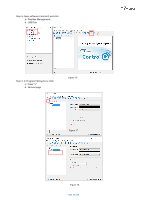
◆
USB/WIFI/LAN Connection Settings
After connecting successfully, you can send related screen parameters, upload programs, manage programs,
cloud management, etc.
1. USB Connection
(1) Power on LED
display,
connect your PC via USB-A to USB-C cable (Use USB-B config port on AIO QUAD
(2) Click the icon
to enter Program Publish interface.
(3) Left-click [Direct USB] and then right-click choose [Refresh], LED
display
will show up and you should set its
parameters.
Figure 10
Figure 11