Pfaff creative 1467 Owner's Manual - Page 112
Adaption, buttonhole, length, Changing, width, Balancing, density, seams
 |
View all Pfaff creative 1467 manuals
Add to My Manuals
Save this manual to your list of manuals |
Page 112 highlights
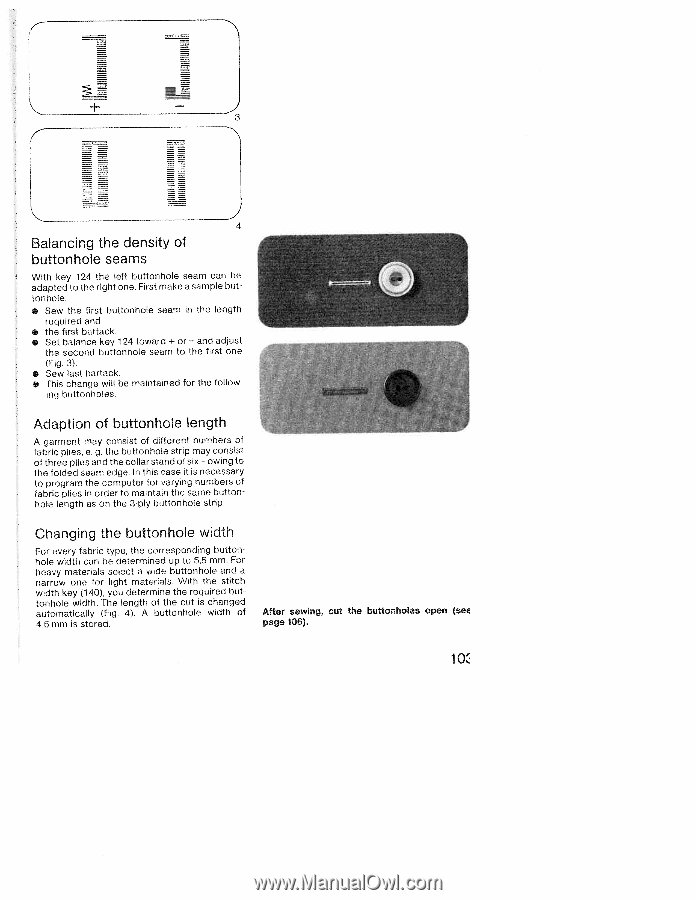
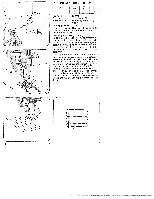
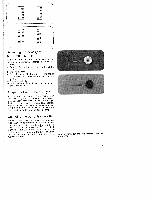
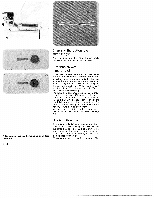
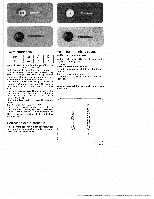
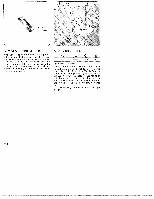
+ 4 Balancing the density of buttonhole seams With key 124 the left buttonhole seam can be adapted to the right one. First make a sample but tonhole • Sew the first buttonhole seam in the length required and • the first bartack. • Set balance key 124 toward + or - and adjust the second buttonhole seam to the first one (Fig. 3). • Sew last bartack. • This change will be maintained for the follow ing buttonholes. Adaption of buttonhole length A garment may consist of different numbers of fabric plies, e. g. the buttonhole strip may consist of three plies and the collar stand of six - owing to the folded seam edge. In this case it is necessary to program the computer for varying numbers of fabric plies in order to maintain the same button hole length as on the 3-ply buttonhole strip. Changing the buttonhole width For every fabric type, the corresponding button hole width can be determined up to 5.5 mm. For heavy materials select a wide buttonhole and a narrow one for light materials. With the stitch width key (140), you determine the required but tonhole width. The length of the cut is changed automatically (Fig. 4). A buttonhole width of 4.5 mm is stored. After sewing, cut the buttonholes open (seE page 106). I r'V I 'J
-
 1
1 -
2
-
3
-
4
-
5
-
6
-
7
-
8
-
9
-
10
-
11
-
12
-
13
-
14
-
15
-
16
-
17
-
18
-
19
-
20
-
21
-
22
-
23
-
24
-
25
-
26
-
27
-
28
-
29
-
30
-
31
-
32
-
33
-
34
-
35
-
36
-
37
-
38
-
39
-
40
-
41
-
42
-
43
-
44
-
45
-
46
-
47
-
48
-
49
-
50
-
51
-
52
-
53
-
54
-
55
-
56
-
57
-
58
-
59
-
60
-
61
-
62
-
63
-
64
-
65
-
66
-
67
-
68
-
69
-
70
-
71
-
72
-
73
-
74
-
75
-
76
-
77
-
78
-
79
-
80
-
81
-
82
-
83
-
84
-
85
-
86
-
87
-
88
-
89
-
90
-
91
-
92
-
93
-
94
-
95
-
96
-
97
-
98
-
99
-
100
-
101
-
102
-
103
-
104
-
105
-
106
-
 107
107 -
 108
108 -
 109
109 -
 110
110 -
 111
111 -
 112
112 -
 113
113 -
 114
114 -
 115
115 -
 116
116 -
 117
117 -
118
-
119
-
120
-
121
-
122
-
123
-
124
-
125
-
126
-
127
-
128
-
129
-
130
-
131
-
132
-
133
-
134
-
135
-
136
-
137
-
138
-
139
-
140
-
141
-
142
-
143
-
144
-
145
-
146
-
147
-
148
-
149
-
150
-
151
-
152
-
153
-
154
-
155
-
156
-
157
-
158
-
159
-
160
-
161
-
162
-
163
-
164
-
165
-
166
-
167
-
168
-
169
-
170
-
171
-
172
-
173
-
174
-
175
-
176
-
177
-
178
-
179
-
180
-
181
-
182
-
183
-
184
-
185
-
186
-
187
-
188
-
189
-
190
-
191
-
192
 |
 |