Pfaff creative 1467 Owner's Manual - Page 113
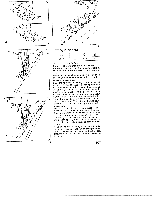
runner, fully, forwards., the buttonholes
 |
View all Pfaff creative 1467 manuals
Add to My Manuals
Save this manual to your list of manuals |
Page 113 highlights
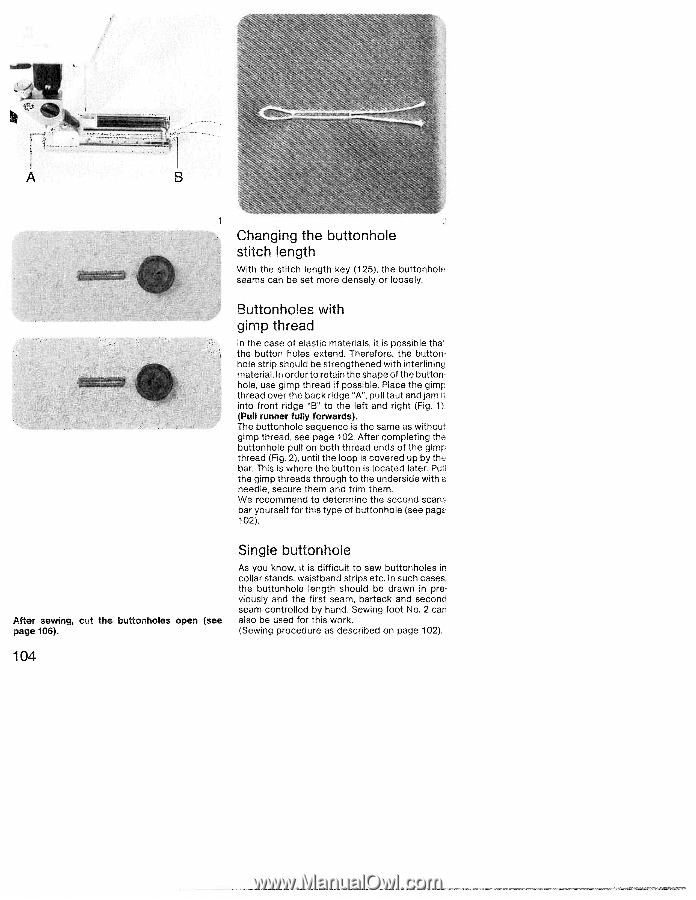
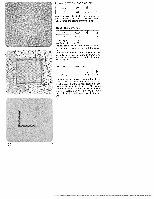
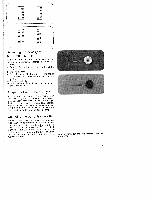
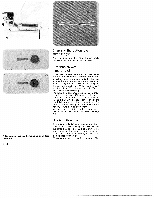
z B Changing the buttonhole stitch length With the stitch length key (125), the buttonholf seams can be set more densely or loosely. Buttonholes with gimp thread In the case of elastic materials, it is possible thai the button holes extend. Therefore, the button hole strip should be strengthened with interlininç. material. In order to retain the shape of the button hole, use gimp thread if possible. Place the gimp thread over the back ridge 'A", pull taut and jam it into front ridge "B" to the left and right (Fig. 1) (Pull runner fully forwards). The buttonhole sequence is the same as withou gimp thread, see page 102, After completing thE buttonhole pull on both thread ends of the gim[ thread (Fig. 2), until the loop is covered up by the bar. This is where the button is located later. Pull the gimp threads through to the underside with a needle, secure them and trim them. We recommend to determine the second scanE bar yourself for this type of buttonhole (see page 102). After sewing, cut the buttonholes open (see page 106). Single buttonhole As you know, it is difficult to sew buttonholes in collar stands, waistband strips etc. In such cases, the buttonhole length should be drawn in pre viously and the first seam, bartack and second seam controlled by hand. Sewing foot No. 2 can also be used for this work. (Sewing procedure as described on page 102). 104
-
 1
1 -
2
-
3
-
4
-
5
-
6
-
7
-
8
-
9
-
10
-
11
-
12
-
13
-
14
-
15
-
16
-
17
-
18
-
19
-
20
-
21
-
22
-
23
-
24
-
25
-
26
-
27
-
28
-
29
-
30
-
31
-
32
-
33
-
34
-
35
-
36
-
37
-
38
-
39
-
40
-
41
-
42
-
43
-
44
-
45
-
46
-
47
-
48
-
49
-
50
-
51
-
52
-
53
-
54
-
55
-
56
-
57
-
58
-
59
-
60
-
61
-
62
-
63
-
64
-
65
-
66
-
67
-
68
-
69
-
70
-
71
-
72
-
73
-
74
-
75
-
76
-
77
-
78
-
79
-
80
-
81
-
82
-
83
-
84
-
85
-
86
-
87
-
88
-
89
-
90
-
91
-
92
-
93
-
94
-
95
-
96
-
97
-
98
-
99
-
100
-
101
-
102
-
103
-
104
-
105
-
106
-
107
-
 108
108 -
 109
109 -
 110
110 -
 111
111 -
 112
112 -
 113
113 -
 114
114 -
 115
115 -
 116
116 -
 117
117 -
 118
118 -
119
-
120
-
121
-
122
-
123
-
124
-
125
-
126
-
127
-
128
-
129
-
130
-
131
-
132
-
133
-
134
-
135
-
136
-
137
-
138
-
139
-
140
-
141
-
142
-
143
-
144
-
145
-
146
-
147
-
148
-
149
-
150
-
151
-
152
-
153
-
154
-
155
-
156
-
157
-
158
-
159
-
160
-
161
-
162
-
163
-
164
-
165
-
166
-
167
-
168
-
169
-
170
-
171
-
172
-
173
-
174
-
175
-
176
-
177
-
178
-
179
-
180
-
181
-
182
-
183
-
184
-
185
-
186
-
187
-
188
-
189
-
190
-
191
-
192
 |
 |