Pfaff creative 1467 Owner's Manual - Page 174
stretching
 |
View all Pfaff creative 1467 manuals
Add to My Manuals
Save this manual to your list of manuals |
Page 174 highlights
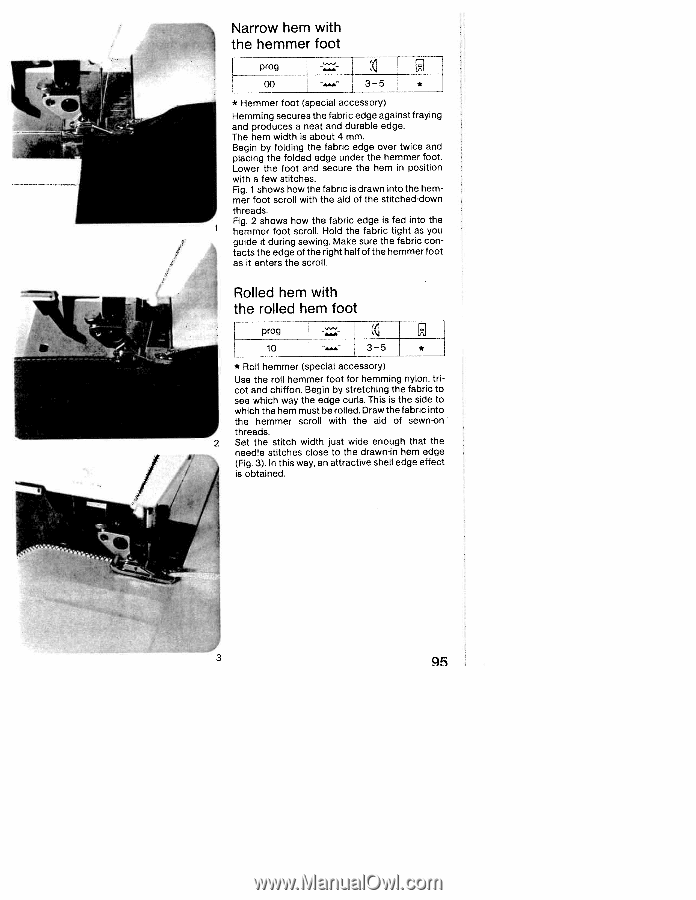
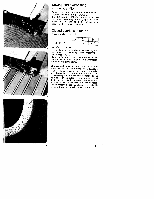
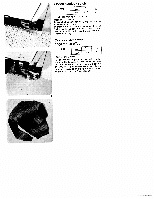
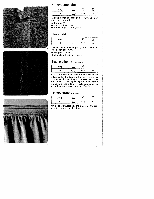
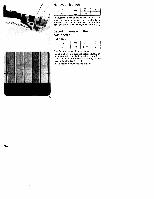
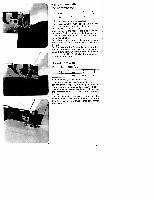
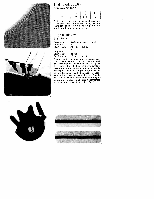
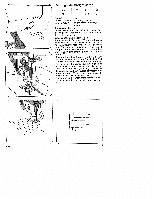
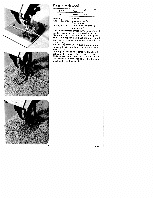
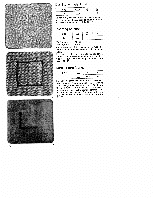
Narrow hem with the hemmer foot L prog 00 -- CC] li 3-5 * - * Hemmer foot (special accessory) Hemming secures the fabric edge against fraying and produces a neat and durable edge. The hem width is about 4 mm. Begin by folding the fabric edge over twice and placing the folded edge under the hemmer foot. Lower the foot and secure the hem in position with a few stitches. Fig. 1 shows how the fabric is drawn into the hem mer foot scroll with the aid of the stitched-down threads. Fig. 2 shows how the fabric edge is fed into the hemmer foot scroll. Hold the fabric tight as you guide it during sewing. Make sure the fabric con tacts the edge of the right half of the hemmer foot as it enters the scroll. Rolled hem with the rolled hem foot prog "'- I - 10 3-5 * * Roll hemmer (special accessory) Use the roll hemmer foot for hemming nylon, tncot and chiffon. Begin by stretching the fabric to see which way the edge curls. This is the side to which the hem must be rolled. Draw the fabric into the hemmer scroll with the aid of sewn-on threads. Set the stitch width just wide enough that the need'e stitches close to the drawn-in hem edge (Fig. 3). In this way, an attractive shell edge effect is obtained. I 95
-
 1
1 -
2
-
3
-
4
-
5
-
6
-
7
-
8
-
9
-
10
-
11
-
12
-
13
-
14
-
15
-
16
-
17
-
18
-
19
-
20
-
21
-
22
-
23
-
24
-
25
-
26
-
27
-
28
-
29
-
30
-
31
-
32
-
33
-
34
-
35
-
36
-
37
-
38
-
39
-
40
-
41
-
42
-
43
-
44
-
45
-
46
-
47
-
48
-
49
-
50
-
51
-
52
-
53
-
54
-
55
-
56
-
57
-
58
-
59
-
60
-
61
-
62
-
63
-
64
-
65
-
66
-
67
-
68
-
69
-
70
-
71
-
72
-
73
-
74
-
75
-
76
-
77
-
78
-
79
-
80
-
81
-
82
-
83
-
84
-
85
-
86
-
87
-
88
-
89
-
90
-
91
-
92
-
93
-
94
-
95
-
96
-
97
-
98
-
99
-
100
-
101
-
102
-
103
-
104
-
105
-
106
-
107
-
108
-
109
-
110
-
111
-
112
-
113
-
114
-
115
-
116
-
117
-
118
-
119
-
120
-
121
-
122
-
123
-
124
-
125
-
126
-
127
-
128
-
129
-
130
-
131
-
132
-
133
-
134
-
135
-
136
-
137
-
138
-
139
-
140
-
141
-
142
-
143
-
144
-
145
-
146
-
147
-
148
-
149
-
150
-
151
-
152
-
153
-
154
-
155
-
156
-
157
-
158
-
159
-
160
-
161
-
162
-
163
-
164
-
165
-
166
-
167
-
168
-
 169
169 -
 170
170 -
 171
171 -
 172
172 -
 173
173 -
 174
174 -
 175
175 -
 176
176 -
 177
177 -
 178
178 -
 179
179 -
180
-
181
-
182
-
183
-
184
-
185
-
186
-
187
-
188
-
189
-
190
-
191
-
192
 |
 |