Sony DCR-TRV70 Operating Instructions - Page 127
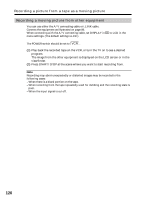
Recording edited pictures from a tape as a moving picture – Digital program editing (on a “Memory
 |
View all Sony DCR-TRV70 manuals
Add to My Manuals
Save this manual to your list of manuals |
Page 127 highlights
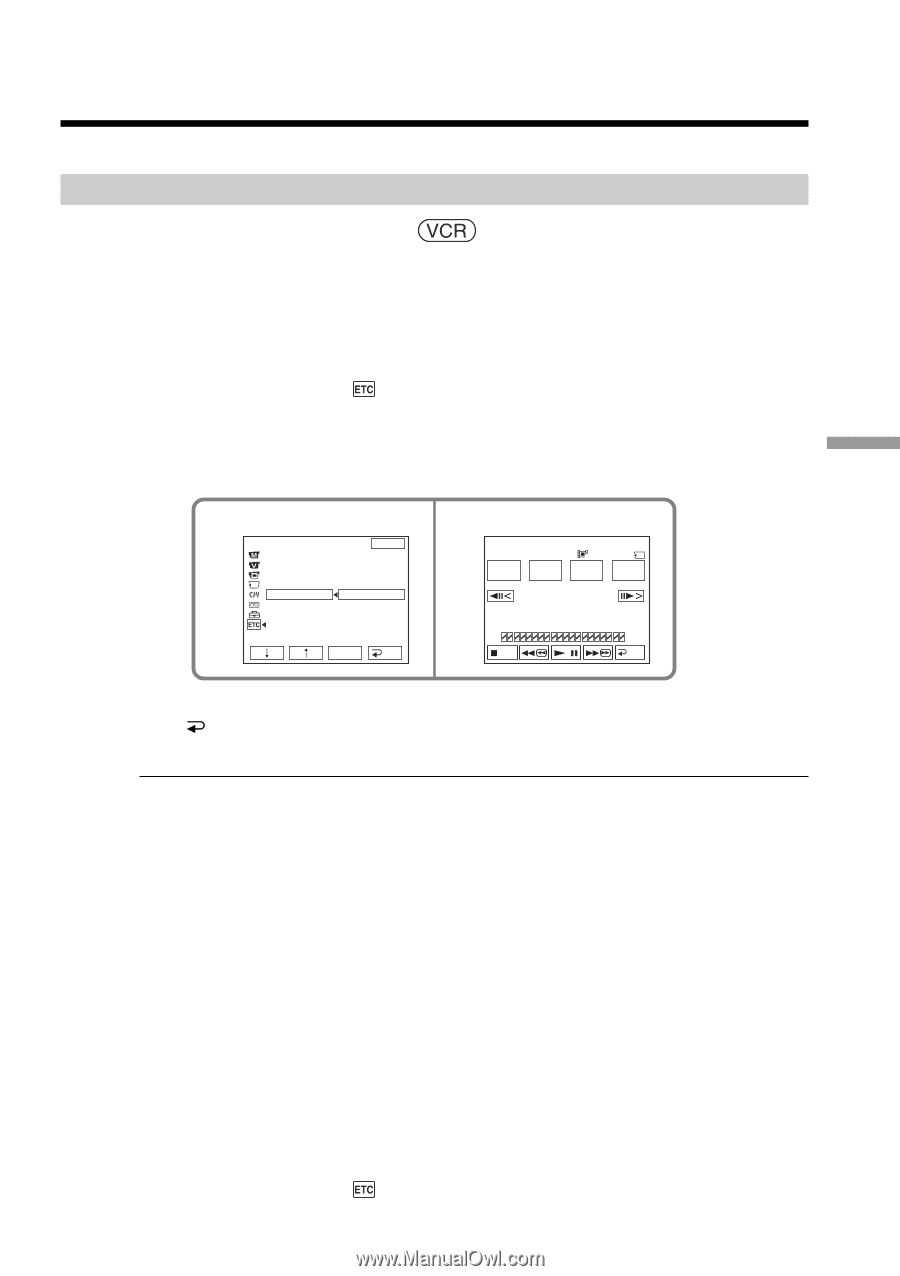
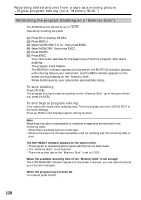
Recording edited pictures from a tape as a moving picture - Digital program editing (on a "Memory Stick") You can duplicate selected scenes (programs) for editing onto a "Memory Stick." Making a program The POWER switch should be set to . Operate by touching the panel. (1) Insert the tape for playback, and a "Memory Stick" for recording into your camcorder. (2) Press FN to display PAGE1. (3) Press MENU. (4) Select VIDEO EDIT in , then press EXEC. (5) Select MEMORY, then press EXEC. (6) Repeat pressing IMAGESIZE to select a desired size. The image size changes each time you press IMAGESIZE. (7) Follow Step 6 to 10 on page 86. 4 OTHERS DATA CODE BEEP COMMANDER DISPLAY V I DEO ED I T EXIT RETURN TAPE MEMORY 5 V I DEO ED I T MARK START I N 0:32:30:14 320 15sec IMAGE UNDO SIZE TOTAL 0:00:00 SCENE 0 EXEC RET. END "Memory Stick" Operations To finish making a program Press END. The program is stored in memory until the tape is ejected. Notes •You cannot dub the titles, display indicators or the contents of Cassette Memory. •You cannot operate recording during Digital program editing on the "Memory Stick." On a blank portion of the tape You cannot set IN or OUT. If there is a blank portion between the IN point and the OUT point on the tape The total time may not be displayed correctly. While making a program If you eject the cassette, the NOT READY indicator appears on the screen. The program will be erased. Erasing the program you have set See "Erasing the program you have set" on page 87. Erasing all programs (1) Press FN to display PAGE1. (2) Press MENU. (3) Select VIDEO EDIT in , then press EXEC. (4) Select MEMORY, then press EXEC. (5) Follow Step 2 to 4 on page 87. 127
-
 1
1 -
2
-
3
-
4
-
5
-
6
-
7
-
8
-
9
-
10
-
11
-
12
-
13
-
14
-
15
-
16
-
17
-
18
-
19
-
20
-
21
-
22
-
23
-
24
-
25
-
26
-
27
-
28
-
29
-
30
-
31
-
32
-
33
-
34
-
35
-
36
-
37
-
38
-
39
-
40
-
41
-
42
-
43
-
44
-
45
-
46
-
47
-
48
-
49
-
50
-
51
-
52
-
53
-
54
-
55
-
56
-
57
-
58
-
59
-
60
-
61
-
62
-
63
-
64
-
65
-
66
-
67
-
68
-
69
-
70
-
71
-
72
-
73
-
74
-
75
-
76
-
77
-
78
-
79
-
80
-
81
-
82
-
83
-
84
-
85
-
86
-
87
-
88
-
89
-
90
-
91
-
92
-
93
-
94
-
95
-
96
-
97
-
98
-
99
-
100
-
101
-
102
-
103
-
104
-
105
-
106
-
107
-
108
-
109
-
110
-
111
-
112
-
113
-
114
-
115
-
116
-
117
-
118
-
119
-
120
-
121
-
 122
122 -
 123
123 -
 124
124 -
 125
125 -
 126
126 -
 127
127 -
 128
128 -
 129
129 -
 130
130 -
 131
131 -
 132
132 -
133
-
134
-
135
-
136
-
137
-
138
-
139
-
140
-
141
-
142
-
143
-
144
-
145
-
146
-
147
-
148
-
149
-
150
-
151
-
152
-
153
-
154
-
155
-
156
-
157
-
158
-
159
-
160
-
161
-
162
-
163
-
164
-
165
-
166
-
167
-
168
-
169
-
170
-
171
-
172
-
173
-
174
-
175
-
176
-
177
-
178
-
179
-
180
-
181
-
182
-
183
-
184
-
185
-
186
-
187
-
188
-
189
-
190
-
191
-
192
-
193
-
194
-
195
-
196
-
197
-
198
-
199
-
200
-
201
-
202
-
203
-
204
-
205
-
206
-
207
-
208
-
209
-
210
-
211
-
212
-
213
-
214
-
215
-
216
-
217
-
218
-
219
-
220
 |
 |