Sony DCR-TRV70 Operating Instructions - Page 28
Recording a picture, After recording, Adjusting the LCD screen, Notes
 |
View all Sony DCR-TRV70 manuals
Add to My Manuals
Save this manual to your list of manuals |
Page 28 highlights
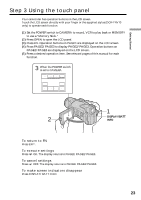
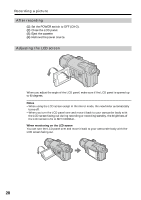
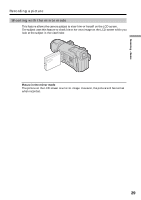
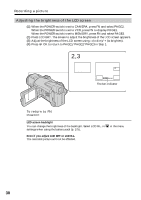
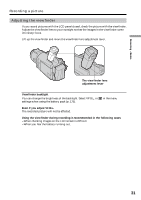
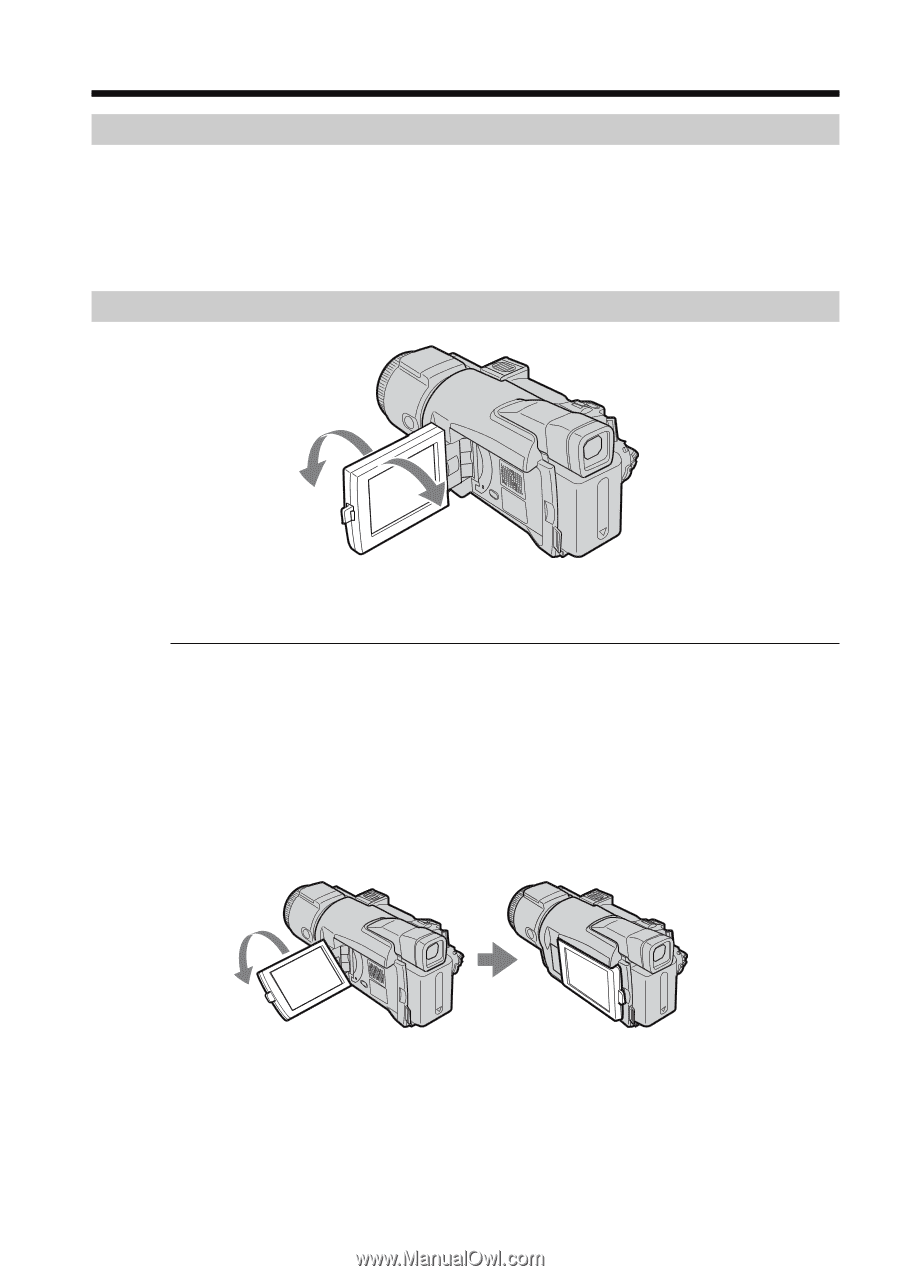
Recording a picture After recording (1) Set the POWER switch to OFF (CHG). (2) Close the LCD panel. (3) Eject the cassette. (4) Remove the power source. Adjusting the LCD screen 180° 90° When you adjust the angle of the LCD panel, make sure if the LCD panel is opened up to 90 degrees. Notes •When using the LCD screen except in the mirror mode, the viewfinder automatically turns off. •When you turn the LCD panel over and move it back to your camcorder body with the LCD screen facing out during recording or recording standby, the brightness of the LCD screen is fix to BRT NORMAL. When monitoring on the LCD screen You can turn the LCD panel over and move it back to your camcorder body with the LCD screen facing out. 28
-
 1
1 -
2
-
3
-
4
-
5
-
6
-
7
-
8
-
9
-
10
-
11
-
12
-
13
-
14
-
15
-
16
-
17
-
18
-
19
-
20
-
21
-
22
-
 23
23 -
 24
24 -
 25
25 -
 26
26 -
 27
27 -
 28
28 -
 29
29 -
 30
30 -
 31
31 -
 32
32 -
 33
33 -
34
-
35
-
36
-
37
-
38
-
39
-
40
-
41
-
42
-
43
-
44
-
45
-
46
-
47
-
48
-
49
-
50
-
51
-
52
-
53
-
54
-
55
-
56
-
57
-
58
-
59
-
60
-
61
-
62
-
63
-
64
-
65
-
66
-
67
-
68
-
69
-
70
-
71
-
72
-
73
-
74
-
75
-
76
-
77
-
78
-
79
-
80
-
81
-
82
-
83
-
84
-
85
-
86
-
87
-
88
-
89
-
90
-
91
-
92
-
93
-
94
-
95
-
96
-
97
-
98
-
99
-
100
-
101
-
102
-
103
-
104
-
105
-
106
-
107
-
108
-
109
-
110
-
111
-
112
-
113
-
114
-
115
-
116
-
117
-
118
-
119
-
120
-
121
-
122
-
123
-
124
-
125
-
126
-
127
-
128
-
129
-
130
-
131
-
132
-
133
-
134
-
135
-
136
-
137
-
138
-
139
-
140
-
141
-
142
-
143
-
144
-
145
-
146
-
147
-
148
-
149
-
150
-
151
-
152
-
153
-
154
-
155
-
156
-
157
-
158
-
159
-
160
-
161
-
162
-
163
-
164
-
165
-
166
-
167
-
168
-
169
-
170
-
171
-
172
-
173
-
174
-
175
-
176
-
177
-
178
-
179
-
180
-
181
-
182
-
183
-
184
-
185
-
186
-
187
-
188
-
189
-
190
-
191
-
192
-
193
-
194
-
195
-
196
-
197
-
198
-
199
-
200
-
201
-
202
-
203
-
204
-
205
-
206
-
207
-
208
-
209
-
210
-
211
-
212
-
213
-
214
-
215
-
216
-
217
-
218
-
219
-
220
 |
 |
28
Recording a picture
After recording
(
1
)
Set the POWER switch to OFF (CHG).
(
2
)
Close the LCD panel.
(
3
)
Eject the cassette.
(
4
)
Remove the power source.
Adjusting the LCD screen
When you adjust the angle of the LCD panel, make sure if the LCD panel is opened up
to 90 degrees.
Notes
•When using the LCD screen except in the mirror mode, the viewfinder automatically
turns off.
•When you turn the LCD panel over and move it back to your camcorder body with
the LCD screen facing out during recording or recording standby, the brightness of
the LCD screen is fix to BRT NORMAL.
When monitoring on the LCD screen
You can turn the LCD panel over and move it back to your camcorder body with the
LCD screen facing out.
180
°
90
°