Sony SNC-DF40N User Guide - Page 17
Logging in to Home Welcome Logging in as a User - ip camera
 |
View all Sony SNC-DF40N manuals
Add to My Manuals
Save this manual to your list of manuals |
Page 17 highlights
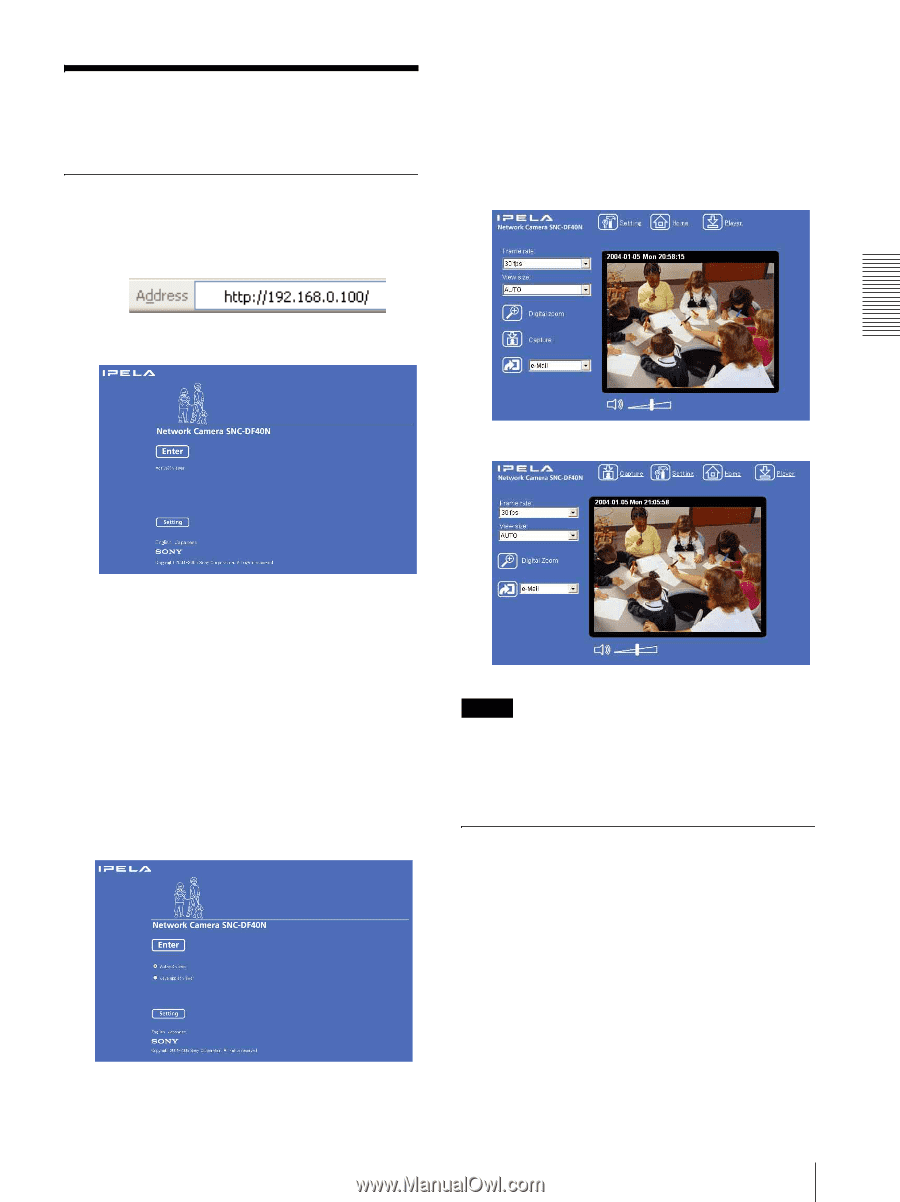
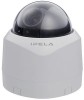
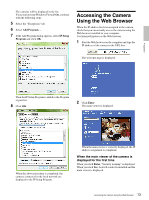
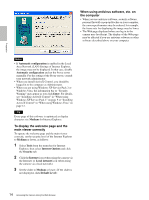
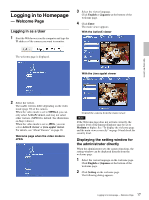
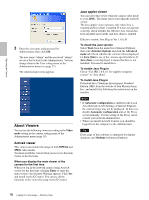
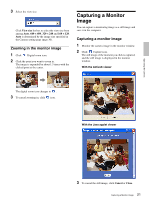
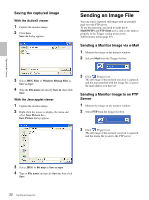
Logging in to Homepage - Welcome Page Logging in as a User 1 Start the Web browser on the computer and type the IP address of the camera you want to monitor. 3 Select the viewer language. Click English or Japanese at the bottom of the welcome page. 4 Click Enter. The main viewer appears. With the ActiveX viewer The welcome page is displayed. With the Java applet viewer Operating the Camera 2 Select the viewer. The usable viewers differ depending on the video mode (page 30) of the camera. When the video mode is set to MPEG4, you can only select ActiveX viewer, and may not select other viewers. (MPEG4 is default. See illustration on Step 1 above.) When the video mode is set to JPEG, you can select ActiveX viewer or Java applet viewer. For details, see "About Viewers" on page 18. Welcome page when the video mode is JPEG Control the camera from the main viewer. Note If the Welcome page does not activate correctly, the security level of the Internet Explorer may be set to Medium or higher. See "To display the welcome page and the main viewer correctly" on page 14 and check the security level. Displaying the setting window for the administrator directly When the administrator sets the camera functions, the setting window can be displayed directly from the welcome page. 1 Select the viewer language on the welcome page. Click English or Japanese at the bottom of the welcome page. 2 Click Setting on the welcome page. The following dialog appears. 17 Logging in to Homepage - Welcome Page
-
 1
1 -
2
-
3
-
4
-
5
-
6
-
7
-
8
-
9
-
10
-
11
-
 12
12 -
 13
13 -
 14
14 -
 15
15 -
 16
16 -
 17
17 -
 18
18 -
 19
19 -
 20
20 -
 21
21 -
 22
22 -
23
-
24
-
25
-
26
-
27
-
28
-
29
-
30
-
31
-
32
-
33
-
34
-
35
-
36
-
37
-
38
-
39
-
40
-
41
-
42
-
43
-
44
-
45
-
46
-
47
-
48
-
49
-
50
-
51
-
52
-
53
-
54
-
55
-
56
-
57
-
58
-
59
-
60
-
61
-
62
-
63
-
64
-
65
-
66
-
67
-
68
-
69
 |
 |