Sony SNC-DF40N User Guide - Page 28
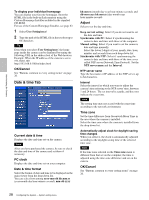
Date & time Tab, OK/Cancel, Current date & time, PC clock, Date & time format, Adjust
 |
View all Sony SNC-DF40N manuals
Add to My Manuals
Save this manual to your list of manuals |
Page 28 highlights
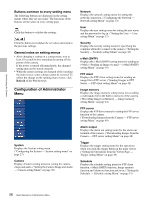
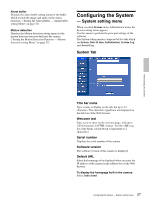
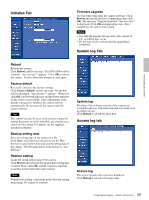
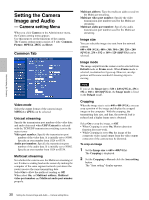
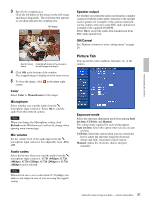
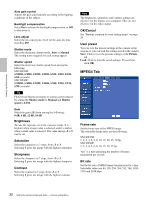
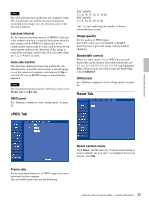
Administrating the Camera To display your individual homepage You can display your favorite homepage. Store the HTML file in the built-in flash memory using the Custom Homepage Installer included in the supplied CD-ROM. For use of the Custom Homepage Installer, see page 63. 1 Select User Setting/user/. 2 Type the path of the HTML file in the text box up to 64 characters. Tip Even when you select User Setting/user/, the home page inside the camera can be displayed by typing the following URL in the address box of the Web browser. Example: When the IP address of the camera is set to 192.168.0.100 http://192.168.0.100/en/index.html OK/Cancel See "Buttons common to every setting menu" on page 26. Date & time Tab Current date & time Displays the date and time set on the camera. Note After you have purchased the camera, be sure to check the date and time of the camera and set them if necessary. PC clock Displays the date and time set on your computer. Date & time format Select the format of date and time to be displayed on the main viewer from the drop-down list. You can select from among yyyy-mm-dd hh:mm:ss (year-month-day hour:minute:second), mm-dd-yyyy hh:mm:ss (month-day-year hour:minute:second), and dd-mm-yyyy hh:mm:ss (day-month-year hour:minute:second). Adjust Select to set the day and time. Keep current setting: Select if you do not need to set the date and time. Synchronize with PC: Select if synchronizing the camera's date and time with those of the computer. Manual setting: Select if you want to set the camera's date and time manually. Select the lower 2-digits of year, month, date, hour, minutes and seconds from each drop-down list. Synchronize with NTP: Select if synchronizing the camera's date and time with those of the time sever called NTP server (Network Time Protocol). Set the NTP server name and the Interval. NTP server name Type the host name or IP address of the NTP server, up to 64 characters. Interval Select the interval at which you want to adjust the camera's time referring to the NTP server' time, between 1 and 24 hours. The set interval is a guide, and does not indicate the exact time. Note The setting time may not accord with the exact time according to the network environment. Time zone Set the time difference from Greenwich Mean Time in the area where the camera is installed. Select the time zone where the camera is installed from the drop-down list. Automatically adjust clock for daylight saving time changes When you select it, the clock is automatically adjusted according to the daylight saving time of the selected time zone. Note If the time zone selected on the Time zone menu is different from that set on the computer, the time is adjusted using the time zone difference and set on the camera. OK/Cancel See "Buttons common to every setting menu" on page 26. 28 Configuring the System - System setting menu
-
 1
1 -
2
-
3
-
4
-
5
-
6
-
7
-
8
-
9
-
10
-
11
-
12
-
13
-
14
-
15
-
16
-
17
-
18
-
19
-
20
-
21
-
22
-
 23
23 -
 24
24 -
 25
25 -
 26
26 -
 27
27 -
 28
28 -
 29
29 -
 30
30 -
 31
31 -
 32
32 -
 33
33 -
34
-
35
-
36
-
37
-
38
-
39
-
40
-
41
-
42
-
43
-
44
-
45
-
46
-
47
-
48
-
49
-
50
-
51
-
52
-
53
-
54
-
55
-
56
-
57
-
58
-
59
-
60
-
61
-
62
-
63
-
64
-
65
-
66
-
67
-
68
-
69
 |
 |
