Sony SNC-DF40N User Guide - Page 20
Monitor Image, Controlling the Monitor Image, Monitoring the camera image - df40p
 |
View all Sony SNC-DF40N manuals
Add to My Manuals
Save this manual to your list of manuals |
Page 20 highlights
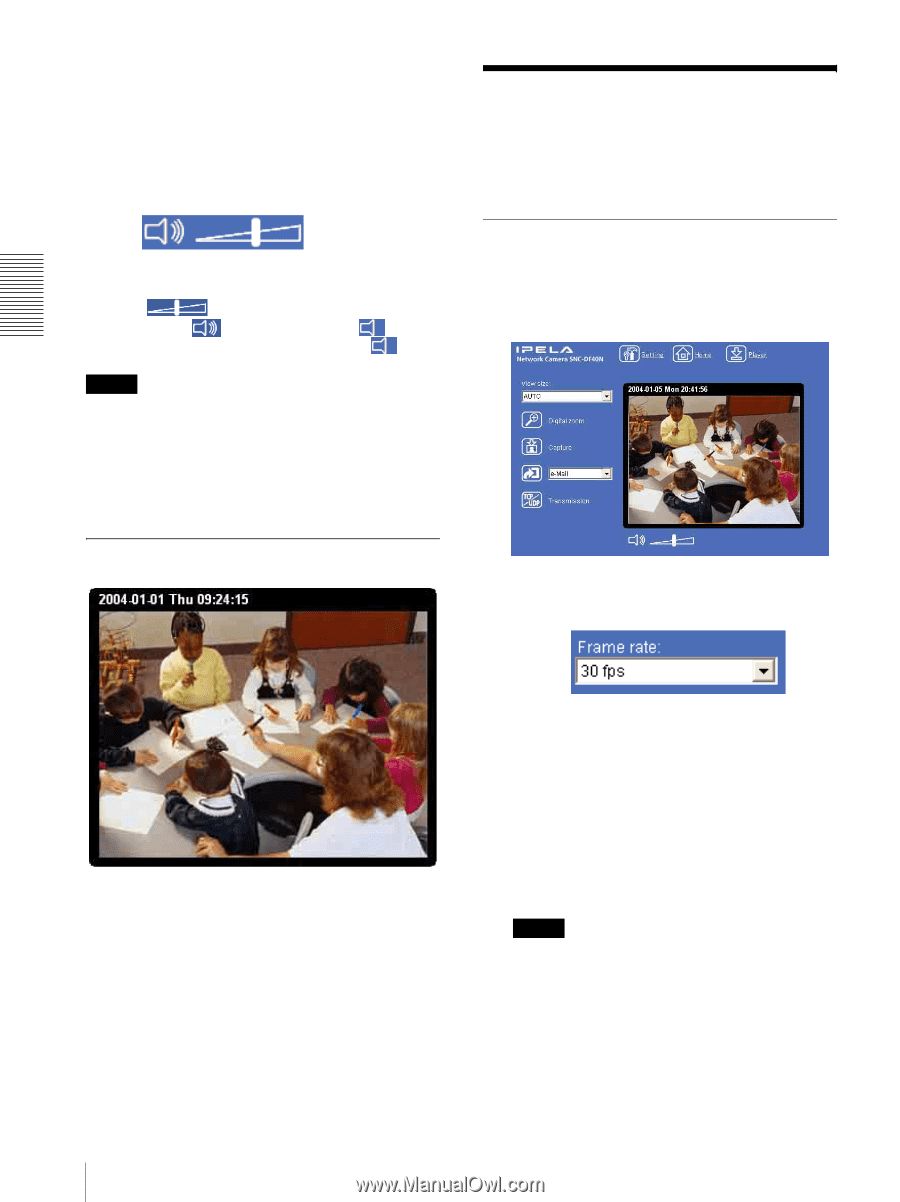
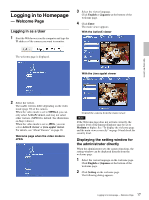
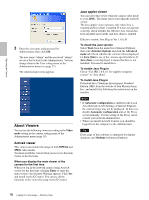
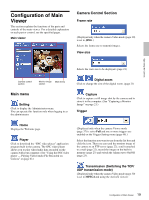
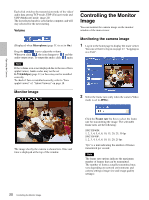
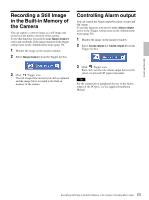
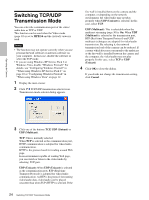
Operating the Camera Each click switches the transmission mode of the video/ audio data among TCP mode, UDP (Unicast) mode and UDP (Multicast) mode. (page 24) The last selected mode is saved in the computer, and will stay selected for the next starting. Volume (Displayed when Microphone (page 31) is set to On.) Drag the bar to adjust the volume. When you click , the icon changes to and the audio output stops. To output the audio, click again. Note If the volume icon is not displayed due to the use of Java applet viewer, Audio codec may not be set G.711(64kbps) (page 31) or Java may not be installed correctly. To check if Java is installed correctly, refer to "Java applet viewer" of "About Viewers" on page 18. Monitor Image Controlling the Monitor Image You can monitor the camera image on the monitor window of the main viewer. Monitoring the camera image 1 Log in to the home page to display the main viewer. You can see how to log in on page 17, "Logging in as a User". 2 Select the frame rate (only when the camera Video mode is set to JPEG). The image shot by the camera is shown here. Date and time is displayed at the top of the window. Click the Frame rate list box to select the frame rate for transmitting the image. The selectable frame rates are the following: SNC-DF40N: 1, 2, 3, 4, 5, 6, 8, 10, 15, 20, 25, 30 fps SNC-DF40P: 1, 2, 3, 4, 5, 6, 8, 10, 15, 20, 25 fps "fps" is a unit indicating the number of frames transmitted per second. Note The frame rate options indicate the maximum number of frames that can be transmitted. The number of frames actually transmitted may vary depending on network environments and camera settings (image size and image quality settings). 20 Controlling the Monitor Image
-
 1
1 -
2
-
3
-
4
-
5
-
6
-
7
-
8
-
9
-
10
-
11
-
12
-
13
-
14
-
 15
15 -
 16
16 -
 17
17 -
 18
18 -
 19
19 -
 20
20 -
 21
21 -
 22
22 -
 23
23 -
 24
24 -
 25
25 -
26
-
27
-
28
-
29
-
30
-
31
-
32
-
33
-
34
-
35
-
36
-
37
-
38
-
39
-
40
-
41
-
42
-
43
-
44
-
45
-
46
-
47
-
48
-
49
-
50
-
51
-
52
-
53
-
54
-
55
-
56
-
57
-
58
-
59
-
60
-
61
-
62
-
63
-
64
-
65
-
66
-
67
-
68
-
69
 |
 |