Sony SNC-DF40N User Guide - Page 64
Agree, Use HTTP proxy server, When using an HTTP proxy server
 |
View all Sony SNC-DF40N manuals
Add to My Manuals
Save this manual to your list of manuals |
Page 64 highlights
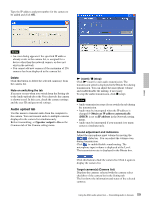
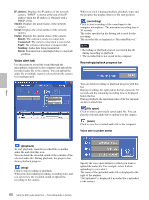
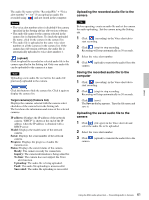
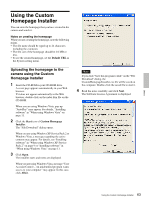
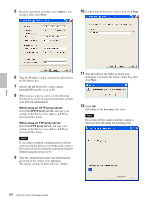
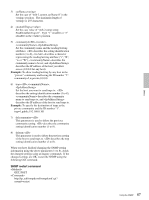
5 Read the agreement carefully, select Agree if you accept it, then click Next. 10 Confirm that all items are correct, then click Next. Others 6 Type the IP address of the camera to be uploaded in the IP address box. 7 Specify the HTTP port No. of the camera. Initial HTTP port No. is set to 80. 8 When you use a proxy server, set the following: For the proxy server of your environments, consult your network administrator. When using an HTTP proxy server: Select Use HTTP proxy server, and type your settings in the Proxy server address and Proxy server port No. boxes. When using an FTP proxy server: Select Use FTP proxy server, and type your settings in the Proxy server address and Proxy server port No. boxes. Note If you cannot establish communications with the camera using the proxy server being used, connect the camera to the local network and run the installer without using the proxy server. 9 Type the Administrator name and Administrator password of the camera to be uploaded. The factory settings of both items are "admin." 11 Type the path for the folder in which your homepage is stored in the Source folder box, then click Next. 12 Click OK. Uploading of the homepage file starts. Note Do not turn off the camera until the camera is rebooted after uploading the homepage file. 64 Using the Custom Homepage Installer
-
 1
1 -
2
-
3
-
4
-
5
-
6
-
7
-
8
-
9
-
10
-
11
-
12
-
13
-
14
-
15
-
16
-
17
-
18
-
19
-
20
-
21
-
22
-
23
-
24
-
25
-
26
-
27
-
28
-
29
-
30
-
31
-
32
-
33
-
34
-
35
-
36
-
37
-
38
-
39
-
40
-
41
-
42
-
43
-
44
-
45
-
46
-
47
-
48
-
49
-
50
-
51
-
52
-
53
-
54
-
55
-
56
-
57
-
58
-
 59
59 -
 60
60 -
 61
61 -
 62
62 -
 63
63 -
 64
64 -
 65
65 -
 66
66 -
 67
67 -
 68
68 -
 69
69
 |
 |
