Toshiba 40S51U Owners Manual - Page 26
Navigating the menu system
 |
View all Toshiba 40S51U manuals
Add to My Manuals
Save this manual to your list of manuals |
Page 26 highlights
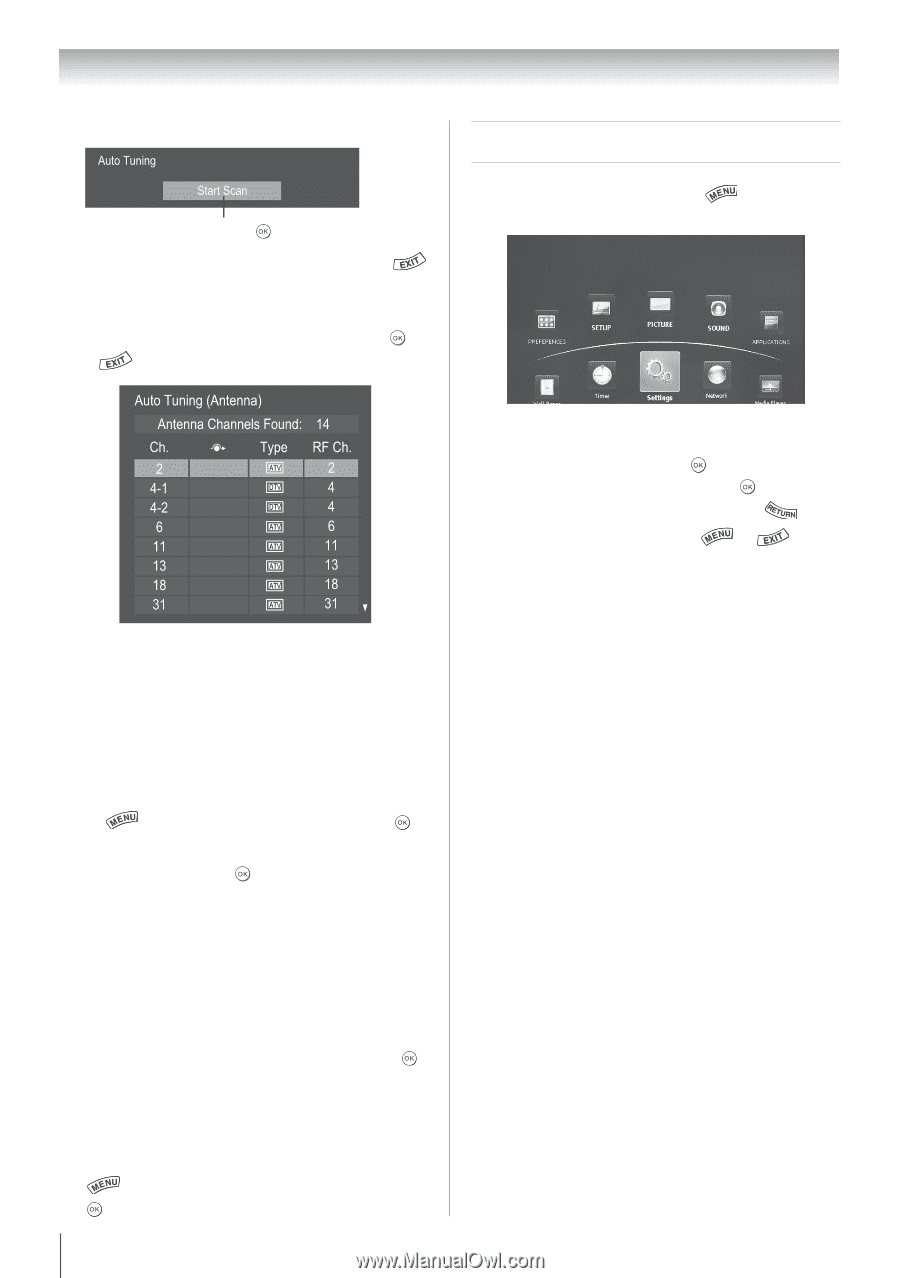
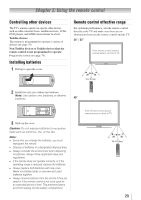
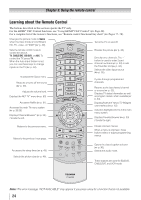
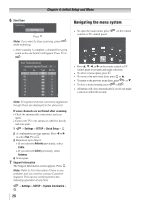
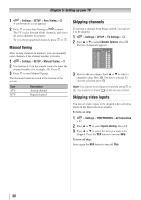
Chapter 4: Initial Setup and Menu 6無 Start Scan Auto Tuning Start Scan Press . Note: If you want to stop scanning, press while scanning. • After scanning is complete, a channel list screen (such as the one below) will appear. Press or . Navigating the menu system • To open the main menu, press control or TV control panel. on the remote • Press p, q, t, or u on the remote control or TV control panel to navigate and make selections. • To select a menu option, press . • To move to the next menu layer, press or p. • To return to the previous menu layer, press or q. • To close a menu instantly, press or . • All menus will close automatically if you do not make a selection within 60 seconds. Note: Encrypted channels cannot be registered though these are displayed in the above list. If some channels are not found after scanning: • Check the antenna/cable connections, and scan again. • Connect the TV to the antenna or cable box directly and scan again. 1無 > Settings > SETUP > Quick Setup > . 2無 A confirmation message appears. Press t or u to select Yes. Press . 3無 Repeat set up to Step 6. • If you selected Antenna previously, select Cable. • If you selected Cable previously, select Antenna. 4無 Scan again. 7無 Support Information The Support Information screen appears. Press . Note: Refer to this information if there is any problem and you need to contact Customer Support. This can be confirmed from the following operation at any time. > Settings > SETUP > System Information > . 26
-
 1
1 -
2
-
3
-
4
-
5
-
6
-
7
-
8
-
9
-
10
-
11
-
12
-
13
-
14
-
15
-
16
-
17
-
18
-
19
-
20
-
 21
21 -
 22
22 -
 23
23 -
 24
24 -
 25
25 -
 26
26 -
 27
27 -
 28
28 -
 29
29 -
 30
30 -
 31
31 -
32
-
33
-
34
-
35
-
36
-
37
-
38
-
39
-
40
-
41
-
42
-
43
-
44
-
45
-
46
-
47
-
48
-
49
-
50
-
51
-
52
-
53
-
54
-
55
-
56
-
57
-
58
-
59
-
60
-
61
-
62
-
63
-
64
-
65
-
66
-
67
-
68
-
69
-
70
-
71
-
72
-
73
-
74
-
75
-
76
-
77
-
78
-
79
-
80
-
81
-
82
-
83
-
84
-
85
-
86
-
87
-
88
-
89
-
90
-
91
-
92
 |
 |