Yamaha CS6R Owner's Manual - Page 41
Ideal for Playing Live
 |
View all Yamaha CS6R manuals
Add to My Manuals
Save this manual to your list of manuals |
Page 41 highlights
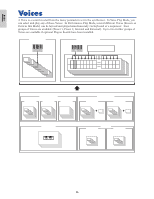
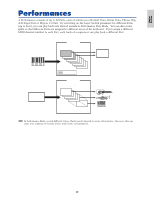
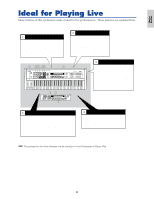
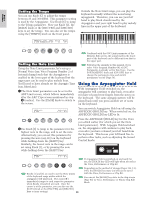
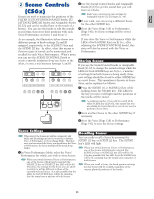
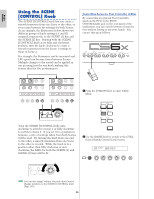
Basics Section Ideal for Playing Live Many features of this synthesizer make it ideal for live performances. These features are explained here. 11 Using the Arpeggiator (Page 42) A wide variety of arpeggio patterns can be created automatically by just holding down a set of notes on the keyboard. You can specify the sound and the note range within which the arpeggiator is active, then use your left hand to hold down the notes being arpeggiated while using your right hand to play a melody line. 22 Using the Scene (CS6x) Controls (Page 45) Using the Sound Control knobs, you can edit sounds with ease. You can then assign two of these edits as Scenes, then switch between them or create a mix of the two in real time using the SCENE [1] or [2] keys and [CONTROL] knob on the front panel, or even a Foot CS6x Rear Panel POWER 33 Using the Controllers (Page 47) The Pitch Bend Wheel, Modulation Wheel can be freely assigned to control various sound parameters in real time. By connecting an optional Foot Controller or Foot Switch, you can also use your feet to control parameters, to change Program Number, and so on (Page 52). Also, you can assign parameters to Knobs [A], [B], [C], [1] and [2] on the front panel below the LCD. CS6R 44 Using Phrase Clips (Page 53) Existing Phrase Clips (waveform data) can be read or you can create your own Phrase Clips by recording from external audio sources, such as CD players. Rhythm loops and breakbeats can easily be created. Assign a variety of Phrase Clips to notes on the keyboard to form a Clip Kit (of which you can create up to four). Then play this Clip Kit live or assign it to a Part in a Performance for playback using a sequencer. 55 Other Features (Page 59) In addition to the Sound Control knobs, there is also a knob and an [ON/OFF] key for Portamento. These conveniently let you switch Portamento on or off and adjust the Portamento time in real time (CS6x). The parameters for these features can be stored per Voice/Performance/Phrase Clip. 41
-
 1
1 -
2
-
3
-
4
-
5
-
6
-
7
-
8
-
9
-
10
-
11
-
12
-
13
-
14
-
15
-
16
-
17
-
18
-
19
-
20
-
21
-
22
-
23
-
24
-
25
-
26
-
27
-
28
-
29
-
30
-
31
-
32
-
33
-
34
-
35
-
 36
36 -
 37
37 -
 38
38 -
 39
39 -
 40
40 -
 41
41 -
 42
42 -
 43
43 -
 44
44 -
 45
45 -
 46
46 -
47
-
48
-
49
-
50
-
51
-
52
-
53
-
54
-
55
-
56
-
57
-
58
-
59
-
60
-
61
-
62
-
63
-
64
-
65
-
66
-
67
-
68
-
69
-
70
-
71
-
72
-
73
-
74
-
75
-
76
-
77
-
78
-
79
-
80
-
81
-
82
-
83
-
84
-
85
-
86
-
87
-
88
-
89
-
90
-
91
-
92
-
93
-
94
-
95
-
96
-
97
-
98
-
99
-
100
-
101
-
102
-
103
-
104
-
105
-
106
-
107
-
108
-
109
-
110
-
111
-
112
-
113
-
114
-
115
-
116
-
117
-
118
-
119
-
120
-
121
-
122
-
123
-
124
-
125
-
126
-
127
-
128
-
129
-
130
-
131
-
132
-
133
-
134
-
135
-
136
-
137
-
138
-
139
-
140
-
141
-
142
-
143
-
144
-
145
-
146
-
147
-
148
-
149
-
150
-
151
-
152
-
153
-
154
-
155
-
156
-
157
-
158
-
159
-
160
-
161
-
162
-
163
-
164
-
165
-
166
-
167
-
168
-
169
-
170
-
171
-
172
-
173
-
174
-
175
-
176
-
177
-
178
-
179
-
180
-
181
-
182
-
183
-
184
-
185
-
186
-
187
-
188
-
189
-
190
-
191
-
192
-
193
-
194
-
195
-
196
 |
 |
