ZyXEL P-660RU-T3 v2 User Guide - Page 110
Firmware Screen, Only use firmware for your device's specific model. Refer to the label on
 |
View all ZyXEL P-660RU-T3 v2 manuals
Add to My Manuals
Save this manual to your list of manuals |
Page 110 highlights
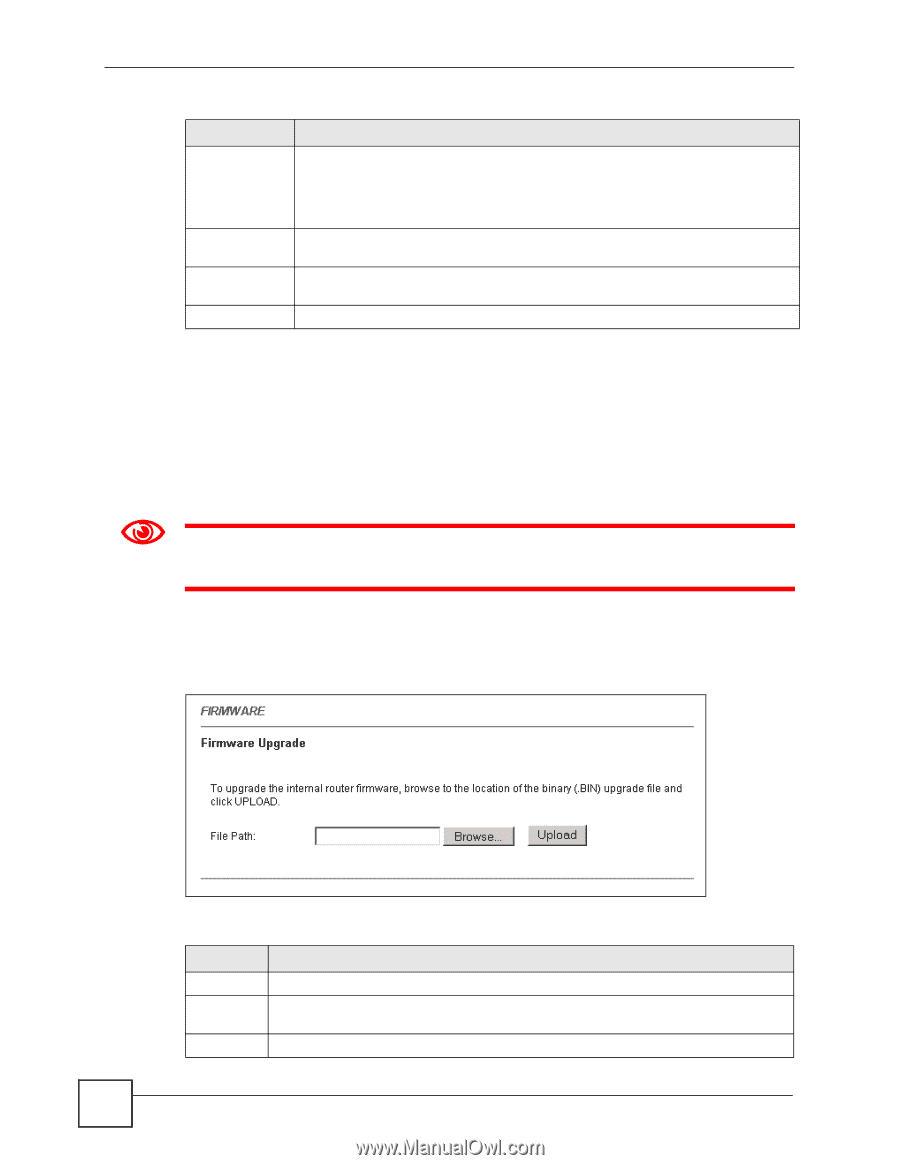
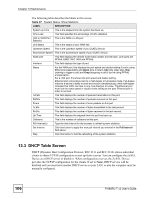
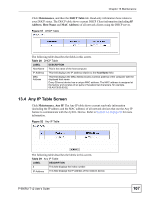
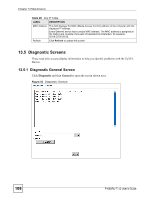
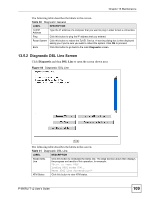
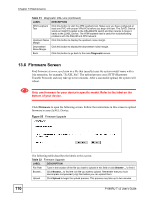
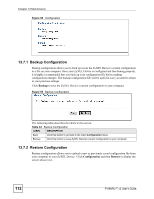
Chapter 13 Maintenance Table 31 Diagnostic: DSL Line (continued) LABEL DESCRIPTION ATM Loopback Test Click this button to start the ATM loopback test. Make sure you have configured at least one PVC with proper VPIs/VCIs before you begin this test. The ZyXEL Device sends an OAM F5 packet to the DSLAM/ATM switch and then returns it (loops it back) to the ZyXEL Device. The ATM loopback test is useful for troubleshooting problems with the DSLAM and ATM network. Upstream Noise Click this button to display the upstream noise margin. Margin Downstream Noise Margin Click this button to display the downstream noise margin. Back Click this button to go back to the main Diagnostic screen. 13.6 Firmware Screen Find firmware at www.zyxel.com in a file that (usually) uses the system model name with a .bin extension, for example, "ZyXEL.bin". The upload process uses HTTP (Hypertext Transfer Protocol) and may take up to two minutes. After a successful upload, the system will reboot. 1 Only use firmware for your device's specific model. Refer to the label on the bottom of your device. Click Firmware to open the following screen. Follow the instructions in this screen to upload firmware to your ZyXEL Device. Figure 55 Firmware Upgrade 110 The following table describes the labels in this screen. Table 32 Firmware Upgrade LABEL DESCRIPTION File Path Type in the location of the file you want to upload in this field or click Browse ... to find it. Browse... Click Browse... to find the .bin file you want to upload. Remember that you must decompress compressed (.zip) files before you can upload them. Upload Click Upload to begin the upload process. This process may take up to two minutes. P-660RU-T v2 User's Guide
-
 1
1 -
2
-
3
-
4
-
5
-
6
-
7
-
8
-
9
-
10
-
11
-
12
-
13
-
14
-
15
-
16
-
17
-
18
-
19
-
20
-
21
-
22
-
23
-
24
-
25
-
26
-
27
-
28
-
29
-
30
-
31
-
32
-
33
-
34
-
35
-
36
-
37
-
38
-
39
-
40
-
41
-
42
-
43
-
44
-
45
-
46
-
47
-
48
-
49
-
50
-
51
-
52
-
53
-
54
-
55
-
56
-
57
-
58
-
59
-
60
-
61
-
62
-
63
-
64
-
65
-
66
-
67
-
68
-
69
-
70
-
71
-
72
-
73
-
74
-
75
-
76
-
77
-
78
-
79
-
80
-
81
-
82
-
83
-
84
-
85
-
86
-
87
-
88
-
89
-
90
-
91
-
92
-
93
-
94
-
95
-
96
-
97
-
98
-
99
-
100
-
101
-
102
-
103
-
104
-
 105
105 -
 106
106 -
 107
107 -
 108
108 -
 109
109 -
 110
110 -
 111
111 -
 112
112 -
 113
113 -
 114
114 -
 115
115 -
116
-
117
-
118
-
119
-
120
-
121
-
122
-
123
-
124
-
125
-
126
-
127
-
128
-
129
-
130
-
131
-
132
-
133
-
134
-
135
-
136
-
137
-
138
-
139
-
140
-
141
-
142
-
143
-
144
-
145
-
146
-
147
-
148
-
149
-
150
-
151
-
152
-
153
-
154
-
155
-
156
-
157
-
158
-
159
-
160
-
161
-
162
-
163
-
164
-
165
-
166
-
167
-
168
 |
 |