3Com 3C17304 Getting Started Guide - Page 36
Connecting the Workstation to the Switch, Configuring the Workstation with IP Information
 |
View all 3Com 3C17304 manuals
Add to My Manuals
Save this manual to your list of manuals |
Page 36 highlights
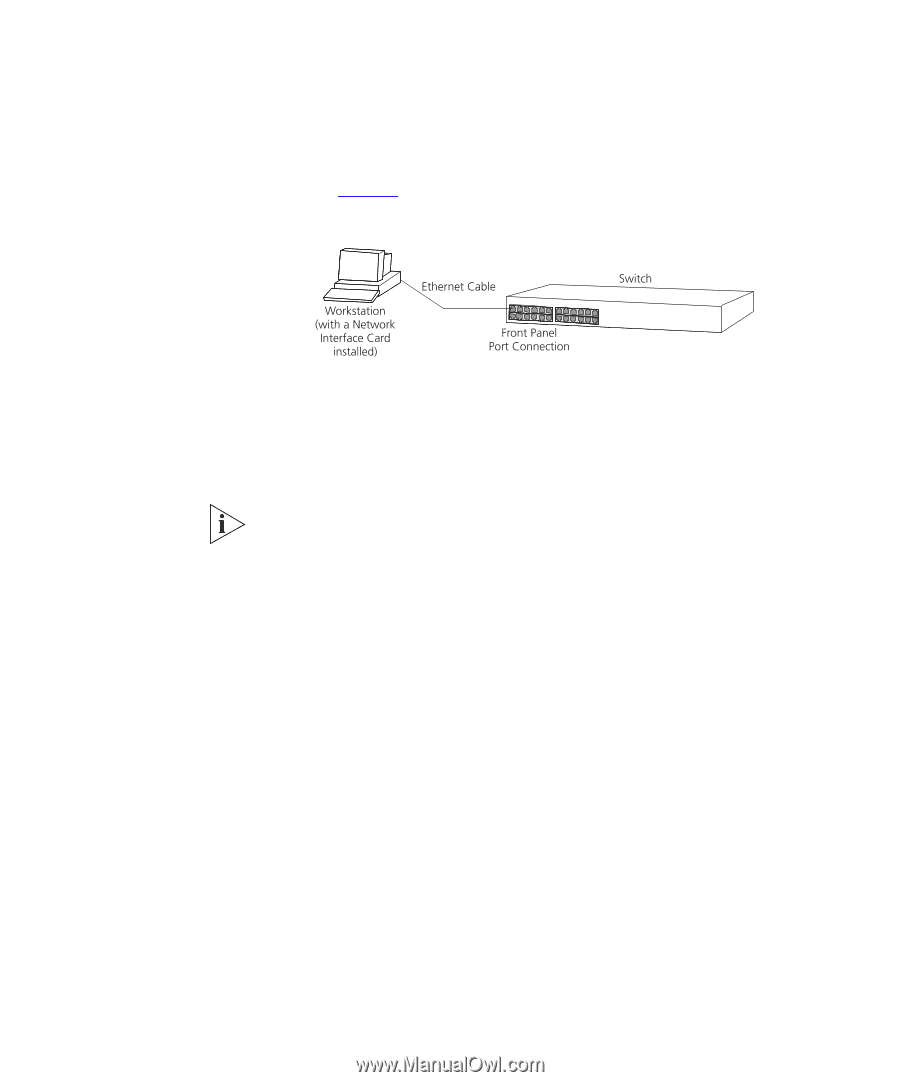
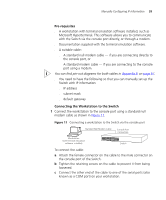
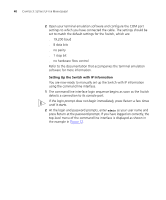
36 CHAPTER 3: SETTING UP FOR MANAGEMENT Connecting the Workstation to the Switch 1 Connect the workstation to a front panel port using an Ethernet cable as shown in Figure 9. Figure 9 Connecting a workstation to the Switch via a front panel port To connect the cable: a Attach an RJ-45 connector at one end of the Ethernet cable to the Network Interface Card (NIC) in the workstation. b Connect the RJ-45 connector at the other end of the cable to one of the front panel ports on the Switch. Do not interconnect the Switch to any other unconfigured Switch. Configuring the Workstation with IP Information You need to change the IP address and subnet mask of the workstation that you have connected to the Switch. Make a note of the existing settings so you can return to them later. Change the workstation to the following settings: ■ IP address - 169.254.100.99 ■ Subnet mask - 255.255.0.0 Setting Up the Switch with IP Information You are now ready to manually set up the Switch with IP information. You can do this using the Web interface or the command line interface (CLI) via telnet. Using the Web Interface 1 Power-up the Switch. This takes approximately one minute. 2 Open a suitable Web browser and enter 169.254.100.100 in the Location Address field. This is the default IP address that is automatically assigned to an offline unit.
-
 1
1 -
2
-
3
-
4
-
5
-
6
-
7
-
8
-
9
-
10
-
11
-
12
-
13
-
14
-
15
-
16
-
17
-
18
-
19
-
20
-
21
-
22
-
23
-
24
-
25
-
26
-
27
-
28
-
29
-
30
-
 31
31 -
 32
32 -
 33
33 -
 34
34 -
 35
35 -
 36
36 -
 37
37 -
 38
38 -
 39
39 -
 40
40 -
 41
41 -
42
-
43
-
44
-
45
-
46
-
47
-
48
-
49
-
50
-
51
-
52
-
53
-
54
-
55
-
56
-
57
-
58
-
59
-
60
-
61
-
62
-
63
-
64
-
65
-
66
-
67
-
68
-
69
-
70
-
71
-
72
-
73
-
74
-
75
-
76
-
77
-
78
-
79
-
80
-
81
-
82
-
83
-
84
 |
 |