Brother International LK3-B432E MKII Instruction Manual - English - Page 48
. Moving stitch patterns, Press the DISPLAY SET switches
 |
View all Brother International LK3-B432E MKII manuals
Add to My Manuals
Save this manual to your list of manuals |
Page 48 highlights
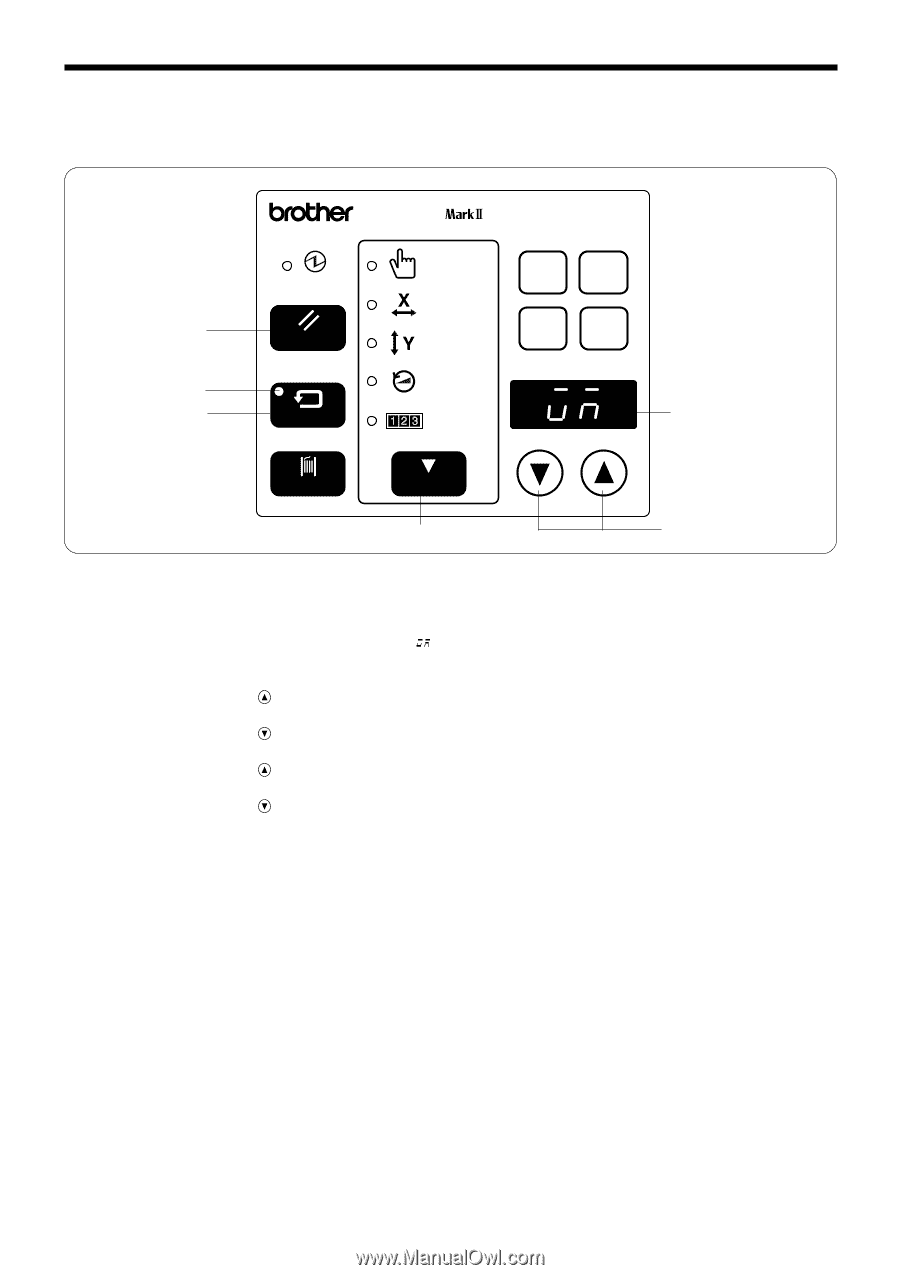
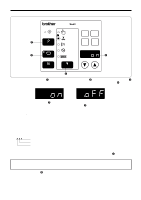
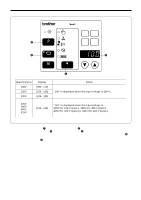
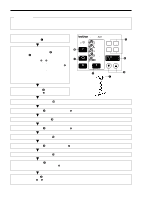
10 . STANDARD ADJUSTMENTS 10-17 . Moving stitch patterns · Programs which have already been programmed can be moved up, down and to the left and right. (However, such patterns will be reset if the power supply is turned off or the program number is changed.) · The feed position can be set to the any position desired. B430E ɹɹɹSeries POWER w P PROGRAM NO. u X-SCALE P1 P2 r i P3 P4 RESET Y-SCALE t SPEED e TEST COUNTER y BOBBIN.WIND SELECT q o 1. Select the program number, and then press the start switch once to move the feed mechanism to the sewing start position. 2. Press the SELECT switch q until the PROGRAM NO. indicator w illuminates. 3. While pressing the TEST switch e, press the RESET switch r. * The TEST indicator t will illuminate and < > will appear in the display window y. 4. Press the SELECT switch q so that either the X-SCALE indicator u or Y-SCALE indicator i illuminates. 5. Press the DISPLAY SET switches o to move the feed mechanism one pulse at a time. • If the DISPLAY SET ( ) switch is pressed while the X-SCALE indicator is illuminated, the feed mecha- nism will move to the left. • If the DISPLAY SET ( ) switch is pressed while the X-SCALE indicator is illuminated, the feed mecha- nism will move to the right. • If the DISPLAY SET ( ) switch is pressed while the Y-SCALE indicator is illuminated, the feed mecha- nism will move down. • If the DISPLAY SET ( ) switch is pressed while the Y-SCALE indicator is illuminated, the feed mecha- nism will move up. 6. When the TEST switch e is pressed after the above fine adjustments have been made, the TEST indicator t and display window y will both switch off and movement of the stitch pattern will be completed. NOTE: When moving the stitch pattern, take the whole of the pattern area into consideration so that no parts extend outside the sewing area when the pattern is sewn. * If you would like to set the feed position to a desired position, carry out steps 2. to 6. above while the display window y is flashing. The stitch pattern will not be moved at this time. LK3-B430E-, B431E-, B432E-, B433E- Mark II 42
-
 1
1 -
2
-
3
-
4
-
5
-
6
-
7
-
8
-
9
-
10
-
11
-
12
-
13
-
14
-
15
-
16
-
17
-
18
-
19
-
20
-
21
-
22
-
23
-
24
-
25
-
26
-
27
-
28
-
29
-
30
-
31
-
32
-
33
-
34
-
35
-
36
-
37
-
38
-
39
-
40
-
41
-
42
-
 43
43 -
 44
44 -
 45
45 -
 46
46 -
 47
47 -
 48
48 -
 49
49 -
 50
50 -
 51
51 -
 52
52 -
 53
53 -
54
-
55
-
56
-
57
-
58
-
59
-
60
-
61
-
62
-
63
-
64
-
65
-
66
-
67
-
68
-
69
-
70
-
71
-
72
-
73
 |
 |