Brother International LK3-B432E MKII Instruction Manual - English - Page 52
Using user programs, Press the DISPLAY SET swithes
 |
View all Brother International LK3-B432E MKII manuals
Add to My Manuals
Save this manual to your list of manuals |
Page 52 highlights
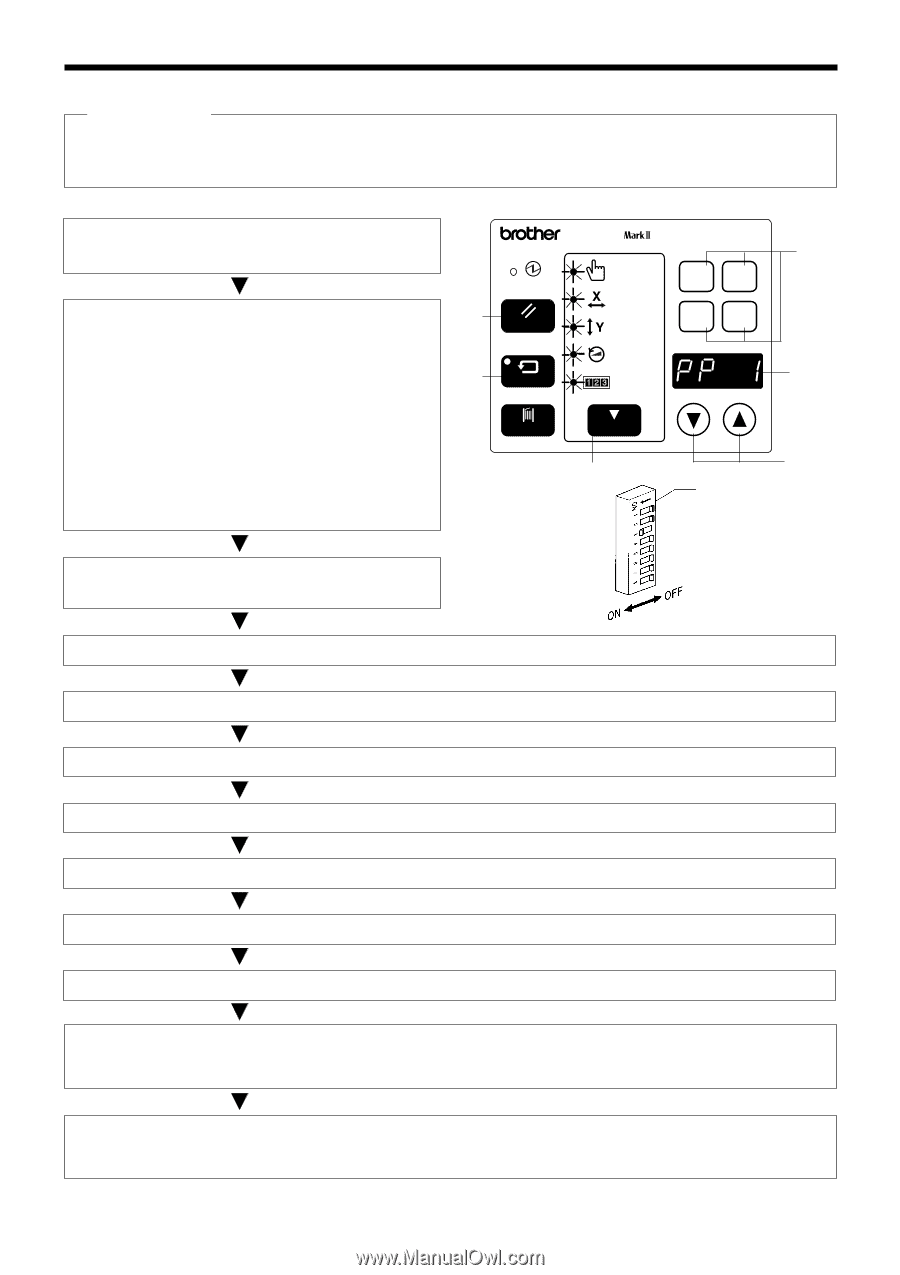
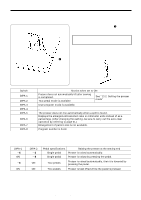
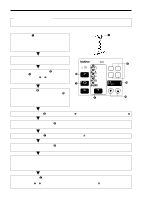
12 . CHANGING FUNCTIONS USING THE DIP SWITCHES 12-4. Using user programs User program ... It can store sixteen different programs which can include details such as the program number, X scale, Y scale and sewing speed. If you are sewing certain patterns over and aver again, it is useful to record the settings for these patterns into a user program. Recording a user program 1. Turn off the power switch and then set DIP switch A-3 of the DIP switches q to ON. 2. Turn on the power switch. While pressing the TEST switch w, press the SELECT switch e. * All of the menu indicators (r to i) will illuminate and the mode will switch to recording mode. * In addition, "PP 1" will appear in the display window o to indicate that user program No.1 is being recorded. (Once recording of No.1 is completed, No.2 will be displayed; once No.2 is completed, No.3 will be displayed. Thus the next unrecorded program letter is always displayed.) B430E ɹɹɹSeries POWER r P t PROGRAM NO. X-SCALE P1 P2 !2 y RESET Y-SCALE P3 P4 u SPEED w TEST i COUNTER BOBBIN.WIND SELECT e q !1 o !0 3. Press the SELECT switch e . * The PROGRAM NO. indicator r will illuminate. 4. Press the DISPLAY SET switches !0 to select the number for the program that you would like to record. 5. Press the SELECT switch e. * The X-SCALE indicator t will illuminate. 6. Press the DISPLAY SET swithes !0 to select the X scale setting that you would like to record. 7. Press the SELECT switch e. * The Y-SCALE indicator y will illuminate. 8. Press the DISPLAY SET switches !0 to select the Y scale setting that you would like to record. 9. Press the SELECT switch e. * The SPEED indicator u will illuminate. 10. Press the DISPLAY SET switches !0 to select the speed setting that you would like to record. 11. Press the SELECT switch e. * This completes the recording of user program No.1. * "PP 2" will then appear in the display window o, to indicate that user program No.2 is now being recorded. Repeat steps 3. through to 11. to record further programs as desired. 12. Press the TEST switch w. This completes the recording. * The menu indicators ( e to i ) will all illuminate and "p1" will appear in the display to indicate that user program No.1 is currently selected. LK3-B430E-, B431E-, B432E-, B433E- Mark II 46
-
 1
1 -
2
-
3
-
4
-
5
-
6
-
7
-
8
-
9
-
10
-
11
-
12
-
13
-
14
-
15
-
16
-
17
-
18
-
19
-
20
-
21
-
22
-
23
-
24
-
25
-
26
-
27
-
28
-
29
-
30
-
31
-
32
-
33
-
34
-
35
-
36
-
37
-
38
-
39
-
40
-
41
-
42
-
43
-
44
-
45
-
46
-
 47
47 -
 48
48 -
 49
49 -
 50
50 -
 51
51 -
 52
52 -
 53
53 -
 54
54 -
 55
55 -
 56
56 -
 57
57 -
58
-
59
-
60
-
61
-
62
-
63
-
64
-
65
-
66
-
67
-
68
-
69
-
70
-
71
-
72
-
73
 |
 |