Compaq 400338-001 HP J1473A 4-port, J1474A 8-port, J1475A Console Switch Rackm - Page 12
Connecting Servers to the Rackmount Console Switch
 |
UPC - 743172745156
View all Compaq 400338-001 manuals
Add to My Manuals
Save this manual to your list of manuals |
Page 12 highlights
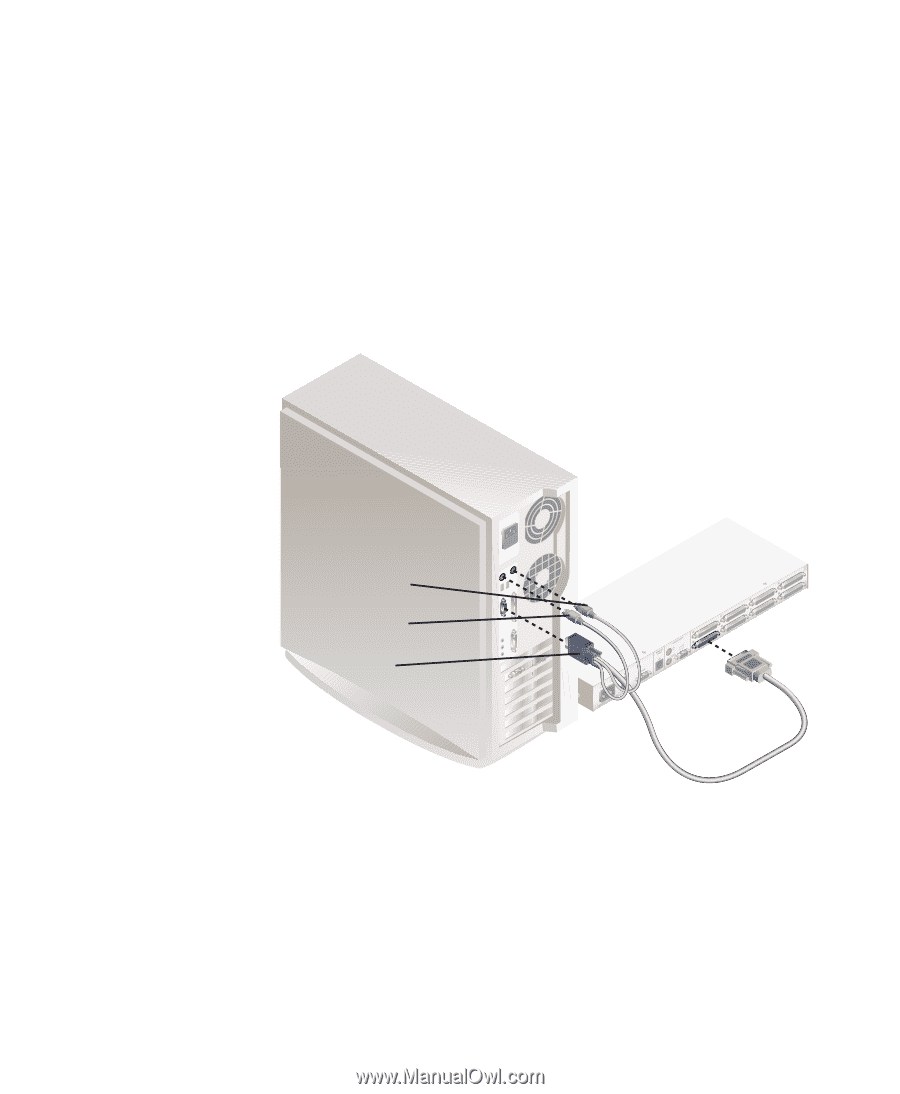
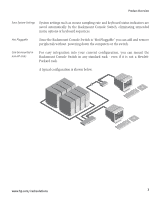
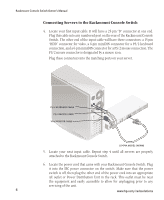
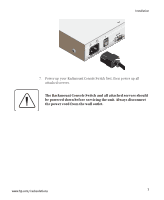
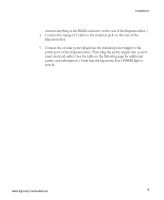
Rackmount Console Switch Owner's Manual Connecting Servers to the Rackmount Console Switch 4. Locate your first input cable. It will have a 25-pin "D" connector at one end. Plug this cable into any numbered port on the rear of the Rackmount Console Switch. The other end of the input cable will have three connectors: a 15-pin "HDD" connector for video, a 6-pin miniDIN connector for a PS/2 keyboard connection, and a 6-pin miniDIN connector for a PS/2 mouse connection. The PS/2 mouse connector is designated by a mouse icon. Plug these connectors into the matching ports on your server. PS/2 KEYBOARD CABLE PS/2 MOUSE CABLE VGA MONITOR CABLE (J1474A MODEL SHOWN) 5. Locate your next input cable. Repeat step 4 until all servers are properly attached to the Rackmount Console Switch. 6. Locate the power cord that came with your Rackmount Console Switch. Plug it into the IEC power connector on the switch. Make sure that the power switch is off, then plug the other end of the power cord into an appropriate AC outlet or Power Distribution Unit in the rack. This outlet must be near the equipment and easily accessible to allow for unplugging prior to any servicing of the unit. 6 www.hp.com/racksolutions
-
 1
1 -
2
-
3
-
4
-
5
-
6
-
 7
7 -
 8
8 -
 9
9 -
 10
10 -
 11
11 -
 12
12 -
 13
13 -
 14
14 -
 15
15 -
 16
16 -
 17
17 -
18
-
19
-
20
-
21
-
22
-
23
-
24
-
25
-
26
-
27
-
28
-
29
-
30
-
31
-
32
-
33
-
34
-
35
-
36
-
37
-
38
-
39
-
40
-
41
-
42
-
43
-
44
-
45
-
46
-
47
-
48
-
49
-
50
-
51
-
52
-
53
-
54
-
55
-
56
-
57
-
58
-
59
-
60
-
61
-
62
-
63
-
64
-
65
-
66
-
67
-
68
-
69
-
70
-
71
-
72
-
73
-
74
-
75
-
76
-
77
-
78
-
79
-
80
-
81
-
82
-
83
-
84
-
85
-
86
-
87
-
88
-
89
-
90
-
91
-
92
-
93
-
94
-
95
-
96
-
97
-
98
-
99
-
100
-
101
-
102
-
103
-
104
-
105
-
106
-
107
-
108
-
109
-
110
-
111
-
112
-
113
-
114
-
115
-
116
-
117
-
118
-
119
-
120
-
121
-
122
-
123
-
124
-
125
-
126
-
127
-
128
-
129
-
130
-
131
-
132
-
133
-
134
-
135
-
136
-
137
-
138
-
139
-
140
-
141
-
142
-
143
-
144
-
145
-
146
-
147
-
148
-
149
-
150
-
151
-
152
-
153
-
154
-
155
-
156
-
157
-
158
-
159
-
160
-
161
-
162
-
163
-
164
-
165
-
166
-
167
-
168
-
169
-
170
-
171
-
172
-
173
-
174
-
175
-
176
-
177
-
178
-
179
-
180
-
181
-
182
-
183
-
184
-
185
-
186
-
187
-
188
-
189
-
190
-
191
-
192
-
193
-
194
-
195
-
196
-
197
-
198
-
199
-
200
-
201
-
202
-
203
-
204
-
205
-
206
-
207
-
208
-
209
-
210
-
211
-
212
-
213
 |
 |