Denon AVR-3312CI AVR3312CI_OwnersManual - Page 30
Making the network settings (Network Setup), Parameter Check
 |
UPC - 883795002042
View all Denon AVR-3312CI manuals
Add to My Manuals
Save this manual to your list of manuals |
Page 30 highlights
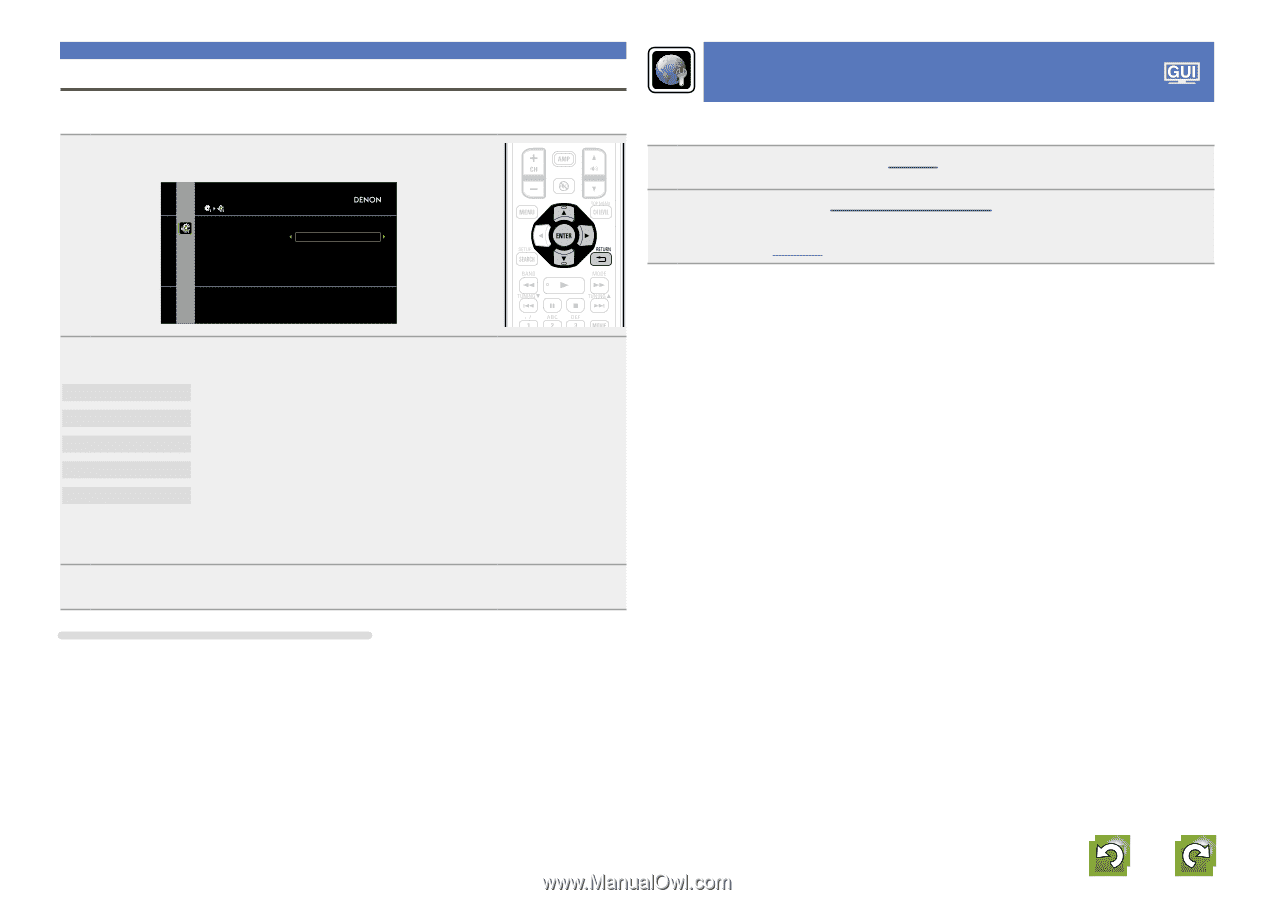
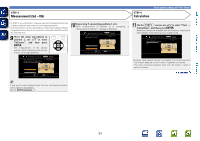
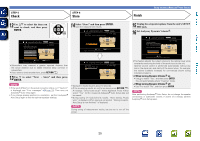
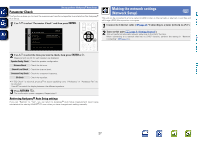
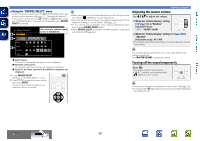
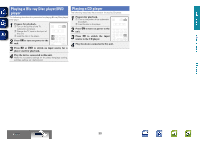
Basic version Advanced version Set up speakers (Audyssey® Auto Setup) Parameter Check This function enables you to check the measurement results and equalizer characteristics after Audyssey® Auto Setup. 1 Use ui to select "Parameter Check" and then press ENTER. SPEAKER SETUP Auto Setup Amp Assign Speaker Config. Bass Setting Distance Channel Level Audyssey Auto Setup Parameter Check Making the network settings (Network Setup) This unit can be connected to a home network (LAN) to listen to Internet radio or play back music files and still image (JPEG) files stored on a computer. 1 Connect the Ethernet cable (vpage 19 "Connecting to a home network (LAN)"). 2 Turn on this unit (C page 5 "Getting Started"). This unit performs automatic network setup due to the DHCP function. When connecting to a network that has no DHCP function, perform the setting in "Network Connecting" (vpage 111). Check auto setup measurement results 2 Use ui to select the item you want to check, then press ENTER or p. Measurement results for each speaker are displayed. Speaker Config. Check Check the speaker configuration. Distance Check Check the distance. Channel Level Check Check the channel level. Crossover Freq. Check Check the crossover frequency. EQ Check Check the equalizer. • If "EQ Check" is selected, press ui to select equalizing curve ("Audyssey" or "Audyssey Flat") to be checked. Use ui to switch the display between the different speakers. 3 Press RETURN B. The confirmation screen reappears. Repeat step 2. Retrieving Audyssey® Auto Setup settings If you set "Restore" to "Yes", you can return to Audyssey® Auto Setup measurement result (value calculated at the start by MultEQ® XT) even when you have changed each setting manually. Information 27
-
 1
1 -
2
-
3
-
4
-
5
-
6
-
7
-
8
-
9
-
10
-
11
-
12
-
13
-
14
-
15
-
16
-
17
-
18
-
19
-
20
-
21
-
22
-
23
-
24
-
 25
25 -
 26
26 -
 27
27 -
 28
28 -
 29
29 -
 30
30 -
 31
31 -
 32
32 -
 33
33 -
 34
34 -
 35
35 -
36
-
37
-
38
-
39
-
40
-
41
-
42
-
43
-
44
-
45
-
46
-
47
-
48
-
49
-
50
-
51
-
52
-
53
-
54
-
55
-
56
-
57
-
58
-
59
-
60
-
61
-
62
-
63
-
64
-
65
-
66
-
67
-
68
-
69
-
70
-
71
-
72
-
73
-
74
-
75
-
76
-
77
-
78
-
79
-
80
-
81
-
82
-
83
-
84
-
85
-
86
-
87
-
88
-
89
-
90
-
91
-
92
-
93
-
94
-
95
-
96
-
97
-
98
-
99
-
100
-
101
-
102
-
103
-
104
-
105
-
106
-
107
-
108
-
109
-
110
-
111
-
112
-
113
-
114
-
115
-
116
-
117
-
118
-
119
-
120
-
121
-
122
-
123
-
124
-
125
-
126
-
127
-
128
-
129
-
130
-
131
-
132
-
133
-
134
-
135
-
136
-
137
-
138
-
139
-
140
-
141
-
142
-
143
-
144
-
145
-
146
-
147
-
148
-
149
-
150
-
151
-
152
-
153
-
154
-
155
-
156
-
157
 |
 |