Garmin Rino 520HCx Owner's Manual - Page 31
Setting up the Map, Orientation, Below, Auto Zoom, Detail, Lock on Road
 |
UPC - 753759066833
View all Garmin Rino 520HCx manuals
Add to My Manuals
Save this manual to your list of manuals |
Page 31 highlights
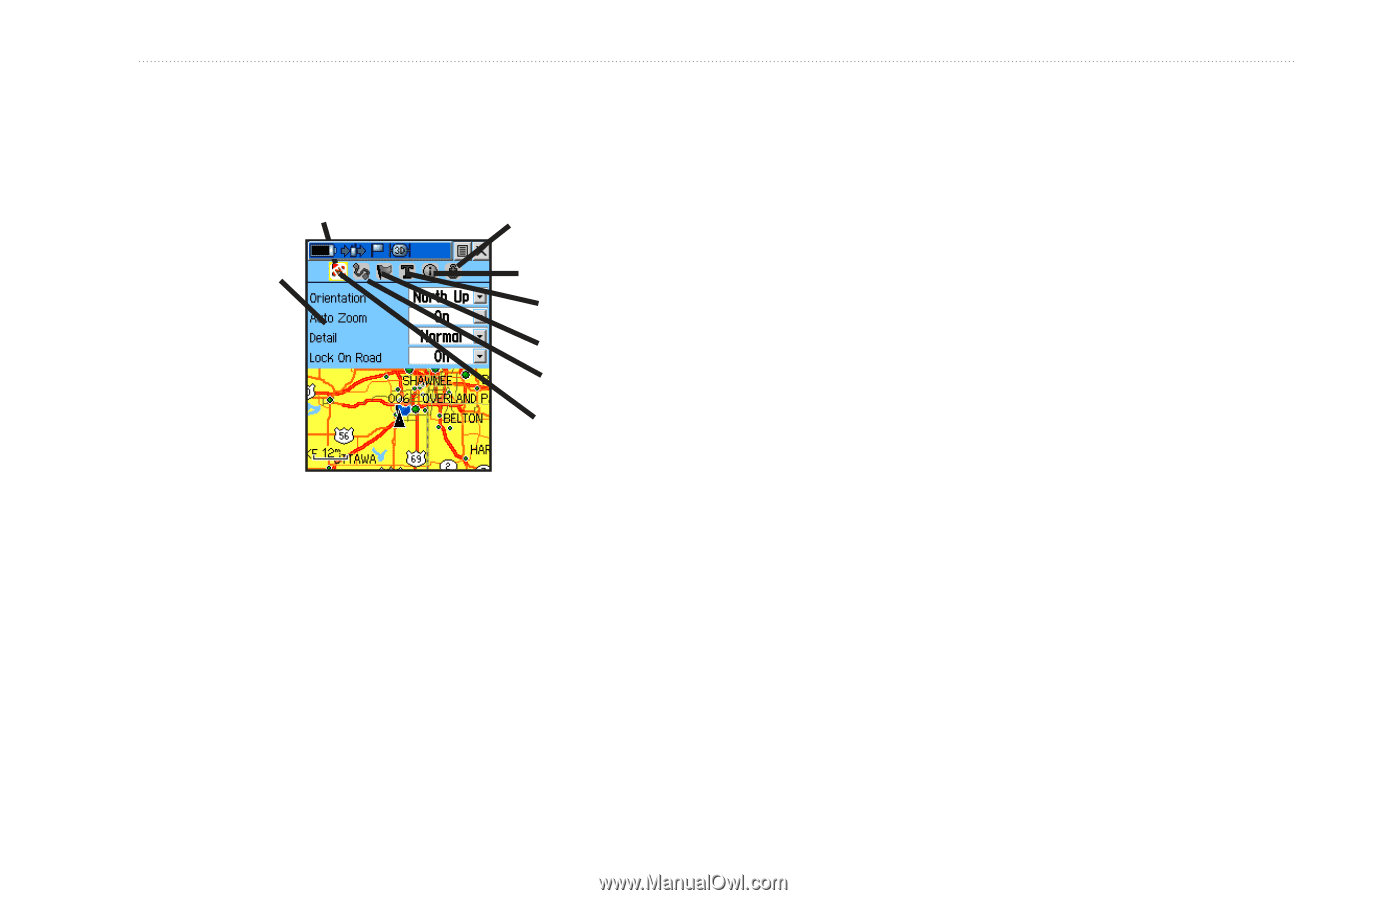
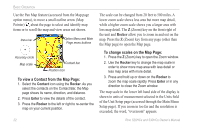
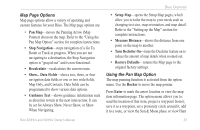
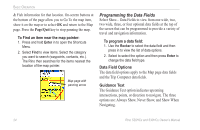
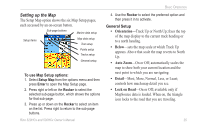
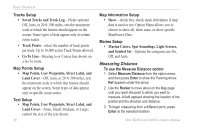
Setting up the Map The Setup Map option shows the six Map Setup pages, each accessed by an on-screen button. Sub-page buttons Marine data setup Setup items Map data setup Text setup Points setup Tracks setup General setup To use Map Setup options: 1. Select Setup Map from the options menu and then press Enter to open the Map Setup page. 2. Press right or left on the Rocker to select the selected sub-page button, which shows the options for that sub-page. 3. Press up or down on the Rocker to select an item on the list. Press right to return to the sub-page buttons. Rino 520HCx and 530HCx Owner's Manual Basic Operation 4. Use the Rocker to select the preferred option and then press it in to activate. General Setup • Orientation-Track Up or North Up; fixes the top of the map display to the current track heading or to a north heading. • Below-sets the map scale at which Track Up appears. Above that scale the map reverts to North Up. • Auto Zoom-On or Off; automatically scales the map to show both your current location and the next point to which you are navigating. • Detail-Most, More, Normal, Less, or Least; controls how much map detail you see. • Lock on Road-On or Off; available only if MapSource data is loaded. When on, the triangle icon locks to the road that you are traveling. 25
-
 1
1 -
2
-
3
-
4
-
5
-
6
-
7
-
8
-
9
-
10
-
11
-
12
-
13
-
14
-
15
-
16
-
17
-
18
-
19
-
20
-
21
-
22
-
23
-
24
-
25
-
 26
26 -
 27
27 -
 28
28 -
 29
29 -
 30
30 -
 31
31 -
 32
32 -
 33
33 -
 34
34 -
 35
35 -
 36
36 -
37
-
38
-
39
-
40
-
41
-
42
-
43
-
44
-
45
-
46
-
47
-
48
-
49
-
50
-
51
-
52
-
53
-
54
-
55
-
56
-
57
-
58
-
59
-
60
-
61
-
62
-
63
-
64
-
65
-
66
-
67
-
68
-
69
-
70
-
71
-
72
-
73
-
74
 |
 |