Garmin Rino 520HCx Owner's Manual - Page 50
Setting up the Track Log, To use Track Log Setup options
 |
UPC - 753759066833
View all Garmin Rino 520HCx manuals
Add to My Manuals
Save this manual to your list of manuals |
Page 50 highlights
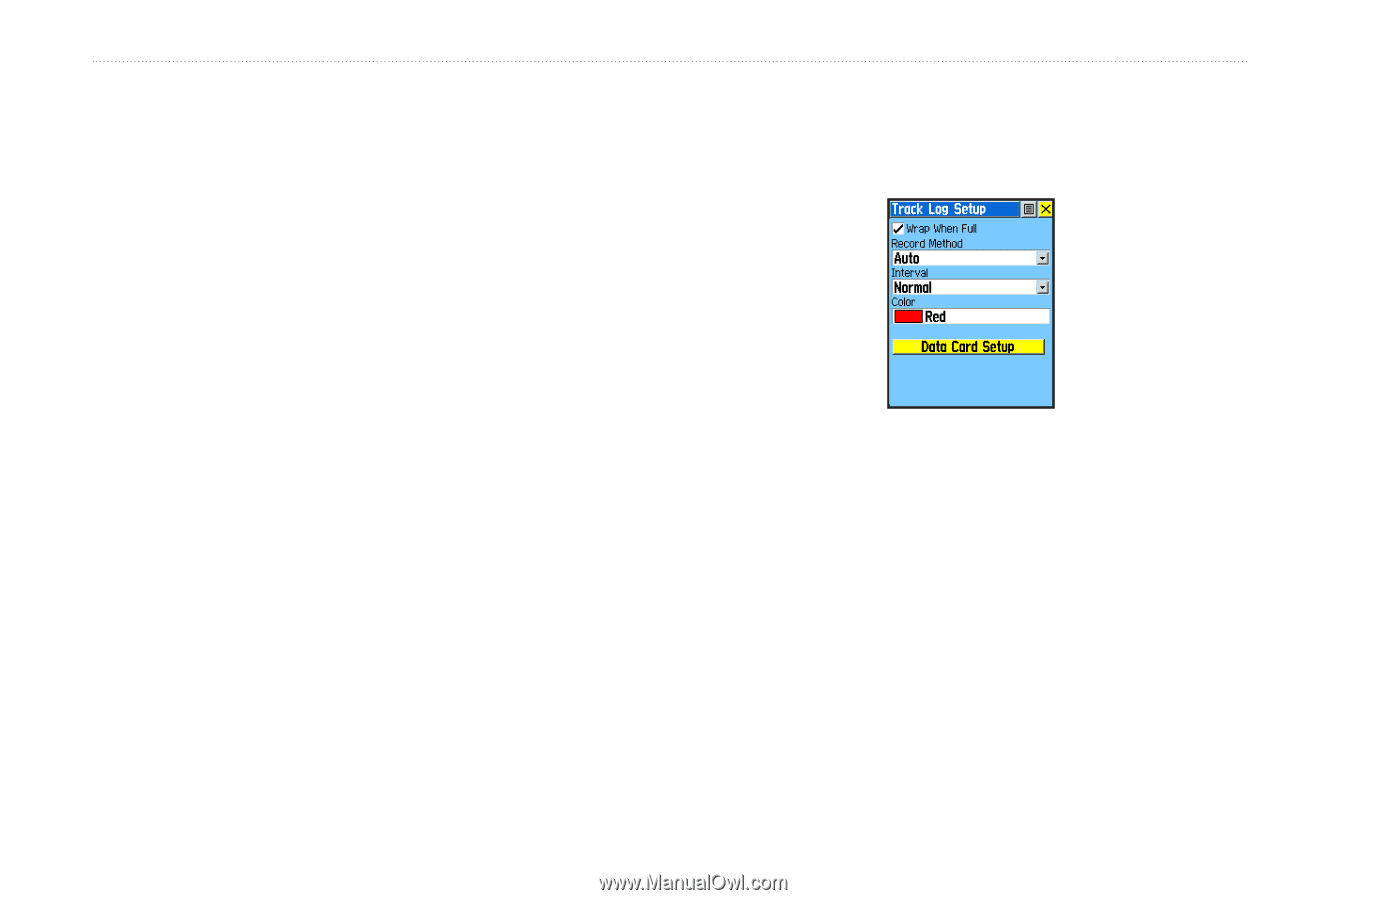
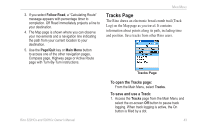
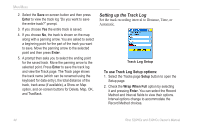
Main Menu 2. Select the Save on-screen button and then press Enter to view the track log "Do you want to save the entire track?" prompt. 3. If you choose Yes the entire track is saved. 4. If you choose No, the track is shown on the map along with a panning arrow. You are asked to select a beginning point for the part of the track you want to save. Move the panning arrow to the selected point and then press Enter. 5. A prompt then asks you to select the ending point for the saved track. Move the panning arrow to the selected point. Press Enter to save the track log and view the Track page. The Track page shows the track name (which can be renamed using the keyboard for data entry), the total distance of the track, track area (if available), a Show on Map option, and on-screen buttons for Delete, Map, OK, and TracBack. Setting up the Track Log Set the track recording interval to Distance, Time, or Automatic. Track Log Setup To use Track Log Setup options: 1. Select the Tracks page Setup button to open the Setup page. 2. Check the Wrap When Full option by selecting it and pressing Enter. You can select the Record Method and Interval fields to view their options. Interval options change to accommodate the Record Method choices. 44 Rino 520HCx and 530HCx Owner's Manual
-
 1
1 -
2
-
3
-
4
-
5
-
6
-
7
-
8
-
9
-
10
-
11
-
12
-
13
-
14
-
15
-
16
-
17
-
18
-
19
-
20
-
21
-
22
-
23
-
24
-
25
-
26
-
27
-
28
-
29
-
30
-
31
-
32
-
33
-
34
-
35
-
36
-
37
-
38
-
39
-
40
-
41
-
42
-
43
-
44
-
 45
45 -
 46
46 -
 47
47 -
 48
48 -
 49
49 -
 50
50 -
 51
51 -
 52
52 -
 53
53 -
 54
54 -
 55
55 -
56
-
57
-
58
-
59
-
60
-
61
-
62
-
63
-
64
-
65
-
66
-
67
-
68
-
69
-
70
-
71
-
72
-
73
-
74
 |
 |