Lexmark Z647 User's Guide for Mac OS 9 - Page 35
Step 2: Customize the print settings, Step 3: Print your transparencies, Setup, U.S. Letter
 |
View all Lexmark Z647 manuals
Add to My Manuals
Save this manual to your list of manuals |
Page 35 highlights
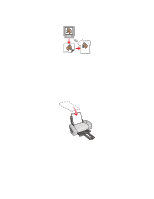
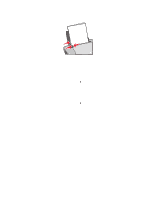
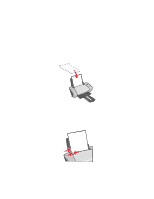
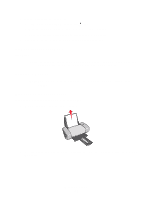
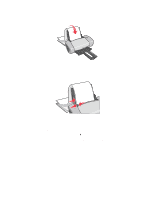
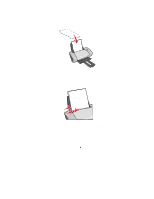
Step 2: Customize the print settings 1 Choose a paper size and orientation: a From the software program, choose File Page Setup. b From the Paper Size pop-up menu, choose A4 or U.S. Letter. c From Orientation, click the portrait or landscape icon. d Click OK. 2 Choose a paper type and print quality: a From the software program, choose File Print. b From the pop-up menu in the upper left corner, choose Paper Type/Quality. c From the Paper Type menu, choose Transparency. d From Print Quality, select your preferred print quality. Normal is the default. Note: Higher print quality settings result in better quality documents, but may take longer to print. Step 3: Print your transparencies Click Print. Note: To prevent smudging, remove each transparency as it exits the printer, and then let it dry before stacking. You can also set extra time between pages as they exit the printer. For help, see the entry "Wait for pages to dry" on page 8. Transparencies may require up to 15 minutes to dry. Printing transparencies 35
-
 1
1 -
2
-
3
-
4
-
5
-
6
-
7
-
8
-
9
-
10
-
11
-
12
-
13
-
14
-
15
-
16
-
17
-
18
-
19
-
20
-
21
-
22
-
23
-
24
-
25
-
26
-
27
-
28
-
29
-
 30
30 -
 31
31 -
 32
32 -
 33
33 -
 34
34 -
 35
35 -
 36
36 -
 37
37 -
 38
38 -
 39
39 -
 40
40 -
41
-
42
-
43
-
44
-
45
-
46
-
47
-
48
-
49
-
50
-
51
-
52
-
53
-
54
-
55
-
56
-
57
-
58
-
59
-
60
-
61
-
62
-
63
-
64
-
65
-
66
-
67
-
68
-
69
-
70
-
71
-
72
-
73
-
74
-
75
 |
 |