Panasonic WJRT416 WJRT416 User Guide - Page 39
Reboot of the recorder (Maintenance – Reboot)
 |
View all Panasonic WJRT416 manuals
Add to My Manuals
Save this manual to your list of manuals |
Page 39 highlights
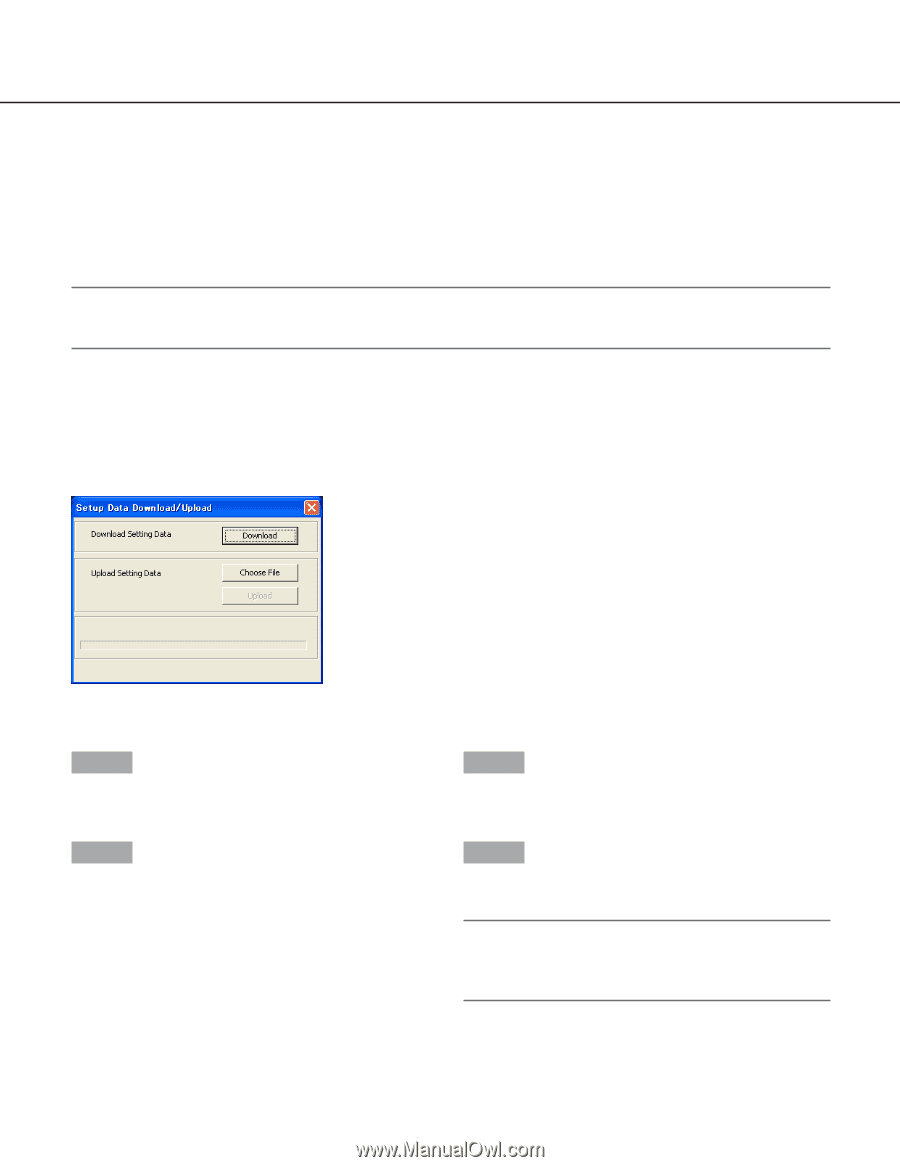
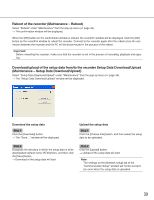
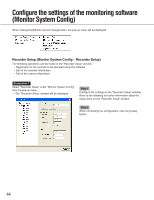
Reboot of the recorder (Maintenance - Reboot) Select "Reboot" under "Maintenance" from the pop-up menu ( page 34). → The confirmation window will be displayed. When the [OK] button on the confirmation window is clicked, the reconfirm window will be displayed. Click the [OK] button on the reconfirm window to reboot the recorder. Connect to the recorder again after the reboot since the connection between the recorder and the PC will be disconnected in the process of the reboot. Important: Before rebooting the recorder, make sure that the recorder is not in the process of recording, playback and copying. Download/upload of the setup data from/to the recorder Setup Data Download/Upload (Maintenance - Setup Data Download/Upload) Select "Setup Data Download/Upload" under "Maintenance" from the pop-up menu ( page 34). → The "Setup Data Download/Upload" window will be displayed. Download the setup data Step 1 Click the [Download] button. → The "Save..." window will be displayed. Upload the setup data Step 1 Click the [Choose File] button, and then select the setup data to be uploaded. Step 2 Designate the directory in which the setup data is to be downloaded (default name: RT4Set.bin), and then click the [Save] button. → Download of the setup data will start. Step 2 Click the [Upload] button. → Upload of the setup data will start. Note: The settings on the [Network setup] tab of the "Communication Setup" window will not be overwritten even when the setup data is uploaded. 39
-
 1
1 -
2
-
3
-
4
-
5
-
6
-
7
-
8
-
9
-
10
-
11
-
12
-
13
-
14
-
15
-
16
-
17
-
18
-
19
-
20
-
21
-
22
-
23
-
24
-
25
-
26
-
27
-
28
-
29
-
30
-
31
-
32
-
33
-
 34
34 -
 35
35 -
 36
36 -
 37
37 -
 38
38 -
 39
39 -
 40
40 -
 41
41 -
 42
42 -
 43
43 -
 44
44 -
45
-
46
-
47
-
48
-
49
-
50
-
51
-
52
-
53
-
54
-
55
-
56
-
57
-
58
-
59
 |
 |