Sony VPL CX85 Operating Instructions - Page 31
Adjustments and Settings Using the Menu, Using the MENU - contrast
 |
UPC - 027242644274
View all Sony VPL CX85 manuals
Add to My Manuals
Save this manual to your list of manuals |
Page 31 highlights
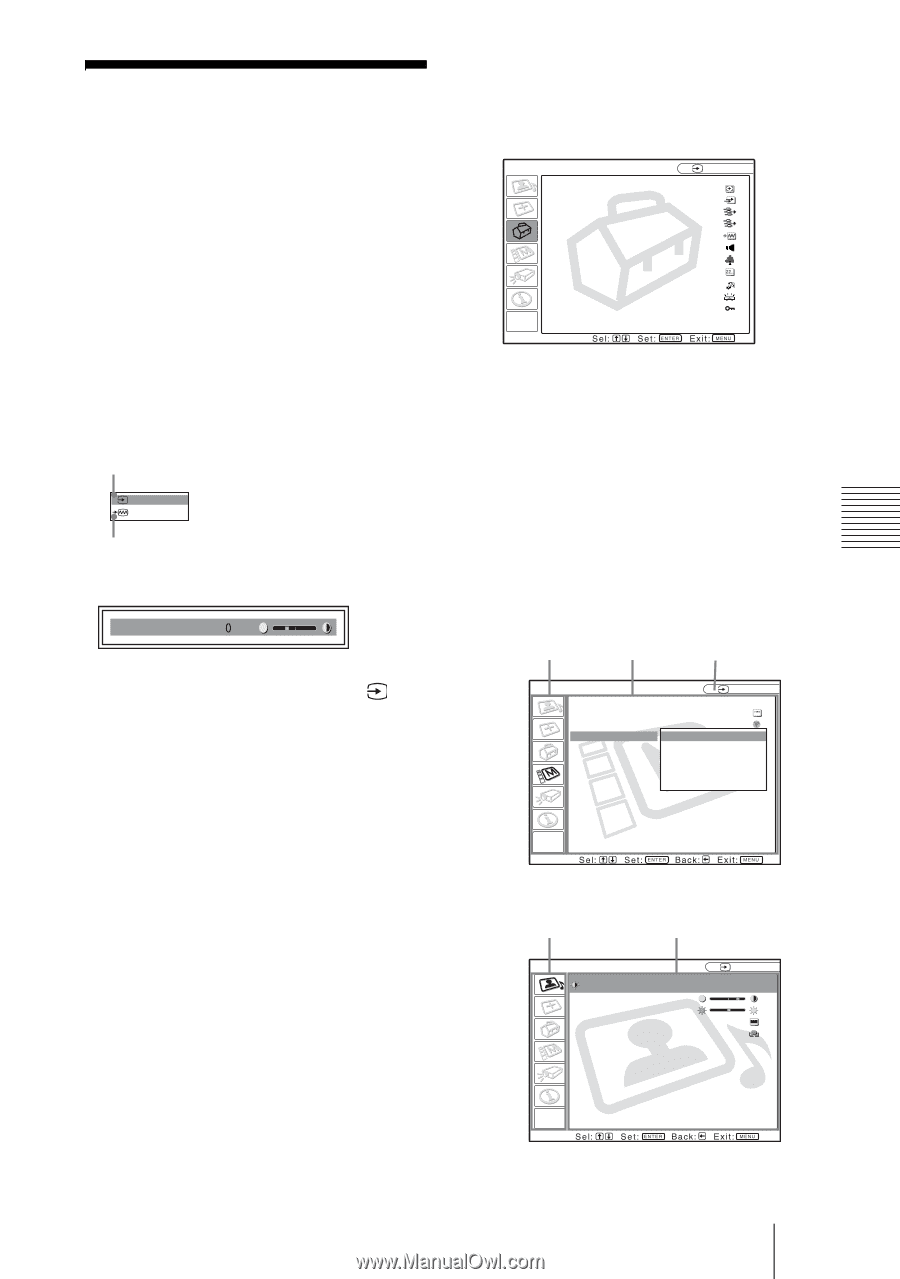
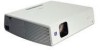
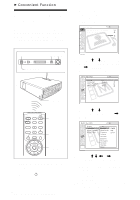
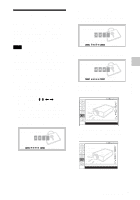
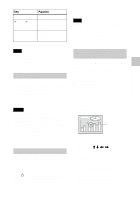
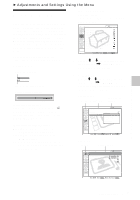
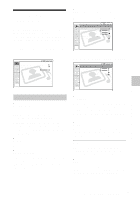
B Adjustments and Settings Using the Menu Using the MENU The projector is equipped with an on-screen menu for making various adjustments and settings. The setting items are displayed in a pop-up menu or in a sub menu. If you select an item name followed by dots (...), a sub menu with setting items appear. You can change the tone of the menu display and the menu language displayed in the on-screen menu. 1 Press the MENU key. The menu appears. The menu presently selected is shown as a yellow button. SET SETTING Input-A Smar t APA: On Auto Input Search: Off Input-A Signal Sel.: Computer Input-C Select: Air Shot Color System: Auto Speaker: On Stand-by Mode: Standard Power Saving: Off IR Receiver: Front & Rear Illumination: On Panel Key Lock: Off To change the menu language, see "Selecting the Menu Language" on page 26. Display items Input signal indicator Video NTSC 3.58 Input signal setting indicator Picture adjustment menu Contrast Input signal indicator Shows the selected input channel. x is displayed when no signal is input. You can hide this indicator using "Status" in the MENU SETTING menu. Input signal setting indicator For Input A: Shows "Computer," "Component" or "Video GBR." For Input C: Shows "Air Shot" or "Memory Stick" For Video/S Video input: Shows "Auto" or the "Color System" setting in the SET SETTING menu. 2 Use the M or m key to select a menu, then press the , or ENTER key. The selected menu appears. 3 Select an item. Use the M or m key to select the item, then press the , or ENTER key. The setting items are displayed in a popup menu or in a sub menu. Pop-up menu Selected input Menu Setting items signal MENU SETTING Input A Status: On Language: English A Menu Position: Top left Menu Color: Bottom Left Center Top Right Bottom Right Sub menu Menu Setting items PICTURE SETTING Input A ADJUST PICTURE Contrast: Brightness: Gamma Mode: Color Temp: Standard 80 50 Graphics High Adjustments and Settings Using the Menu Using the MENU 31 GB
-
 1
1 -
2
-
3
-
4
-
5
-
6
-
7
-
8
-
9
-
10
-
11
-
12
-
13
-
14
-
15
-
16
-
17
-
18
-
19
-
20
-
21
-
22
-
23
-
24
-
25
-
 26
26 -
 27
27 -
 28
28 -
 29
29 -
 30
30 -
 31
31 -
 32
32 -
 33
33 -
 34
34 -
 35
35 -
 36
36 -
37
-
38
-
39
-
40
-
41
-
42
-
43
-
44
-
45
-
46
-
47
-
48
-
49
-
50
-
51
-
52
-
53
-
54
-
55
-
56
-
57
-
58
-
59
-
60
-
61
-
62
-
63
-
64
-
65
-
66
-
67
-
68
-
69
-
70
-
71
-
72
-
73
-
74
-
75
-
76
-
77
-
78
-
79
-
80
-
81
-
82
-
83
-
84
-
85
-
86
-
87
-
88
-
89
-
90
-
91
-
92
-
93
-
94
-
95
-
96
-
97
-
98
-
99
-
100
-
101
-
102
-
103
-
104
-
105
-
106
-
107
-
108
-
109
-
110
-
111
-
112
-
113
-
114
-
115
-
116
-
117
-
118
-
119
-
120
-
121
-
122
-
123
-
124
-
125
-
126
-
127
-
128
-
129
-
130
-
131
-
132
-
133
-
134
-
135
-
136
-
137
-
138
-
139
-
140
-
141
-
142
-
143
-
144
-
145
-
146
-
147
-
148
-
149
-
150
-
151
-
152
-
153
-
154
-
155
-
156
-
157
-
158
-
159
-
160
-
161
-
162
-
163
-
164
-
165
-
166
-
167
-
168
-
169
-
170
-
171
-
172
-
173
-
174
-
175
-
176
-
177
-
178
-
179
-
180
-
181
-
182
-
183
-
184
-
185
-
186
-
187
-
188
-
189
-
190
-
191
-
192
 |
 |