Toshiba DMF102XKU Owner's Manual - English - Page 52
File Access Level, Key Sound, System Manager, ENTER, Settings > Selecting Devices - firmware
 |
UPC - 022265003084
View all Toshiba DMF102XKU manuals
Add to My Manuals
Save this manual to your list of manuals |
Page 52 highlights
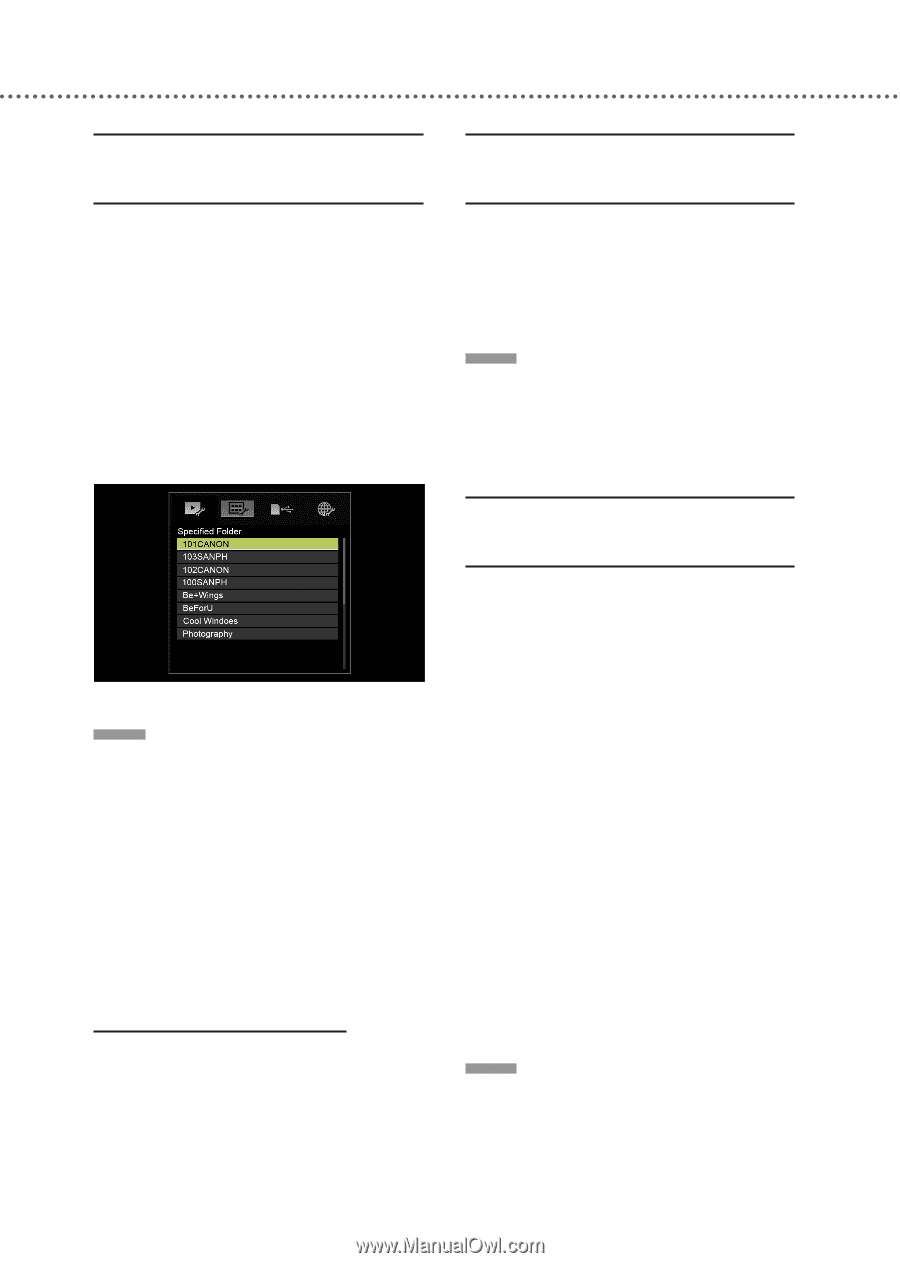
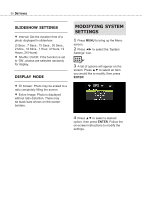
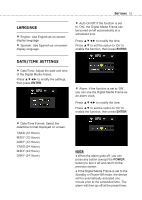
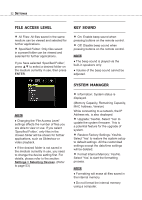
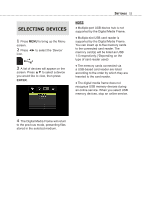
52 SETTINGS FILE ACCESS LEVEL • All Files: All files saved in the same medium can be viewed and selected for further applications. • Specified Folder: Only files saved in a preset folder can be viewed and selected for further applications. If you have selected 'Specified Folder', press ▲▼ to select a desired folder on the medium currently in use, then press ENTER. KEY SOUND • On: Enable beep sound when pressing buttons on the remote control. • Off: Disable beep sound when pressing buttons on the remote control. NOTE ♦ The beep sound is played via the built-in speakers only. ♦ Volume of the beep sound cannot be adjusted. NOTE ♦ Changing the 'File Access Level' settings affects the number of files you are able to view or use. If you select 'Specified Folder', only files in the chosen folder will be shown for further applications, such as Slideshow or video playback. ♦ If the desired folder is not saved in the medium currently in use, you need to change the device setting first. For details, please refer to the section: Settings > Selecting Devices. (Refer to page 53) SYSTEM MANAGER • Information: System status is displayed. (Memory Capacity, Remaining Capacity, MAC Address, Version) While connecting to a network, the IP Address etc. is also displayed. • Upgrade: Yes/No. Select 'Yes' to update the system firmware. This is a potential feature for the upgrade of system. • Restore Factory Settings: Yes/No. Select 'Yes' to restore the system setup to default settings. All the customized settings except the date/time settings will be deleted. • Format Internal Memory: Yes/No. Select 'Yes' to start the formatting process. NOTE ♦ Formatting will erase all files saved in the internal memory. ♦ Do not format the internal memory using a computer.
-
 1
1 -
2
-
3
-
4
-
5
-
6
-
7
-
8
-
9
-
10
-
11
-
12
-
13
-
14
-
15
-
16
-
17
-
18
-
19
-
20
-
21
-
22
-
23
-
24
-
25
-
26
-
27
-
28
-
29
-
30
-
31
-
32
-
33
-
34
-
35
-
36
-
37
-
38
-
39
-
40
-
41
-
42
-
43
-
44
-
45
-
46
-
 47
47 -
 48
48 -
 49
49 -
 50
50 -
 51
51 -
 52
52 -
 53
53 -
 54
54 -
 55
55 -
 56
56 -
 57
57 -
58
-
59
-
60
-
61
-
62
-
63
-
64
-
65
-
66
-
67
-
68
-
69
-
70
-
71
-
72
-
73
-
74
-
75
-
76
-
77
-
78
 |
 |