Western Digital WDBADB5000Axxx User Manual - Page 45
Setting the Preferences Options, Customizing Your Drive Settings
 |
View all Western Digital WDBADB5000Axxx manuals
Add to My Manuals
Save this manual to your list of manuals |
Page 45 highlights
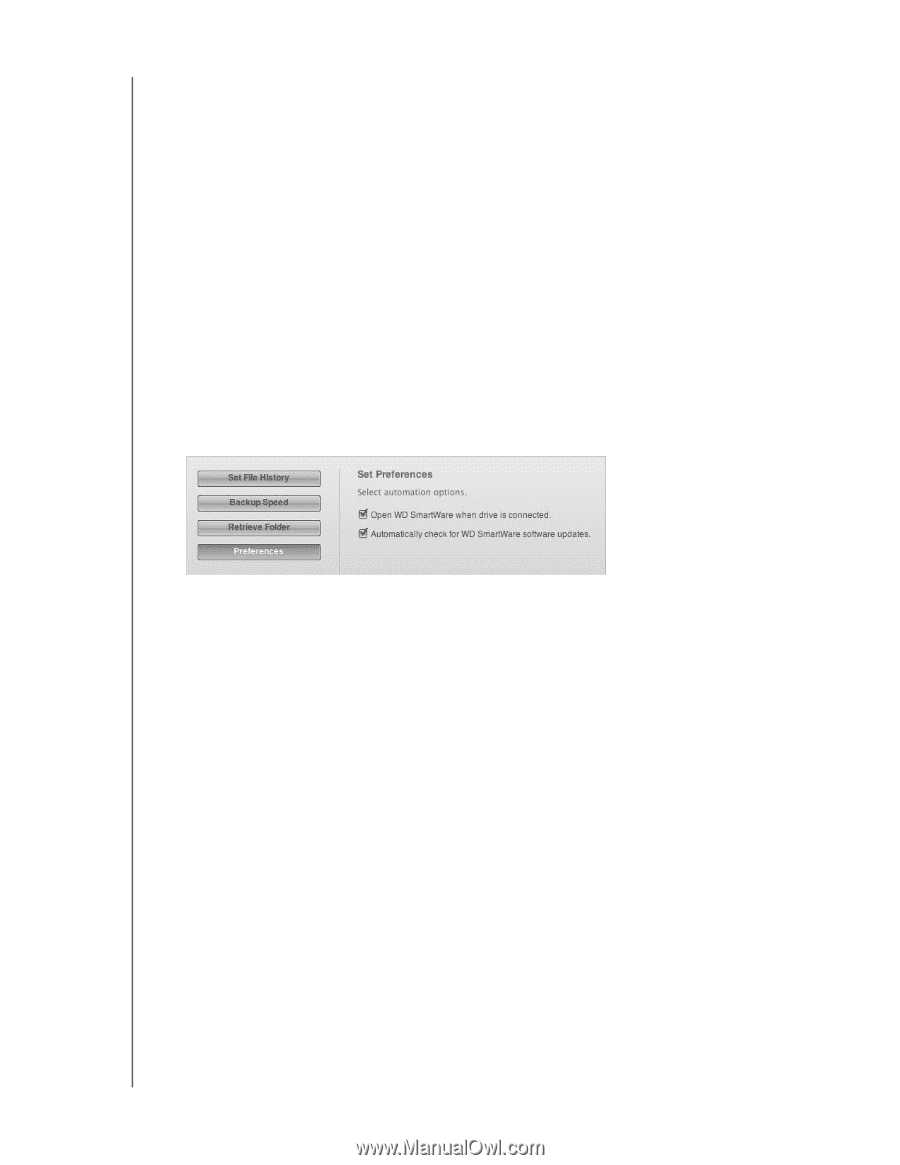
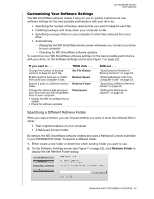
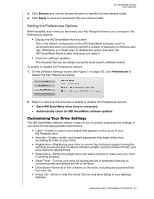
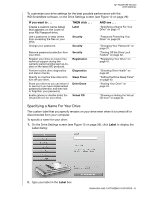
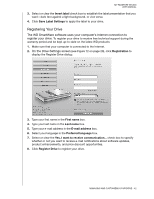
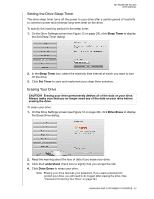
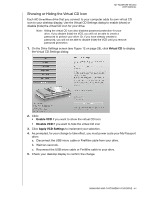
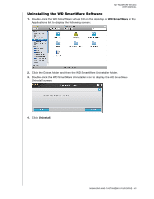
MY PASSPORT STUDIO USER MANUAL 3. Click Browse and use the browse function to identify the new retrieve folder. 4. Click Apply to save and implement the new retrieve folder. Setting the Preferences Options When enabled, each time you reconnect your My Passport drive to your computer, the Preferences options: • Display the WD SmartWare Home screen This is the default configuration of the WD SmartWare software, and it is recommended when you routinely perform a number of backups or retrieves each day. Otherwise, you might want to disable this option and open the WD SmartWare Home screen whenever you need it. • Check for software updates This ensures that you are always using the most-recent software version. To enable or disable the Preferences options: 1. On the Software Settings screen (see Figure 7 on page 22), click Preferences to display the Set Preferences dialog: 2. Select or clear the check boxes to enable or disable the Preferences options: • Open WD SmartWare when drive is connected • Automatically check for WD SmartWare software updates Customizing Your Drive Settings The WD SmartWare software makes it easy for you to quickly customize the settings of your drive for the best possible performance. • Label-Create a custom name (label) that appears on the cover of your My Passport drive. • Security-Create, modify, and disable passwords that keep others from accessing the files on your drive. • Registration-Registering your drive to receive free technical support during the warranty period and find out about software updates, product enhancements, and price discount opportunities. • Diagnostics-Performing diagnostics and status checks to make sure your drive is working properly. • Sleep Timer-Turning your drive off during periods of extended inactivity to conserve power and extend the life of the drive. • Drive Erase-Erase all of the contents on the drive, including any password that has been set. • Virtual CD-Show or hide the virtual CD icon and drive listing in your desktop displays. MANAGING AND CUSTOMIZING YOUR DRIVE - 40
-
 1
1 -
2
-
3
-
4
-
5
-
6
-
7
-
8
-
9
-
10
-
11
-
12
-
13
-
14
-
15
-
16
-
17
-
18
-
19
-
20
-
21
-
22
-
23
-
24
-
25
-
26
-
27
-
28
-
29
-
30
-
31
-
32
-
33
-
34
-
35
-
36
-
37
-
38
-
39
-
 40
40 -
 41
41 -
 42
42 -
 43
43 -
 44
44 -
 45
45 -
 46
46 -
 47
47 -
 48
48 -
 49
49 -
 50
50 -
51
-
52
-
53
-
54
-
55
-
56
-
57
-
58
-
59
-
60
-
61
-
62
-
63
-
64
-
65
-
66
-
67
-
68
-
69
-
70
-
71
-
72
-
73
-
74
-
75
-
76
 |
 |