Belkin F5D6231-4 User Manual - Page 35
Changing System Settings - default password
 |
UPC - 722868442968
View all Belkin F5D6231-4 manuals
Add to My Manuals
Save this manual to your list of manuals |
Page 35 highlights
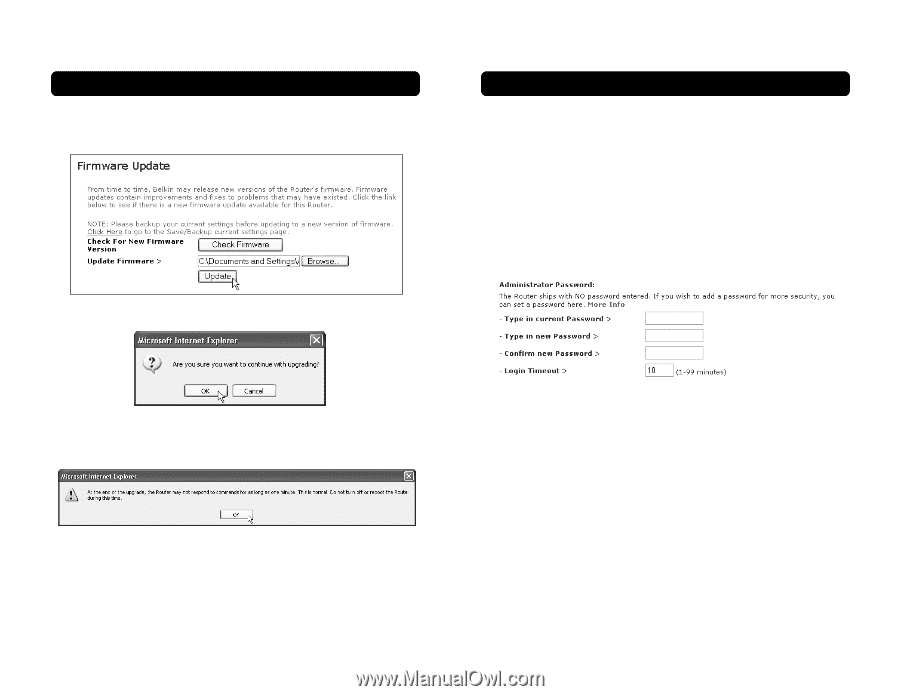
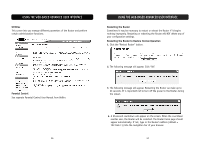
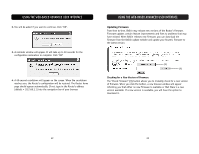
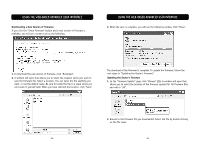
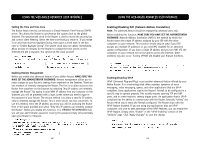
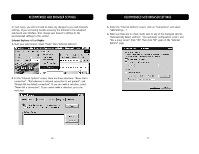
USING THE WEB-BASED ADVANCED USER INTERFACE 3. The "Update Firmware" box will now display the location and name of the firmware file you just selected. Click "Update". 4. You will be asked if you are sure you want to continue. Click "OK". USING THE WEB-BASED ADVANCED USER INTERFACE Changing System Settings The "System Settings" page is where you can enter a new administrator password, set the time zone, enable remote management, and turn on and off the NAT function of the Router. Setting or Changing the Administrator Password The Router ships with NO password entered. If you wish to add a password for greater security, you can set a password here. Write down your password and keep it in a safe place, as you will need it if you need to log into the Router in the future. It is also recommended that you set a password if you plan to use the remote management feature of your Router. 5. You will see one more message. This message tells you that the Router may not respond for as long as one minute as the firmware is loaded into the Router and the Router is rebooted. Click "OK". 6. A 60-second countdown will appear on the screen. When the countdown reaches zero, the Router firmware update will be complete. The Router home page should appear automatically. If not, type in the Router's address (default = 192.168.2.1) into the navigation bar of your browser. The firmware update is complete. 66 Changing the Login Timeout Setting The login timeout option allows you to set the period of time that you can be logged into the Router's advanced setup interface. The timer starts when there has been no activity. For example, you have made some changes in the advanced setup interface, then left your computer alone without clicking "Logout". Assuming the timeout is set to 10 minutes, then 10 minutes after you leave, the login session will expire. You will have to login to the Router again to make any more changes. The login timeout option is for security purposes and the default is set to 10 minutes. Note: Only one computer can be logged into the Router's advanced setup interface at one time. 67
-
 1
1 -
2
-
3
-
4
-
5
-
6
-
7
-
8
-
9
-
10
-
11
-
12
-
13
-
14
-
15
-
16
-
17
-
18
-
19
-
20
-
21
-
22
-
23
-
24
-
25
-
26
-
27
-
28
-
29
-
 30
30 -
 31
31 -
 32
32 -
 33
33 -
 34
34 -
 35
35 -
 36
36 -
 37
37 -
 38
38 -
 39
39 -
 40
40 -
41
-
42
-
43
-
44
 |
 |