Brother International IntelliFax-3750 Users Manual - English - Page 62
Checking the Jobs Status, Canceling Jobs While Scanning the Document, OTHER SETTINGS?, YES 2.NO
 |
View all Brother International IntelliFax-3750 manuals
Add to My Manuals
Save this manual to your list of manuals |
Page 62 highlights
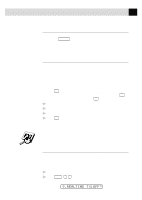
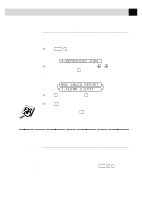
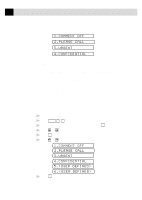
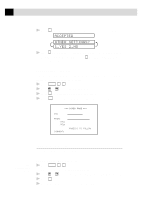
50 CHAPTER SIX 3 Press Set . 4 To change the default setting, press or to select ON (or OFF) and go to Step 7-OR-For the next fax transmission only, press or to select NEXT FAX ONLY. REALTIME TX:ON? 5 Press Set . 6 For the next fax only, press or to select ON (or OFF). 7 Press Set . ACCEPTED OTHER SETTINGS? 1.YES 2.NO 8 Press 1 if you want to select additional settings. The display returns to the SETUP SEND menu-OR-Press 2 if you are finished choosing settings and go to Step 9. 9 Enter fax number and press Start . See Canceling Jobs in Memory p. 51 Checking the Jobs Status Check which jobs are still waiting in memory to be sent. (If no jobs are waiting, the screen displays NO JOB WAITING.) 1 If the fax machine is idle, press Function , 4 -OR-if the fax machine is busy, go to step 2. 2 If you have multiple jobs waiting, use or to scroll through the list. 3 Press Stop to exit. Canceling Jobs While Scanning the Document You can cancel a job while you are scanning it into memory by pressing Stop . Eject the document by pressing Stop again.
-
 1
1 -
2
-
3
-
4
-
5
-
6
-
7
-
8
-
9
-
10
-
11
-
12
-
13
-
14
-
15
-
16
-
17
-
18
-
19
-
20
-
21
-
22
-
23
-
24
-
25
-
26
-
27
-
28
-
29
-
30
-
31
-
32
-
33
-
34
-
35
-
36
-
37
-
38
-
39
-
40
-
41
-
42
-
43
-
44
-
45
-
46
-
47
-
48
-
49
-
50
-
51
-
52
-
53
-
54
-
55
-
56
-
 57
57 -
 58
58 -
 59
59 -
 60
60 -
 61
61 -
 62
62 -
 63
63 -
 64
64 -
 65
65 -
 66
66 -
 67
67 -
68
-
69
-
70
-
71
-
72
-
73
-
74
-
75
-
76
-
77
-
78
-
79
-
80
-
81
-
82
-
83
-
84
-
85
-
86
-
87
-
88
-
89
-
90
-
91
-
92
-
93
-
94
-
95
-
96
-
97
-
98
-
99
-
100
-
101
-
102
-
103
-
104
-
105
-
106
-
107
-
108
-
109
-
110
-
111
-
112
-
113
-
114
-
115
-
116
-
117
-
118
-
119
-
120
-
121
-
122
-
123
-
124
-
125
-
126
-
127
-
128
-
129
-
130
-
131
-
132
-
133
-
134
-
135
-
136
-
137
-
138
-
139
-
140
-
141
-
142
-
143
-
144
-
145
-
146
-
147
-
148
-
149
-
150
-
151
-
152
-
153
-
154
-
155
-
156
-
157
-
158
-
159
-
160
-
161
-
162
-
163
-
164
-
165
-
166
-
167
-
168
-
169
-
170
-
171
-
172
-
173
-
174
-
175
-
176
-
177
-
178
-
179
-
180
-
181
-
182
-
183
-
184
-
185
-
186
-
187
-
188
-
189
-
190
-
191
-
192
-
193
-
194
-
195
-
196
-
197
-
198
-
199
-
200
-
201
-
202
-
203
-
204
-
205
-
206
-
207
 |
 |
