Canon PIXMA MX922 User Manual - Page 25
Resending Faxes Redialing a Busy Number - how to scan
 |
View all Canon PIXMA MX922 manuals
Add to My Manuals
Save this manual to your list of manuals |
Page 25 highlights
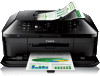
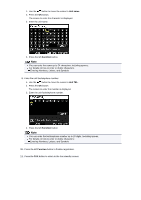
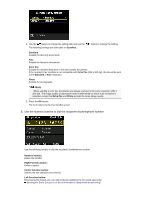
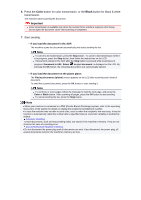
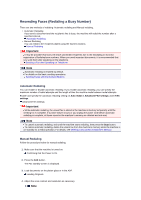
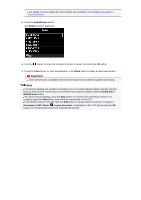
Resending Faxes (Redialing a Busy Number) There are two methods of redialing: Automatic redialing and Manual redialing. • Automatic Redialing If you send a document and the recipient's line is busy, the machine will redial the number after a specified interval. Automatic Redialing • Manual Redialing You can redial to the recipients dialed using the Numeric buttons. Manual Redialing Important It may be possible that faxes will reach unintended recipients due to the misdialing or incorrect registration of fax/telephone numbers. When you send important documents, it is recommended that you send them after speaking on the telephone. Sending a Fax after Speaking on Telephone Note Automatic redialing is enabled by default. For details on the basic sending operations: Sending Faxes with the Numeric Buttons Automatic Redialing You can enable or disable automatic redialing. If you enable automatic redialing, you can specify the maximum number of redial attempts and the length of time the machine waits between redial attempts. Enable and specify the automatic redialing setting on Auto redial in Advanced FAX settings under FAX settings. Advanced FAX settings Important While automatic redialing, the unsent fax is stored in the machine's memory temporarily until the sending fax is complete. If a power failure occurs or you unplug the power cord before automatic redialing is complete, all faxes stored in the machine's memory are deleted and not sent. Note To cancel automatic redialing, wait until the machine starts redialing, then press the Stop button. To cancel automatic redialing, delete the unsent fax from the machine's memory while the machine is on-standby for a redial operation. For details, see Deleting a Document in Machine's Memory. Manual Redialing Follow the procedure below for manual redialing. 1. Make sure that the machine is turned on. Confirming that the Power Is On 2. Press the FAX button. The Fax standby screen is displayed. 3. Load documents on the platen glass or in the ADF. Loading Originals 4. Adjust the scan contrast and resolution as necessary. Note
-
 1
1 -
2
-
3
-
4
-
5
-
6
-
7
-
8
-
9
-
10
-
11
-
12
-
13
-
14
-
15
-
16
-
17
-
18
-
19
-
 20
20 -
 21
21 -
 22
22 -
 23
23 -
 24
24 -
 25
25 -
 26
26 -
 27
27 -
 28
28 -
 29
29 -
 30
30 -
31
-
32
-
33
-
34
-
35
-
36
-
37
-
38
-
39
-
40
-
41
-
42
-
43
-
44
-
45
-
46
-
47
-
48
-
49
-
50
-
51
-
52
-
53
-
54
-
55
-
56
-
57
-
58
-
59
-
60
-
61
-
62
-
63
-
64
-
65
-
66
-
67
-
68
-
69
-
70
-
71
-
72
-
73
-
74
-
75
-
76
-
77
-
78
-
79
-
80
-
81
-
82
-
83
-
84
-
85
-
86
-
87
-
88
-
89
-
90
-
91
-
92
-
93
-
94
-
95
-
96
-
97
-
98
-
99
-
100
-
101
-
102
-
103
-
104
-
105
-
106
-
107
-
108
-
109
-
110
-
111
-
112
-
113
-
114
-
115
-
116
 |
 |