Canon PIXMA mini260 Photo Printing Guide - Page 34
Printing Photographs Directly from a PictBridge Compliant Device - not printing properly
 |
View all Canon PIXMA mini260 manuals
Add to My Manuals
Save this manual to your list of manuals |
Page 34 highlights
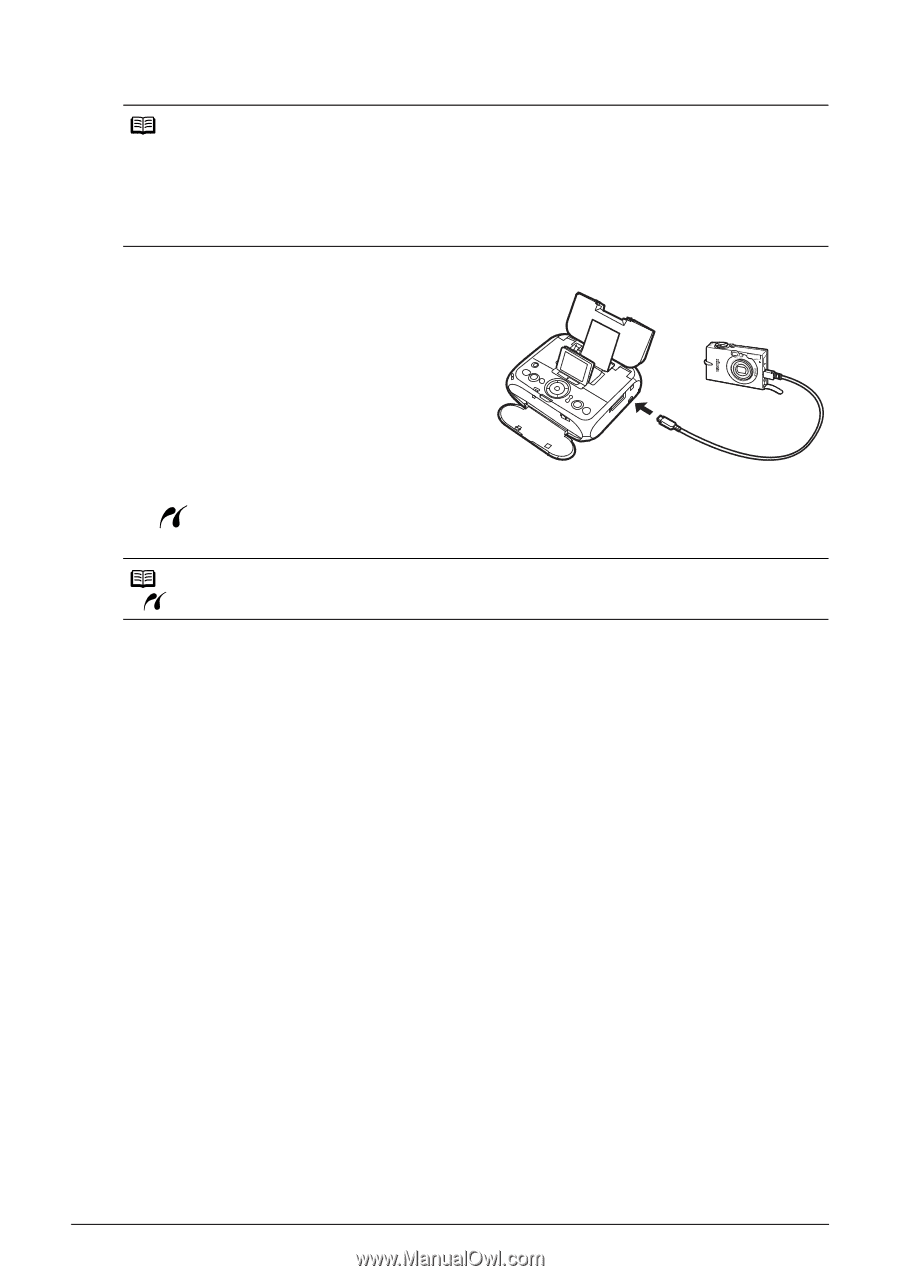
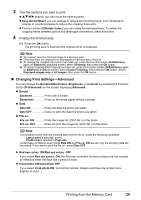
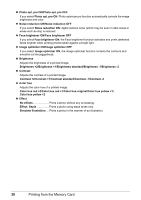
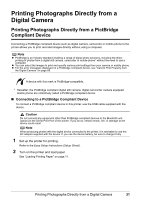
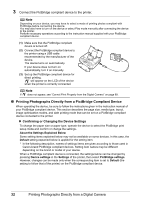
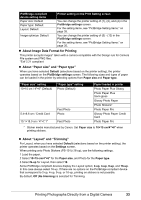
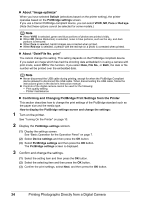
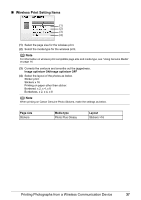
3 Connect the PictBridge compliant device to the printer. Note Depending on your device, you may have to select a mode of printing photos compliant with PictBridge before connecting the device. You may also have to turn on the device or select Play mode manually after connecting the device to the printer. Perform necessary operations according to the instruction manual supplied with your PictBridge compliant device. (1) Make sure that the PictBridge compliant device is turned off. (2) Connect the PictBridge compliant device to the printer using a USB cable recommended by the manufacturer of the device. The device turns on automatically. If your device does not turn on automatically, turn it on manually. (3) Set up the PictBridge compliant device for direct printing. will appear on the LCD of the device when the printer is correctly connected. Note If does not appear, see "Cannot Print Properly from the Digital Camera" on page 69. Printing Photographs Directly from a PictBridge Compliant Device When operating the device, be sure to follow the instructions given in the instruction manual of your PictBridge compliant device. This section describes the page size, media type, layout, image optimization modes, and date printing mode that can be set on a PictBridge compliant device connected to the printer. Confirming or Changing the Device Settings To change the paper size or paper type, operate the device to select the PictBridge print setup mode and confirm or change the settings. About the Settings Explained Below Some setting items explained below may not be available on some devices. In this case, the Default setting explained below is applied for the setting item. * In the following description, names of settings items are given according to those used in Canon-brand PictBridge compliant devices. Setting item names may be different depending on the brand or model of your device. When a PictBridge compliant device is connected, the settings below can be changed by pressing Device settings in the Settings of the printer, then select PictBridge settings. However, changes can be made only when the corresponding item is set to Default (the setting to follow that of the printer) on the PictBridge compliant device. 32 Printing Photographs Directly from a Digital Camera
-
 1
1 -
2
-
3
-
4
-
5
-
6
-
7
-
8
-
9
-
10
-
11
-
12
-
13
-
14
-
15
-
16
-
17
-
18
-
19
-
20
-
21
-
22
-
23
-
24
-
25
-
26
-
27
-
28
-
 29
29 -
 30
30 -
 31
31 -
 32
32 -
 33
33 -
 34
34 -
 35
35 -
 36
36 -
 37
37 -
 38
38 -
 39
39 -
40
-
41
-
42
-
43
-
44
-
45
-
46
-
47
-
48
-
49
-
50
-
51
-
52
-
53
-
54
-
55
-
56
-
57
-
58
-
59
-
60
-
61
-
62
-
63
-
64
-
65
-
66
-
67
-
68
-
69
-
70
-
71
-
72
-
73
-
74
-
75
-
76
-
77
-
78
-
79
-
80
-
81
-
82
-
83
-
84
-
85
-
86
-
87
-
88
-
89
-
90
-
91
-
92
 |
 |