Canon S4500 Utility Guide - Page 37
Printing a Scanned Image, You can print a scanned image acquired using the Capture
 |
View all Canon S4500 manuals
Add to My Manuals
Save this manual to your list of manuals |
Page 37 highlights
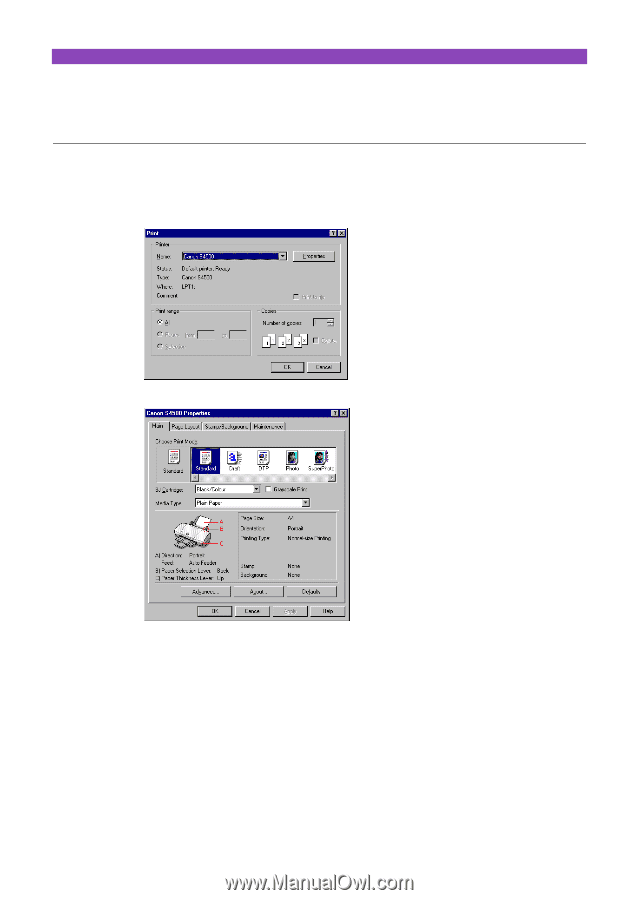
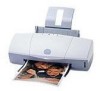
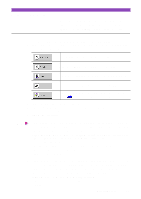
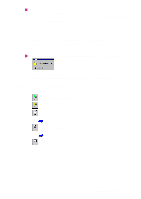
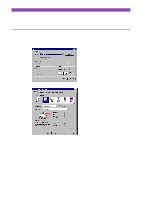
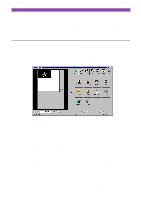
Printing a Scanned Image You can print a scanned image acquired using the Capture Photo or Capture Image feature. 1 Click the Print button. 2 Make sure that "Canon S4500" is displayed and click the Properties button. This displays the Printer Properties dialogue box. 3 Specify the settings in the Printer Properties dialogue box as required. 4 Remove the Scanner Cartridge, and then install the BJ Cartridges. 5 Make sure that the BJ Cartridge and Media Type settings in the Printer Properties dialogue box match the BJ Cartridge and print media you are using. 6 Also make sure that A4 or Letter size paper is loaded in the auto sheet feeder of the printer. 7 Click the OK button in the Print dialogue box. Printing begins. Printing a Scanned Image 37
-
 1
1 -
2
-
3
-
4
-
5
-
6
-
7
-
8
-
9
-
10
-
11
-
12
-
13
-
14
-
15
-
16
-
17
-
18
-
19
-
20
-
21
-
22
-
23
-
24
-
25
-
26
-
27
-
28
-
29
-
30
-
31
-
 32
32 -
 33
33 -
 34
34 -
 35
35 -
 36
36 -
 37
37 -
 38
38 -
 39
39 -
 40
40 -
 41
41 -
 42
42 -
43
-
44
-
45
-
46
 |
 |