Craftsman 536.270320 Operation Manual - Page 23
Inspect, Blade, To Remove, Install, To Sharpen
 |
View all Craftsman 536.270320 manuals
Add to My Manuals
Save this manual to your list of manuals |
Page 23 highlights
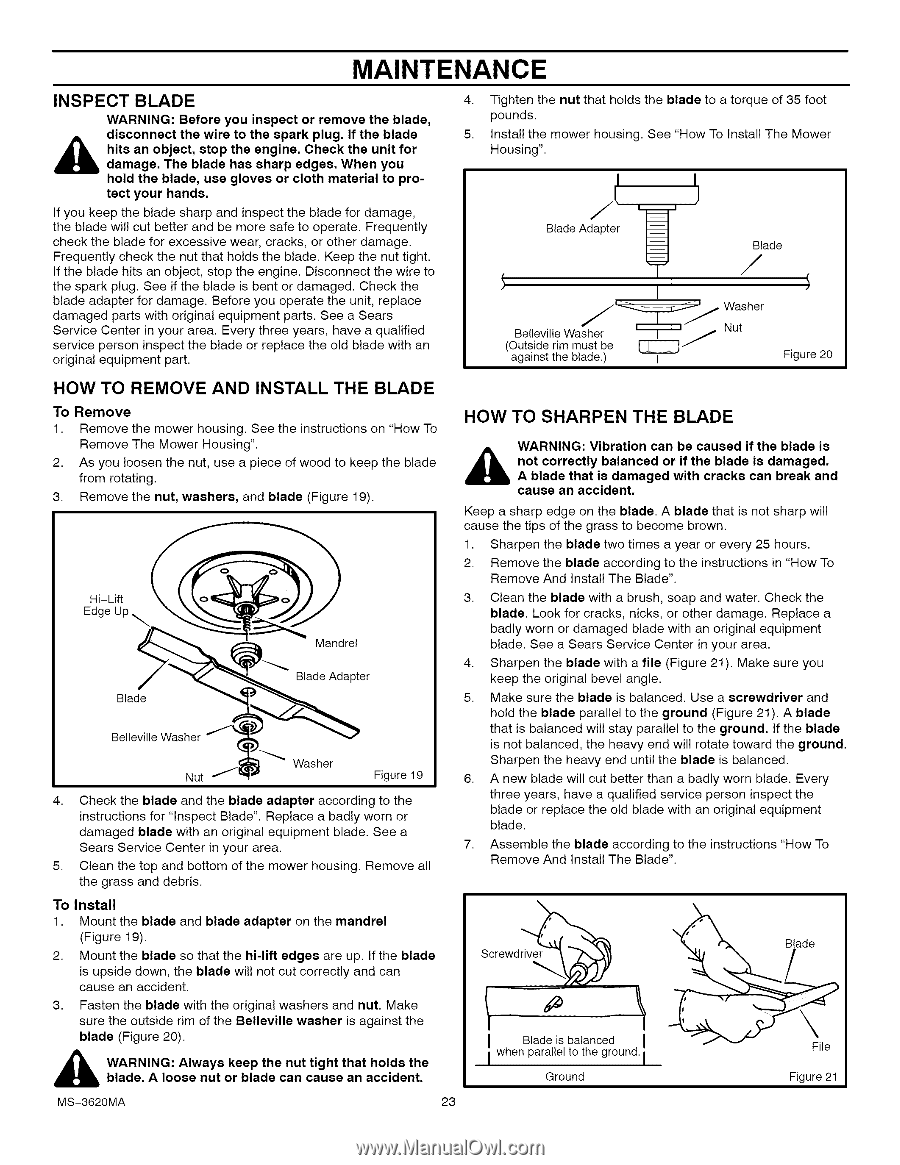
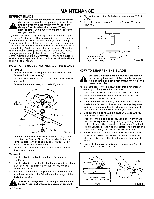
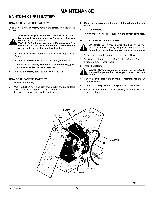
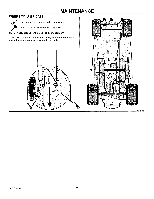
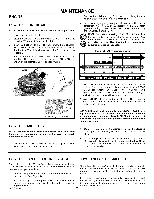
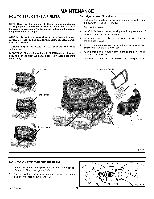
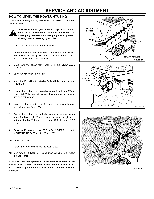
MAINTENANCE INSPECT BLADE WARNING: Before you inspect or remove the blade, disconnect the wire to the spark plug. If the blade dhaitms aagne.obTjhecet,blsatdoep thhaes esnhgairnpe.edCgheesc.kWthheenunyiotufor hold the blade, use gloves or cloth material to protect your hands. If you keep the blade sharp and inspect the blade for damage, the blade will cut better and be more safe to operate. Frequently check the blade for excessive wear, cracks, or other damage. Frequently check the nut that holds the blade. Keep the nut tight. If the blade hits an object, stop the engine. Disconnect the wire to the spark plug. See if the blade is bent or damaged. Check the blade adapter for damage. Before you operate the unit, replace damaged parts with original equipment parts. See a Sears Service Center in your area. Every three years, have a qualified service person inspect the blade or replace the old blade with an original equipment part. 4. Tighten the nut that holds the blade to a torque of 35 foot pounds. 5. Install the mower housing. See "How To Install The Mower Housing". Blade Ada_pter__ Belleville Washer (Outside rim must be against the blade.) _J I Blade / Washer Nut Figure 20 HOW TO REMOVE AND INSTALL THE BLADE To Remove 1. Remove the mower housing. See the instructions on "How To Remove The Mower Housing". 2. As you loosen the nut, use a piece of wood to keep the blade from rotating. 3. Remove the nut, washers, and blade (Figure 19). Hi-Lift Blade Mandrel Blade Adapter Washer Nut Figure 19 4. Check the blade and the blade adapter according to the instructions for "Inspect Blade". Replace a badly worn or damaged blade with an original equipment blade. See a Sears Service Center in your area. 5. Clean the top and bottom of the mower housing. Remove all the grass and debris. To Install 1. Mount the blade and blade adapter on the mandrel (Figure 19). 2. Mount the blade so that the hi-lift edges are up. If the blade is upside down, the blade will not cut correctly and can cause an accident. 3. Fasten the blade with the original washers and nut, Make sure the outside rim of the Belleville washer is against the blade (Figure 20). _ blaAdReN. INAGl:ooAselwanyust okreebpladtehecnaunt ctaiguhste thanat ahcocliddsentth. e HOW TO SHARPEN THE BLADE WARNING: Vibration can be caused if the blade is _b Aobt lcaodreretchtalyt isbadlaamncaegdedorwifiththecrabclakdse ciasndabmreaagkeda.nd cause an accident. Keep a sharp edge on the blade. A blade that is not sharp will cause the tips of the grass to become brown. 1. Sharpen the blade two times a year or every 25 hours. 2. Remove the blade according to the instructions in "How To Remove And Install The Blade". 3. Clean the blade with a brush, soap and water. Check the blade. Look for cracks, nicks, or other damage. Replace a badly worn or damaged blade with an original equipment blade. See a Sears Service Center in your area. 4. Sharpen the blade with a file (Figure 21). Make sure you keep the original bevel angle. 5. Make sure the blade is balanced. Use a screwdriver and hold the blade parallel to the ground (Figure 21). A blade that is balanced will stay parallel to the ground. If the blade is not balanced, the heavy end will rotate toward the ground, Sharpen the heavy end until the blade is balanced. 6. A new blade will cut better than a badly worn blade. Every three years, have a qualified service person inspect the blade or replace the old blade with an original equipment blade. 7. Assemble the blade according to the instructions "How To Remove And install The Blade". Screwdriver/_ ! I Blade is balanced I when parallel to the ground, i Ground File Figure 21 MS-3620MA 23
-
 1
1 -
2
-
3
-
4
-
5
-
6
-
7
-
8
-
9
-
10
-
11
-
12
-
13
-
14
-
15
-
16
-
17
-
 18
18 -
 19
19 -
 20
20 -
 21
21 -
 22
22 -
 23
23 -
 24
24 -
 25
25 -
 26
26 -
 27
27 -
 28
28 -
29
-
30
-
31
-
32
-
33
-
34
-
35
-
36
-
37
-
38
-
39
-
40
-
41
-
42
-
43
-
44
-
45
-
46
-
47
-
48
-
49
-
50
-
51
-
52
-
53
-
54
-
55
-
56
-
57
-
58
-
59
-
60
-
61
-
62
-
63
-
64
-
65
-
66
-
67
-
68
-
69
-
70
-
71
-
72
-
73
-
74
-
75
-
76
-
77
-
78
-
79
-
80
-
81
-
82
-
83
-
84
-
85
-
86
-
87
-
88
-
89
-
90
-
91
-
92
-
93
-
94
-
95
-
96
-
97
-
98
-
99
-
100
-
101
-
102
-
103
-
104
-
105
-
106
-
107
-
108
 |
 |